

To install an oil heater, ensure proper location, secure the unit, connect piping, install a thermostat, and follow safety guidelines for fuel handling.
Proper oil heater installation ensures optimal performance, energy efficiency, and most importantly – safety. Whether you’re installing a waste oil furnace or residential oil heater, following manufacturer guidelines and local codes is essential.

KENUOS
KENUOS 2PCS Engine Block Heater Oil Pan…
- Rapid Engine Preheating-In severe winter,this oil pan heater pad can raise the engine oil temperature to the optimal starting leve…
- Smart Temperature Control Protection-Equipped with a built-in automatic constant temperature controller,our engine heater pad auto…
- Self-Adhesive & Easy Installation-The back of engine block heater pad is equipped with strong Super Strong Backing Glue adhesive.S…
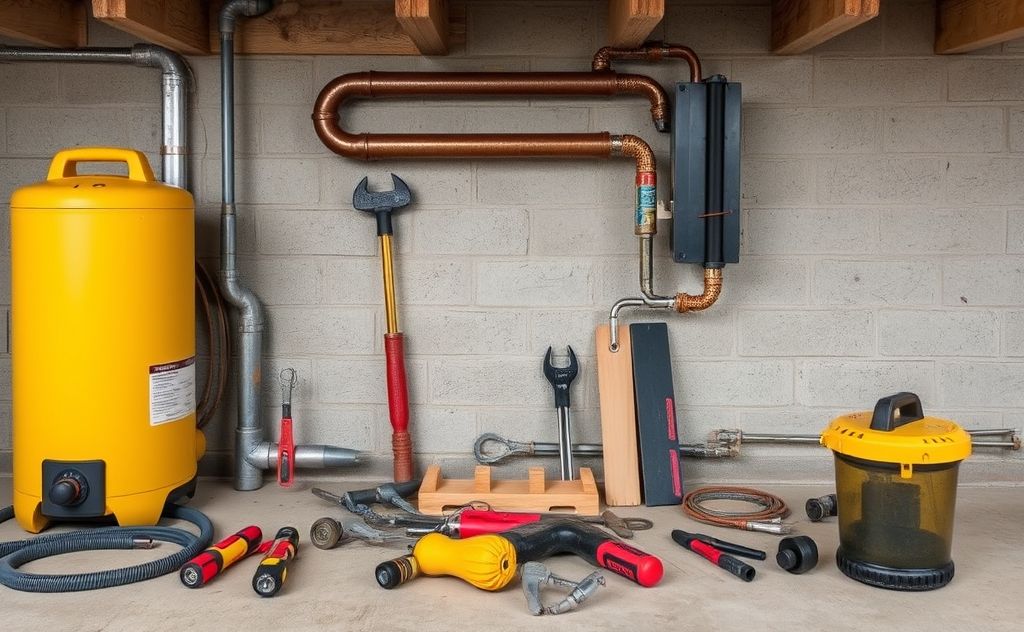
1. Pre-Installation Planning
Before touching any tools, complete these crucial preparation steps:
- Review the manufacturer’s manual thoroughly
- Check local building codes and permit requirements
- Determine optimal heater location considering clearance needs
- Gather all necessary tools and materials
For waste oil systems, consider our guide on modern heater materials that withstand corrosive oils.
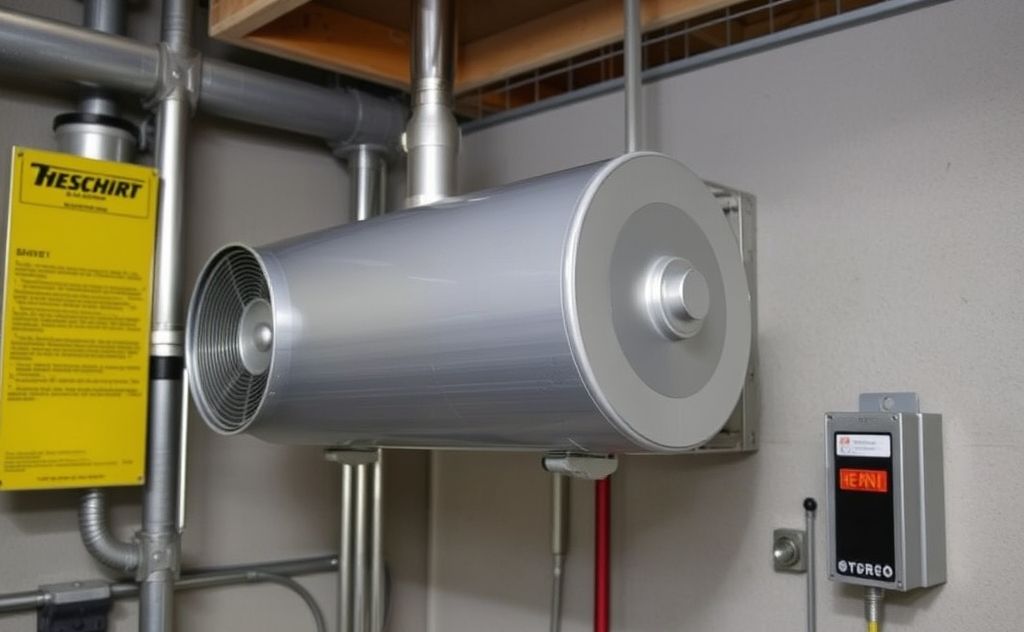
2. Mounting the Heater Properly
Ceiling Mounting (Most Common)
- Install 1/2″ minimum diameter all-thread rods at all four corners
- Secure with washers and nuts on bottom to support weight
- Maintain proper clearances per manual specifications
Stand Mounting
Use a purpose-built stand or oil heating center for stability. Ensure the stand is:
- Level and sturdy
- Made of non-combustible materials
- Properly secured to floor
3. Blower Installation
For forced-air systems:
- Mount blower on back of furnace in upright position
- Secure with provided #10 self-tapping screws
- Connect flexible conduit to rear electrical junction box
- Install blower guards with remaining screws
4. Venting System Setup
Proper venting is critical for safety and performance:
| Location | Venting Type |
|---|---|
| Indoor | Single-wall stack material |
| Building penetrations/exterior | Double-wall “Class A” insulated stack |
According to Clean Energy Heating Systems, pre-drilling may be necessary when attaching to stainless steel breaches.
5. Electrical Connections
Warning: This step must be performed by a licensed electrician.
- Connect power to front junction box (CE140, CE180, CE250 models)
- Connect to rear junction box for CE330 models
- Follow wiring diagram precisely
- Ensure proper grounding
Consider installing a quality thermostat for better temperature regulation.
6. Fuel System Setup
For Waste Oil Systems:
- Install oil storage tank with proper containment
- Use approved oil lines and filters
- Ensure leak-free connections
For Residential Oil Heaters:
- Connect to existing oil supply line
- Install new oil filter
- Check for leaks at all connections
7. Testing & Commissioning
Before regular use:
- Perform thorough visual inspection
- Check all electrical connections
- Test safety controls and limit switches
- Verify proper ignition sequence
- Monitor first few cycles for proper operation
As noted by Instructables, proper maintenance is crucial for any oil-based system to prevent contamination and ensure longevity.
Related pick: Check today's price on Amazon

I am a mechanical engineer and love doing research on different home and outdoor heating options. When I am not working, I love spending time with my family and friends. I also enjoy blogging about my findings and helping others to find the best heating options for their needs.
Related guides

How Durable Is Electric Under Tile Heating in New Construction?
Electric under tile heating in new construction offers durable, efficient warmth with proper installation and product choice.

How to Blend Oil Heaters Seamlessly Into Your Home Decor
You bought an oil heater for the warmth, not for the way it looks. That gray or white…

How to Install an Electric Heater: Step-by-Step Guide
To install an electric heater, turn off power, mount the heater securely, connect wiring per the manual, and…
