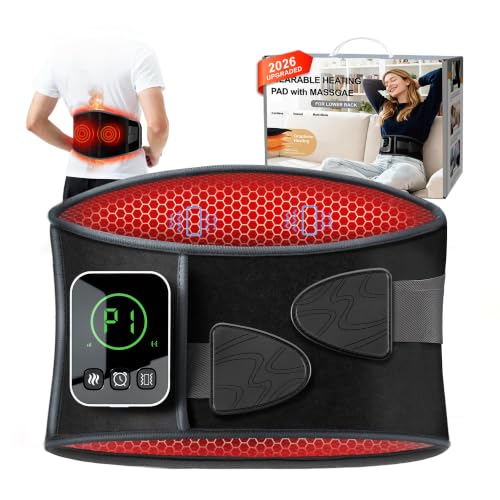
A half-true belief hangs around every cold snap: bigger heaters do warm a room faster, and tighter homes do hold heat better. The first half is true only if the heater is sized right; the second half is true only if the leaks get sealed.
The cheap fix is usually the boring one. A roll of weatherstripping, a tube of caulk, and one careful pass through the rooms will often beat a heroic thermostat setting by a wide margin.
How To Lower Heating Bills In Winter
Lowering heating bills in winter starts with air sealing, then thermostat adjustments, then insulation and curtains, and finally a check of your heating equipment. Most people save 10 to 20 percent by fixing the leaks they can reach in an afternoon, dialing back the thermostat by 3 to 5 degrees when they’re asleep or out, and keeping heat in the rooms they actually use.
The order matters. Sealing air leaks first means the warm air you’re paying for stays inside instead of slipping out around windows, doors, outlets and baseboards. After that, a programmable or smart thermostat makes setbacks automatic. Insulation and heavy curtains come third because they work best when the envelope is already tight. Equipment checks—cleaning filters, clearing vents, bleeding radiators—belong last because a clean system moves heat efficiently only if the heat isn’t escaping in the first place.
The cheapest way to heat a three-room ground-floor flat in winter is usually to turn down the central heat and run a 1,500 W plug-in space heater only in the room you’re occupying, provided the flat is wired for it and the heater has tip-over and overheat shutoffs. A space heater draws about 12 kWh over eight hours; at 17 cents per kWh that’s $2.04 a night, often less than heating the whole flat to the same temperature. Pair it with saving on heating bills through air sealing and you’ll feel the difference on every bill from November through March.
| Heater | Watts | Per hour | Per day (8 h) | Per month (30 days) |
|---|---|---|---|---|
| 1,500 W space heater, one room | 1,500 W | 26¢ | $2.04 | $61.20 |
| 900 W oil-filled radiator, bedroom | 900 W | 15¢ | $1.22 | $36.72 |
| 200 W heated blanket | 200 W | 3.4¢ | 27¢ | $8.16 |

Where The Heat Actually Goes
Most of the heat you pay for leaves through the attic, gaps around doors and windows, rim joists where the floor meets the foundation, and leaky ductwork in unheated spaces. Warm air rises, and an uninsulated attic hatch or poorly sealed ceiling penetration bleeds heat all winter. Gaps around door frames, electrical outlets on exterior walls, and the sill plate at the top of a foundation wall let cold air in and push warm air out—a process called infiltration. Ducts that run through a garage, crawl space or attic lose heat before it ever reaches the room you’re trying to warm.
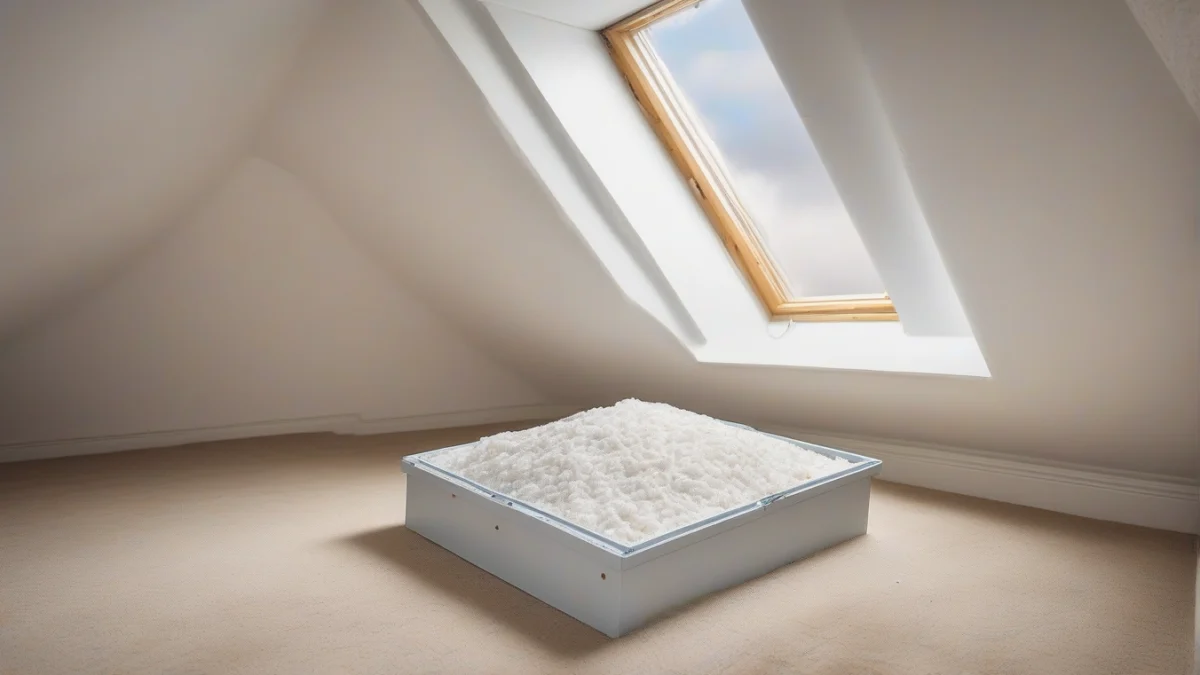
The spots that waste the most are usually attic hatches without weatherstripping, single-pane windows with no storm panel, basement rim joists with no insulation, and return ducts that pull cold air from an attic or crawl space. A drafty front door or a sliding glass door with a worn sweep can account for a noticeable fraction of your monthly bill.
| Fix | Effort | When It Pays Most |
|---|---|---|
| Seal attic hatch and ceiling gaps | 1–2 hours | Any home with an accessible attic |
| Weatherstrip doors and windows | 2–3 hours | Older homes, single-pane glass |
| Insulate rim joists | Half day | Unfinished basement or crawl space |
| Seal duct joints with mastic | 2–4 hours | Ducts in garage, attic or crawl space |
| Hang thermal curtains | Under 1 hour | North-facing or large windows |
If you’re in a ground-floor flat, you can’t seal the attic or insulate the rim joists yourself. Block drafts around your own windows and doors, close internal doors to unused rooms, and use a small space heater in the room you occupy instead of turning up the whole system. Convection heating works when the room is reasonably tight and the door stays shut; an open doorway or a big gap under the door lets the warm air spill into the hallway.
The Jobs A Tenant Can Do
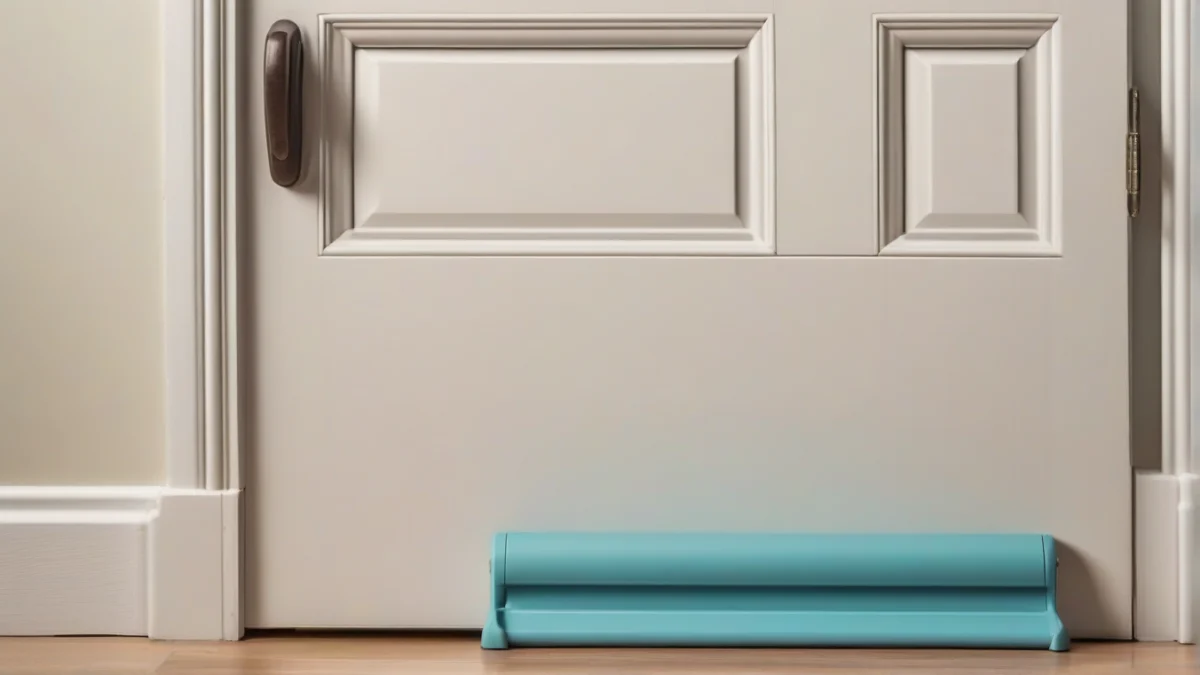
Renters and homeowners can handle draft stoppers, adhesive door sweeps, window insulation film (where the lease allows), programmable thermostat batteries, and radiator reflector foil if the building uses cast-iron radiators. These changes are reversible, need no electrical or plumbing work, and cost less than fifty dollars for a typical apartment. A roll of self-adhesive weatherstrip foam seals the gaps around a window sash or an attic hatch. A door sweep screws or sticks to the bottom edge of the door and blocks the gap above the threshold.
Program the thermostat to drop five to eight degrees at night or when no one’s home; most people save ten to fifteen percent without noticing the difference. If your landlord controls the heat, a small energy-saving space heater in your bedroom or office lets you keep the rest of the flat cooler.
Mistakes That Waste Heat Or Cause Damage
Cranking the thermostat up to 78°F after a setback doesn’t heat the house faster—it just keeps the furnace running longer and often erases the savings you banked overnight. Most systems deliver heat at the same rate whether you set the target to 68°F or 75°F; the higher number simply tells the equipment to run until it hits that mark, burning fuel the whole way.
Blocked supply vents and return grilles force your furnace or heat pump to work harder for less result. Furniture pushed against a baseboard register traps heat behind the couch; a rug over a floor vent cuts airflow by half. Closed dampers in unused rooms sound thrifty but can unbalance duct pressure and make the blower run longer. Dirty filters do the same, and a filter clogged with dust can raise runtime by 15 percent or more while shortening equipment life.
Betting that heating oil or propane prices will drop before winter isn’t a plan—it’s a guess. Fuel markets move on refinery output, crude benchmarks, weather forecasts and geopolitics, not on what fits your budget. Buying in smaller batches spreads the cash outlay but locks in whatever the spot price is each time you call; buying early or signing a pre-buy contract shifts the risk without guaranteeing savings. Either way, the bill depends on how much you burn, so the fixes that cut consumption matter more than trying to time the market.
Lowering a tank water heater below 120°F cuts standby loss but raises Legionella risk; going much above 120°F wastes energy and increases scald danger at the tap. Never cap, plug, or put a shutoff valve on a temperature-and-pressure relief valve—that valve is the last line of defense against a tank rupture. Leaks around threaded fittings, valve stems, or the tank itself mean it’s time to call a plumber; a slow drip today can become a flood on the coldest night of the year.
When You Need A Permit Or A Pro
Gas line work, vent pipe changes, new 240 V circuits, boiler repairs, and furnace or water-heater replacements belong to licensed plumbers, gas fitters and electricians in most jurisdictions, and many of those jobs trigger a permit and inspection. Codes exist because combustion, high voltage and pressurized water all carry real risk; a DIY mistake can void insurance, fail an inspection when you sell, or—in the worst case—cause a fire or carbon monoxide incident.
Heat pump performance in winter hinges on the outdoor unit’s rated capacity at low temperatures and whether the system includes resistance backup heat or a dual-fuel setup. Sizing a heat pump or deciding when backup strips should kick in is design work, not guesswork, and an undersized unit will run constantly on a 15°F morning while an oversized one will short-cycle and waste power. If you’re considering a heat pump to cut winter heating costs, bring in an HVAC contractor who will run a Manual J load calculation and spec the right equipment for your climate zone.
Oil-fired furnaces and boilers, anything in a crawl space that burns fuel, and appliances connected to a chimney or B-vent deserve a pro’s attention if you notice soot around the burner, a persistent fuel odor, or smoke spilling into the room when the unit fires. Backdrafting and incomplete combustion produce carbon monoxide, and a service call costs far less than a trip to the emergency room.
Here’s the decision rule: if the fix changes fuel type, venting, wiring beyond a plug-in thermostat, or combustion air supply, stop and call the right trade. Everything else—sealing leaks, swapping filters, adding insulation, adjusting dampers—is fair game for a careful DIYer with a caulk gun and a weekend.
More Questions, Answered
When is the best time to get heating oil between now and winter?
Will the price of home heating oil come down before winter?
What is the best way for heating a home in winter?
What should I check before heating a crawl space under my house in winter?

HeaterGuides covers home heating, water heating and HVAC: how the equipment works, what it costs to run, and how to use it safely.