Can You Install a Direct Vent Wall Heater Yourself? Safety Tips
Joye
Updated October 6, 2026 15 min read
Straight answer
Installing a direct vent wall heater usually takes about half a day for the mounting and venting, longer if the gas line needs work, and it’s a DIY job only for a homeowner who already knows gas safety, wall cutting, and leak testing.
The heater itself is only part of the job. The hard part is getting the vent, gas connection, clearances, and local approval right the first time.
One crooked hole or loose flare fitting can cost you a ruined wall, a leak callout, or a unit that never should have been lit.
What to remember
Pick an exterior wall with the clearances the manual lists, not the wall that is simply nearest the cold spot.
Plan on a leak test at every gas joint before you light the pilot.
Use only the vent parts and sealants the manufacturer lists for that model.
Call the building department before you cut if your town wants a permit for gas work.
Can You Install a Direct Vent Wall Heater Yourself? Safety Tips
Yes, a careful homeowner can sometimes install a direct vent wall heater, but gas-line work, venting details, and permits often make this a licensed-pro job. A straightforward gas heater install usually takes about half a day for mounting and venting; masonry, new gas piping, or a permit inspection can stretch the job much longer.
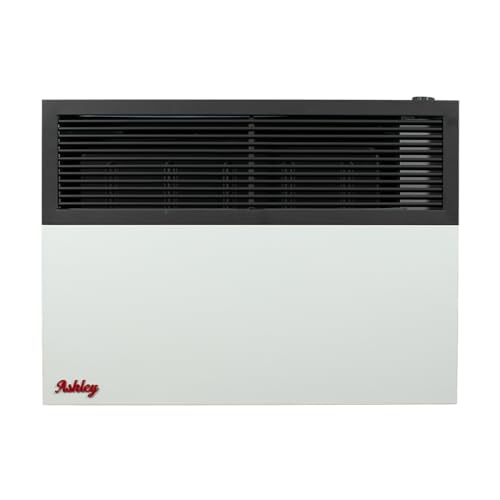
This heater illustrates the installation discussed in this section.
That DIY answer applies only if you already understand gas shutoffs, wall construction, leak testing, and the heater manual. A direct vent propane wall heater still burns fuel and sends exhaust outdoors, so a small error can create a gas leak, carbon monoxide hazard, fire risk, or failed inspection.
In short
Mounting the cabinet and preparing a simple exterior-wall opening may be reasonable for an experienced homeowner. Leave new gas piping, uncertain vent work, and any job controlled by local permit rules to a licensed professional.
Stop Before Hands-On Work
Turn off the gas supply before touching the appliance, and shut off electrical power if the heater or nearby wiring uses a circuit. Follow the listed vent clearances and termination rules exactly, keep combustibles away from hot surfaces, and use a working carbon monoxide alarm. Never improvise a vent route, gas fitting, or electrical connection.
The most common mistake is cutting the wall before checking the heater’s vent clearances and termination rules. The opening may land over framing, sit too close to a window or intake, or fail the required distance from an overhang; the result can be a leak, a denied inspection, or a second hole in the wall. Check the manual and local code first, because drywall is easy to cut and surprisingly stubborn about growing back.
Gather Before You Start
The heater, model-specific installation manual, and manufacturer-listed direct vent kit
Tape measure, pencil, level, stud finder, drill, and tools for the wall material
The specified wall thimble, exterior termination, seals, fasteners, and trim pieces
A gas shutoff location that is accessible after installation
Approved gas piping and fittings sized and rated for the fuel, if a licensed professional is handling the gas connection
A pipe or fitting leak-test solution, a working carbon monoxide alarm, and the permit or inspection information for your area
Plan the gas connection before buying parts. Natural gas and propane use different fuel supplies, and the heater must be configured for the fuel shown in its manual; a dual-fuel model still needs the correct connection and regulator setup. For a full sequence on how to install a gas wall heater, follow the appliance manual alongside this how to install a gas wall heater guide.
Two Installations, Two Timelines
Say a heater goes on an accessible exterior wall, the vent exits through wood or drywall, and an existing, permitted gas stub is already in place. Mounting the heater and completing the venting can commonly take about half a day. Now change the example to a masonry wall with no gas run: drilling the opening, arranging new piping, scheduling inspection, and repairing the finished surface add work that belongs with a qualified installer.
Simple exterior wallAbout half a day for mounting and ventin
Masonry wall with new gas runLonger; piping and inspection add work
First checkVent clearances and termination rules
Useful for a sealed-room installation
Ashley Wall Heater
Product 1 suits a homeowner comparing a direct vent propane wall heater for a bedroom or living space because its sealed burn system is designed for those areas, and its safety pilot stops gas flow if the pilot goes out. It also accepts natural gas or propane and is rated up to 17,000 BTU, but the installation still has to match the manual and local code.
Product choice can simplify the sealed heater installation, but it doesn’t replace proper gas-line work, wall framing and vent inspection.
Sealed vented heat
Ashley Hearth Direct Vent Wall Heater
The sealed burn system keeps combustion separate from the room, while the safety pilot stops gas flow if the pilot goes out. Dual-fuel operation lets you use natural gas or propane, but the gas connection and direct-vent installation still need to follow the manual and local code.
A direct vent heater takes combustion air from outdoors and sends exhaust back outdoors through a sealed vent path in the wall. That makes its location a venting decision first and a heating-capacity decision second.
System
How air and exhaust move
What the layout requires
Direct vent heater
Outside air enters through the vent assembly; combustion exhaust leaves through the same sealed path.
An exterior wall, the model’s listed vent parts, and every required clearance at the termination.
Atmospheric vent heater
The burner uses room air, and warm exhaust rises through a chimney or open flue.
A suitable flue, makeup air where required, and clearance from combustibles.
Power-vent heater
A fan pushes exhaust through its vent.
A power source, the listed vent route, and the manufacturer’s termination rules.
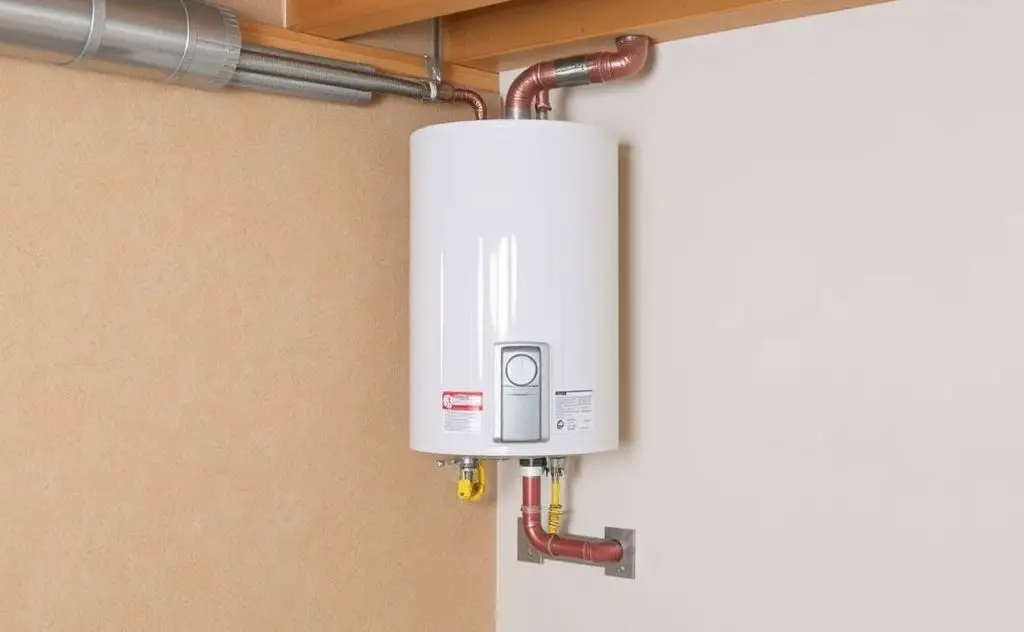
Direct vent water heater
The combustion chamber is sealed from the room, with outside air and exhaust handled through a dedicated vent system.
The water heater’s own listed vent kit and clearances; a wall-heater vent kit is not interchangeable.
Direct vent and power vent describe different parts of the exhaust design.
A power-vent unit uses a fan to move exhaust, while a direct vent unit relies on its sealed vent arrangement and natural pressure difference. A direct vent water heater follows the same basic sealed-combustion idea, but its vent components and termination rules belong to that water-heater model.
Myth
A direct vent heater can go anywhere a gas stub or electrical outlet already exists.
Fact
The wall opening, outside obstructions, and clearances from windows, doors, corners, soffits, and other openings decide the usable location. An outlet or gas stub is only one small piece of the puzzle.
Measure the proposed inside mounting point and the matching outside termination point together. The manual and local code control the required distances; improvising with extra pipe length, a different cap, or a heroic bead of caulk can change the draft and void the listed installation.
Check the outside first
Look for windows, doors, vents, decks, shrubs, snow-prone corners, and anything that could block or redirect the exhaust. If the termination cannot meet the manual’s clearances, move the heater or call a qualified installer before cutting.
What You Need Before You Cut
Before you cut the wall, confirm the fuel, framing, vent route, and clearance numbers in the heater manual; that is the practical starting point for installing a natural gas heater or a direct vent propane heater.
Bring These First
The heater manual and the listed vent kit for that exact model
A drill, level, stud finder, tape measure, and pencil
A masonry bit if the exterior wall is brick, block, or concrete
A hole saw sized exactly as the manual specifies
Approved screws, wall fasteners, and any required firestop or seal components
Gas-rated sealant or thread tape only where the manual permits it
Leak-detection solution for checking gas joints
A working carbon monoxide alarm near the living area
Confirmation that the heater is configured for natural gas or propane, matching the supply
Mount the heater to solid framing or the model’s specified support—not drywall alone. Locate studs before marking the bracket, then verify that the vent hole will pass through the wall without striking wiring, plumbing, siding trim, or masonry that the listed parts cannot accommodate.
Manual clearance numbers
The number that controls the cut
Use the exact top, side, bottom, front, and termination clearances printed for your model; if the manual requires 3 feet around combustible material, keep that full distance rather than borrowing space from a curtain or shelf.
Useful for checking fit
Ashley Wall Heater
Product 1 suits a location where a sealed direct-vent layout and either natural gas or propane are needed, but its 17,000 BTU input and stated coverage still have to fit the room and the manual’s mounting points.
Hold the bracket and vent assembly against the proposed wall, mark both sides, and compare the marks with the outside termination. A five-minute layout check is cheaper than discovering the hole landed in a stud, window trim, or the neighbor’s favorite draft path.
Install It In The Right Order
The safest way to install a gas heater or gas wall heater is to follow the manual’s sequence: lay out the wall, cut the opening, secure the bracket and vent, connect the gas, test every accessible joint, then light the pilot. Those are the core gas heater installation guidelines; skipping ahead is how a neat-looking job develops a draft, a leak, or both.
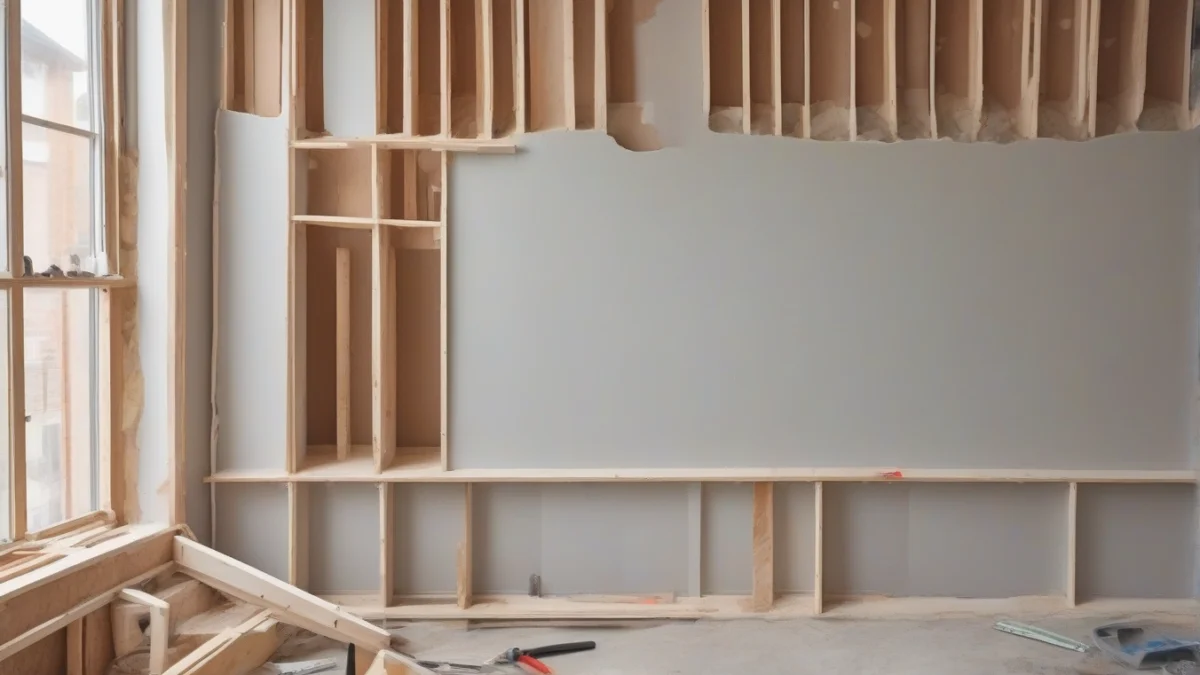
Proper wall cutting is crucial for safe installation.
1
Mark and verify the location
Hold the supplied template or mounting bracket against the wall and mark the fastener holes, vent opening, heater edges, and required clearances. Check the marks against studs, wiring, plumbing, floor height, windows, doors, and the manual’s clearance chart before cutting. For how to install a gas heater on wall, this layout check matters more than making the opening quickly.
2
Cut the wall opening
Protect the floor, confirm the cavity is clear, and cut only the opening shown in the installation manual. Keep the hole square and avoid enlarging it to make the vent fit. If framing must be removed or altered, stop and follow the manufacturer’s framing instructions or call a qualified installer; the wall is doing structural work whether it looks busy about it or not.
3
Mount the bracket and vent
Fasten the bracket to the specified framing or approved anchors, then fit the listed direct-vent components from indoors and outdoors as the manual shows. Check that the vent slopes, seals, termination clearance, and exterior cap match the instructions. A helper is especially useful here: one person can hold the heater steady while the other starts and tightens the bracket fasteners without dropping the unit or pulling the vent out of alignment.
4
Connect the gas supply
Use only the fuel type shown on the rating plate and the approved fittings, shutoff valve, and connector specified for that model. Keep the connection accessible where the manual requires it, and don’t force a fitting to make up for misaligned piping. Gas-line work belongs to a licensed professional where local rules require one, and a qualified technician should handle it if you don’t already know how to size, assemble, and test gas piping.
5
Leak-test before ignition
With the heater control off and the gas supply opened as directed, brush soapy water over every accessible gas joint, including the appliance connection, shutoff valve, connector ends, and any newly assembled fittings. Watch for growing bubbles. A bubble means shut the gas off and correct the connection; never use a flame to find a leak, and don’t proceed to lighting until the test stays clear.
6
Light the pilot by the manual
Open the required combustion-air path, set the control as instructed, and follow the exact pilot-lighting steps for that model. Hold the control for only the time specified, then confirm the pilot remains lit before selecting a heat setting. If the pilot won’t stay lit, stop troubleshooting and have the heater checked rather than repeatedly feeding gas into the cabinet.
Know The Smell
A first burn can produce a temporary odor from factory oils, paint, or residue, so ventilate as the manual directs and monitor the heater. A strong or persistent gas smell is different: don’t light anything, operate electrical switches, or search for the source indoors. Shut off the gas if you can do so safely, leave the area, and call the gas utility or emergency service from outside.
In short
Mounting and venting can be a careful DIY sequence only when the manual, wall construction, and local rules are clear. Gas connections and the leak test deserve the same attention as the heater itself; a bracket can be fixed, but an ignition source near leaking gas is a much worse afternoon.
Permits And Pro Help
Who can install a natural gas heater? A licensed gas contractor is the right choice for new gas piping, the final hookup, or any job your local code puts beyond homeowner work. Many cities and counties require a permit for gas-appliance installation, and an inspection may be required before the heater can be covered or used.
California deserves an early phone call to the building department: gas heater installation in California can involve local permit, licensing, vent-clearance, and inspection rules that vary by city or county. A homeowner may be allowed to install some equipment, but that permission doesn’t automatically cover gas-line work or the final connection.
Masonry cutting, a new gas run, a mobile-home installation, a gas-meter change, or a vent through a thick, framed, brick, or otherwise complex wall are strong reasons to bring in a pro. Sidewall clearances and venting rules can come from both the heater’s listing and local code, so the manual alone may not settle the question.
Installing a gas water heater yourself is a separate job with its own gas, venting, plumbing, and permit rules. For how to install a gas water heater vent, use the water-heater manual and local code rather than borrowing instructions from a wall heater; venting a water heater through a wall has different details.
If you want licensed installation help, who installs gas wall heaters explains what to ask before the contractor arrives.
Make one call first
Call the building department before buying the heater. Ask about the permit, inspection, approved fuel, sidewall termination distances, and who may connect the gas. That five-minute call can prevent a second trip—and a neatly cut hole in the wrong place.
Ask before work starts
Is a permit required for this gas appliance?
May the homeowner connect the gas line, or must a licensed contractor do it?
Does the installation need a final inspection?
Are there local rules for mobile homes, masonry walls, or sidewall venting?
What Damages Walls And Leaks Gas
Natural gas wall heaters vent-free installation is a different category from direct vent work, and the common mistakes are costly in both versions: a wrong wall opening, missed clearances, poor vent setup, damaged fittings, or skipping the leak test can leave you with water damage, pilot outages, gas leaks, or a failed inspection.
A hole that’s too large leaves the wall sleeve or termination unsupported and creates a path for drafts and rain; a hole that’s too small can crush the vent or force the heater out of position. Misread clearances may put hot exhaust near siding, trim, curtains, or another opening. The manual’s drawing beats a tape measure guess.
Vent pitch matters where the listed system requires it. A sag or wrong slope can hold condensate, send water into the wall, rust the vent, or contribute to pilot outages and unsafe combustion. Over-tightening a flare fitting can damage the flare or valve, while too little tightening can leave a gas leak. Use the specified sealant only where the listing or manual permits it; sealant is not a substitute for the correct fitting.
Learning how to install gas on heater means more than threading a connector into the cabinet. The gas type, shutoff, connector, fittings, pressure test, and leak check must match the manual and local code. A missed leak can create fire or explosion risk, and a venting mistake can raise carbon monoxide risk.
Use listed vent parts only
Don’t substitute dryer vent, stove pipe, random foil tape, or hardware-store parts for the approved vent system. Those materials may fail from heat, leak exhaust, or violate the heater’s listing. Keep the original termination, sleeve, seals, and fasteners together.
Direct vent
Sealed combustion air and exhaust path
Less dependence on room air for combustion
Vent-free
Needs a correctly located wall opening and listed termination
Clearances and vent parts must match the model
Before the first light
Re-read every termination clearance in the manual, then confirm the carbon monoxide detector is installed and working. If either check fails, leave the heater off until the problem is corrected.
Questions People Ask
How hard is it to install a direct vent wall heater yourself?
It’s a moderate-to-advanced project because the heater must sit level, the wall penetration must match the vent kit, and every gas connection needs a leak test. A homeowner may handle the layout and mounting, but hire a licensed professional for gas piping or any work required by local code. Plan on more than a half day if the gas supply needs changes.
Do you need a permit to install a gas heater on an exterior wall?
Usually, yes, although the exact permit depends on your city, county, fuel type, and whether you’re changing the gas line. The inspection may cover the shutoff valve, pipe sizing, vent termination, clearances, and carbon monoxide protection. Call the building department before cutting the wall; an unpermitted installation can complicate resale and insurance claims.
Can you install a direct vent propane wall heater in a bedroom?
You can only install a fuel-burning heater indoors if the model is approved for indoor use in bedrooms and local codes permit it. Always follow the manual’s requirements for minimum room size, proper vent-terminal clearances, propane regulator settings, and the use of a carbon monoxide alarm. A direct-vent heater must have its sealed intake and exhaust installed exactly as the manufacturer specifies to prevent combustion gases from entering the room. Vent-free or outdoor propane heaters are not designed for indoor use and are often prohibited by code.
What is the difference between direct vent and atmospheric venting?
Direct venting uses a sealed wall vent that draws combustion air from outside and sends exhaust outside, so the heater doesn’t depend on room air. Atmospheric venting draws air from the room and relies on buoyant exhaust rising through a flue or chimney. That makes atmospheric systems more sensitive to house pressure, draft problems, and adequate combustion air.
direct-vent heatersLooks at direct-vent heating options that work without ductwork.
Share
Written byJoye
I am a mechanical engineer and love doing research on different home and outdoor heating options. When I am not working, I love spending time with my family and friends. I also enjoy blogging about my findings and helping others to find the best heating options for their needs.