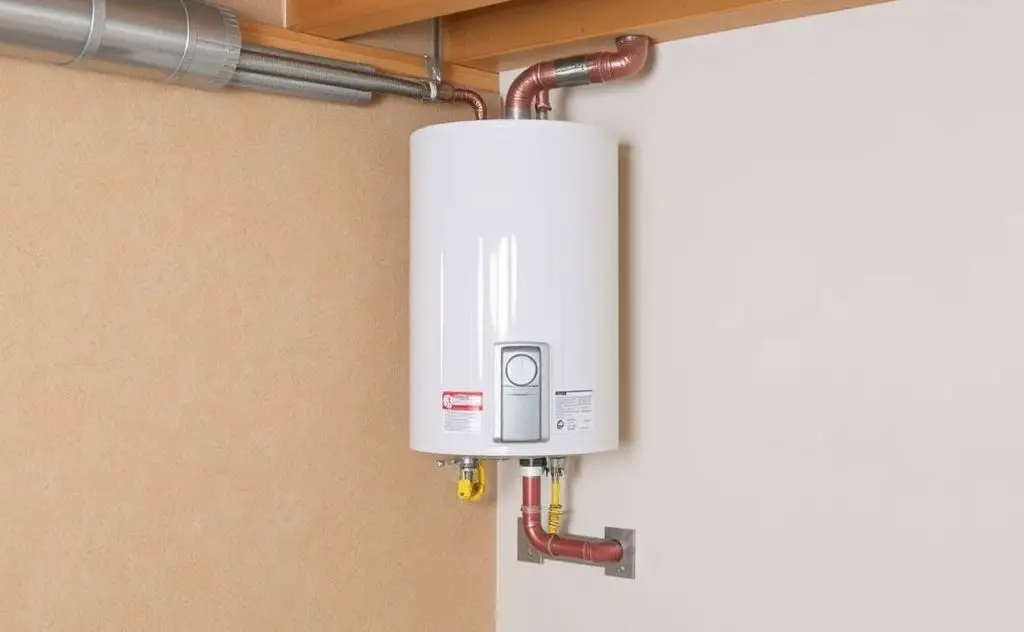
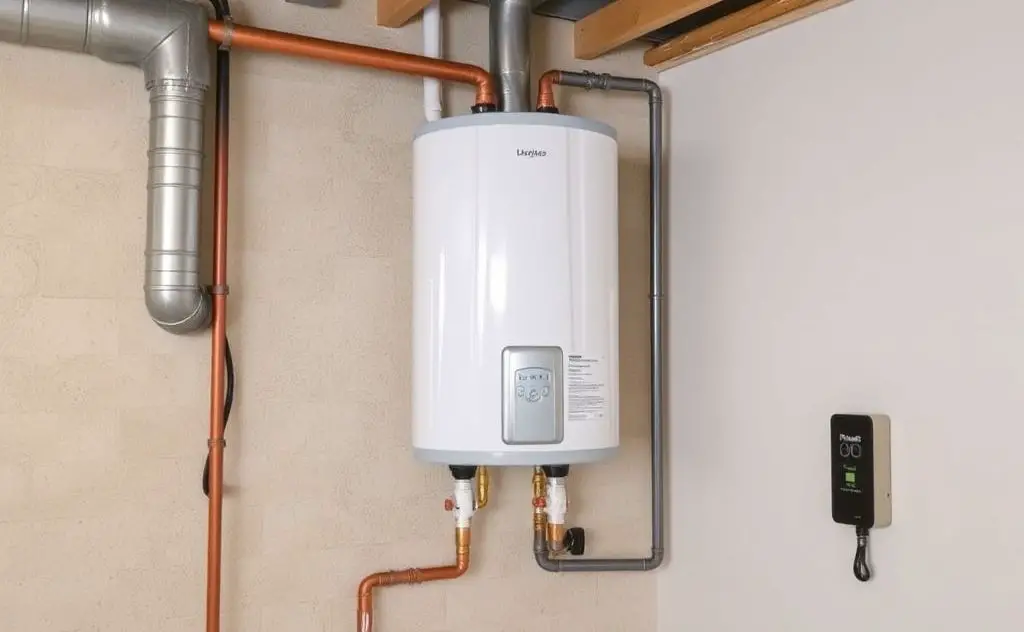
To vent a gas water heater through a wall, use a proper venting kit, ensuring it meets local codes and is installed at the correct slope for safety and efficiency.
Venting a gas water heater through an exterior wall requires careful planning and strict adherence to safety codes. Improper venting can lead to carbon monoxide poisoning, fire hazards, and reduced appliance efficiency. This guide covers everything you need to know about wall venting for different water heater types.

Types of Gas Water Heater Venting Systems
1. Atmospheric Vent (Natural Draft)
Traditional water heaters use natural convection to vent exhaust gases. These systems:
- Must vent vertically through a chimney or B-vent pipe
- Cannot terminate through sidewalls (except with special conversions)
- Require proper draft hood installation
2. Power Vent Systems
These units feature an electric blower that pushes exhaust through:
- PVC or CPVC piping (cheaper than metal)
- Horizontal or vertical runs up to 40 feet
- Sidewall terminations with proper clearance
3. Direct Vent Systems
Sealed combustion units that:
- Use coaxial “pipe-in-pipe” venting
- Draw combustion air from outside
- Can terminate through sidewalls

Wall Venting Requirements by System Type
| Vent Type | Allowed Materials | Wall Termination | Clearance Requirements |
|---|---|---|---|
| Atmospheric | Galvanized steel, AL29-4C, B-vent | Not permitted* | 1″ from combustibles |
| Power Vent | PVC, CPVC, polypropylene | Permitted with vent cap | 12″ from openings |
| Direct Vent | Manufacturer-specified coaxial | Permitted with rain cap | 6″ from grade |
*Except when converted with draft-inducing fan per Hart & Cooley specifications
Step-by-Step Wall Vent Installation
1. Verify Local Codes
Check with your building department for:
- Permit requirements
- Material specifications
- Termination clearances
2. Select Proper Vent Materials
For power vent systems, use:
- Schedule 40 PVC for exhaust temperatures below 140°F
- CPVC for temperatures up to 180°F
- Polypropylene for high-efficiency units
3. Install Wall Thimble
Key steps:
- Cut hole 1/2″ larger than vent pipe diameter
- Insert fire-rated thimble
- Seal with high-temperature silicone
4. Run Vent Piping
Follow these guidelines:
- Maintain 1/4″ per foot upward slope
- Use 45° elbows instead of 90° when possible
- Support every 3 feet with strapping
5. Install Termination Cap
Critical features:
- Bird screen
- Rain diverter
- 3″ minimum clearance from siding
Common Venting Mistakes to Avoid
Improper Slope
Condensation can pool in horizontal runs without proper slope, causing:
- Corrosion
- Blockages
- Reduced draft
Undersized Venting
Oversizing is better than undersizing. Refer to:
- Manufacturer specs
- NFPA 54 tables
- Local code amendments
Inadequate Clearances
Maintain proper distances from:
- Windows (4 feet minimum)
- Gas meters (3 feet)
- Roof overhangs (2 feet)
When to Call a Professional
Consult a licensed plumber for:
- Atmospheric vent conversions
- Complex roof penetrations
- Multiple appliance venting
- If you’re unsure about built-in gas heater compatibility
For specialized installations like RV water heaters, always follow manufacturer guidelines.
Maintenance Tips
Ensure safe operation with:
- Annual visual inspections
- Carbon monoxide detector installation
- Vent pipe cleaning every 3-5 years
