You lift the access panel on your mobile home’s water heater and see a tangle of wires, maybe some flex conduit that’s pulled loose, and you wonder if it’s safe. Or you’re planning a new install and the local inspector mentioned “HUD code” and “proper conduit” and you realize this isn’t the same as wiring a house on a slab. The rules are different for manufactured homes, and getting them wrong means failed inspections, fire risk, or worse.
This guide walks through the entire wiring path for a mobile home water heater: wire gauge, conduit type, how to run it through the underbelly, grounding requirements, and the common mistakes that fail inspections. You’ll know exactly what to buy and how to install it, with specific numbers and code references you can verify.

HEATIT
HEATIT Mobile Home 100’ HTM Braid Self…
- [Versatile Application and Safety Assurance] The HTM self-regulating pipe heating cable is ideal for mobile homes and other dry ap…
- [Self-Regulating Technology] The cable adjusts its heat output automatically based on the ambient temperature along each point of…
- [Durable and Reliable Construction] The heating cable features a tinned copper braid as the outer jacket, which also serves as the…
If you’re also dealing with frozen pipes in the underbelly, a self-regulating heat cable like the HEATIT Mobile Home 100′ HTM Braid Self Regulating heat cable can be a lifesaver, especially when you’re already running conduit down there. It keeps water lines from freezing while you’re working on the electrical side.
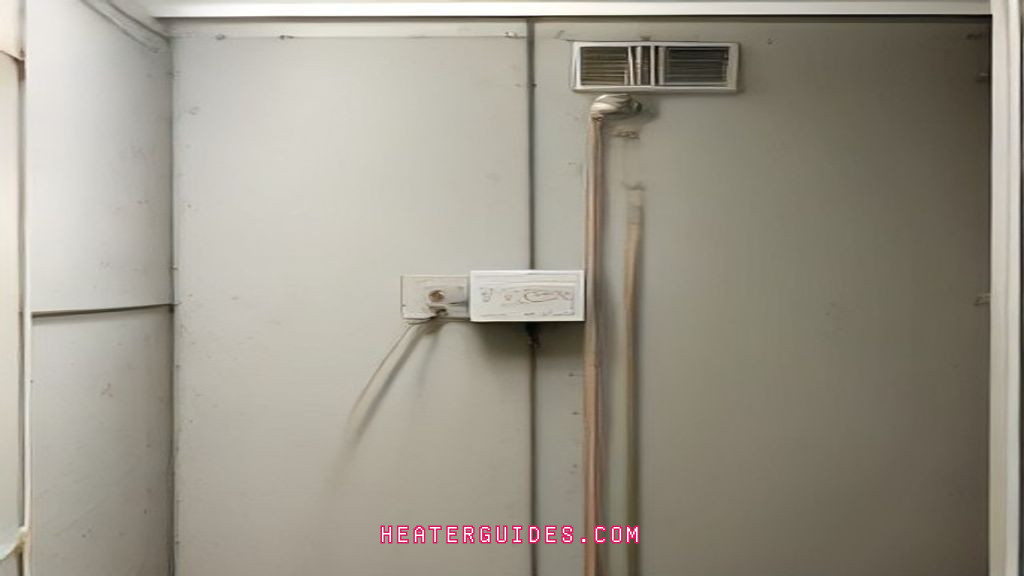
Why Mobile Home Water Heater Wiring Differs from Site-Built Homes
Manufactured homes are built to the HUD code, not the IRC (International Residential Code) that applies to most stick-built houses. The HUD code has stricter requirements for electrical wiring because the home is subject to vibration during transport and sits on a steel frame that can shift slightly. That means NM cable (Romex) alone isn’t always allowed where it’s exposed, and conduit is often required.
In a site-built home, you can run NM cable through studs and joists without conduit, as long as it’s protected from physical damage. In a mobile home, the underbelly is exposed to road debris, moisture, rodents, and temperature swings. The HUD code requires that wiring in these areas be protected by conduit or other approved raceways. The water heater is usually tucked into a closet or alcove, and the wiring from the service panel to the heater often passes through the underbelly, so it needs that protection.
Another difference: mobile homes use a 120/240-volt single-phase service, same as site-built, but the grounding system is tied to the steel frame and the neutral is bonded to the frame at the service panel. That affects how you ground the water heater chassis and the conduit system. You can’t just drive a ground rod at the water heater like you might in a detached garage.
Choosing the Correct Wire Gauge and Type
Before you think about conduit, you need the right wire. Most electric water heaters in mobile homes are 240-volt, 4500-watt elements. That draws 18.75 amps. With a 125% continuous load factor, the circuit needs to handle 23.4 amps, so a 30-amp breaker and 10 AWG copper wire is the standard. Some smaller 120-volt units draw less, but if you have a tankless electric unit, the amp draw can be much higher.
Standard vs. Tankless: Amp Draw and Breaker Sizing
A standard 40-gallon tank with two 4500W elements uses a 30-amp double-pole breaker and 10/2 wire with ground. A 120-volt unit, like a small point-of-use heater, might only need a 15-amp breaker and 14 AWG wire, but those are rare in full-size mobile home installations.
Tankless electric water heaters are a different beast. A 27 kW tankless unit draws 112.5 amps on a 240-volt circuit. That requires a 125-amp breaker and 2 AWG wire, or sometimes two circuits. Most mobile homes don’t have that kind of service capacity, so tankless electric units are uncommon in manufactured homes unless the service panel has been upgraded. If you’re considering one, check the ampacity carefully. The wire gauge and breaker size must match the unit’s nameplate, not just the element wattage.
For standard installations, use THHN or THWN-2 wire inside conduit, not NM cable. THHN is rated for wet locations when it’s THWN-2, which matters in the underbelly where moisture is common. 10 AWG copper THHN is rated for 30 amps at 75°C, which is what most terminals are rated for. Never use aluminum wire for a water heater circuit unless the breaker and terminals are rated for it, and even then, it’s not worth the hassle.
Selecting the Right Conduit for Your Mobile Home
Conduit is the protective raceway for your wires. The HUD code allows several types, but not all are suited for the underbelly. You’ll choose between PVC, liquid-tight flexible metal conduit (LFMC), and EMT (electrical metallic tubing).
PVC vs. Liquid-Tight Flexible Conduit
PVC conduit is cheap, corrosion-resistant, and easy to cut with a hacksaw or PVC cutter. Use schedule 40 or 80 for exposed runs. It’s fine for dry indoor locations, but in the underbelly, it can crack if it gets hit by road debris or if rodents chew on it. It also can’t be used where it will be subject to physical damage unless it’s schedule 80.
Liquid-tight flexible metal conduit (LFMC) is the go-to for mobile homes. It’s a flexible metal hose with a plastic jacket, rated for wet locations, and it can bend around corners without junction boxes. It’s more expensive than PVC, but it’s easier to route through the underbelly and it stands up to vibration. The metal inner core provides grounding continuity, but you still need to bond it properly.
EMT is rigid metal conduit, but it’s rarely used in mobile homes because it doesn’t flex during transport and it’s harder to route. If you use EMT, you need to use set-screw or compression fittings, and you must bond each joint. For most DIYers, LFMC is the best balance of cost and practicality.
| Conduit Type | Best For | Wet Rating | Flexibility | Approx. Cost per 10 ft |
|---|---|---|---|---|
| PVC Schedule 40 | Dry indoor runs, exposed in walls | No | Rigid | $8–$12 |
| PVC Schedule 80 | Areas subject to physical damage | Yes | Rigid | $15–$20 |
| LFMC | Underbelly, wet locations, vibration | Yes | Flexible | $25–$35 |
| EMT | Exposed indoor runs, mechanical protection | No | Rigid | $10–$15 |
For the vertical run from the underbelly up to the water heater, use a short piece of LFMC or PVC with a connector at each end. You can’t use a flexible cord unless the water heater has a cord-and-plug kit rated for the amperage, and that’s rare for 240-volt units.
How to Run Conduit Through the Underbelly and Walls
The underbelly of a mobile home is a sealed area covered with a black polyethylene or fiberglass barrier. You’ll need to cut an access hole to run conduit, but you must seal it afterward to keep out moisture and pests. Here’s a practical method:
- Turn off the main breaker and verify the circuit is dead with a multimeter.
- Locate the water heater and the service panel. Plan a route that avoids sharp metal edges, cross braces, and ductwork.
- Cut a small access flap in the underbelly material with a utility knife. Make three sides so you can fold it back and tape it later.
- Use a fish tape or a flexible drill bit to pull a pull string from the panel to the heater location.
- Attach the conduit to the string and pull it through. If using LFMC, you can push it directly, but the string makes it easier.
- Secure the conduit every 3 feet with straps or clips. In the underbelly, use stainless steel straps that won’t rust.
- Seal the access flap with foil tape or butyl tape designed for mobile homes. This keeps out rodents and moisture.
Rodents love chewing on PVC and even LFMC jackets. If you have a mouse problem, consider running the conduit inside a larger PVC pipe or using metal conduit. Also, avoid running conduit where it can rub against moving parts or sharp edges. Use a grommet or bushing at every penetration point.
Step-by-Step: Pulling Wire and Making Connections
Once the conduit is in place, you need to pull the wire. Conduit fill matters: for 10 AWG THHN, the maximum number of conductors in a 1/2-inch conduit is 4 (three current-carrying plus ground), but you’ll typically have 3 (two hots and a ground). For 3/4-inch, you can fit more, but you don’t need it. Use the 40% fill rule for more than two conductors, and keep the pull length under 50 feet to avoid excessive friction.
- Cut the wire to length, leaving 6–8 inches of slack at each end.
- Apply wire pulling lubricant to the wires if the run is long or has bends.
- Push the wires into the conduit from one end, using a fish tape if needed. Pull steadily, not jerky, to avoid damaging the insulation.
- At the water heater, install a strain relief connector where the conduit enters the junction box. This prevents the wire from pulling out.
- Strip 3/4 inch of insulation from each wire using a wire stripper. Connect the black wire to one hot terminal, the red or white (if re-identified) to the other hot terminal, and the bare ground to the green ground screw.
- At the panel, connect the wires to a double-pole 30-amp breaker. The white wire, if used as a hot, must be re-identified with black or red tape at both ends.
- Double-check all connections are tight. Loose connections cause heat and fire risk.
If you’re using a cord-and-plug kit, the conduit ends at a junction box near the heater, and a flexible cord goes from the box to the heater. That’s allowed if the cord is rated for the ampacity and the heater has a strain relief. But for a permanent install, hardwiring is more common.
Grounding and Bonding: Non-Negotiable Safety Steps
Grounding is where most mobile home water heater installs go wrong. The water heater chassis must be grounded to the service panel’s ground bus, not just to the metal frame. The ground wire from the circuit (usually a bare copper or green insulated wire) connects to the green ground screw on the heater. That screw is bonded to the heater’s internal wiring and the metal tank.
The conduit system must also be bonded. If you use metal conduit (LFMC or EMT), it must be continuous and connected to the grounding system. In practice, that means the conduit must be connected to the ground bus at the panel and to the heater’s ground screw. If you use PVC, the wires inside carry the ground, so no bonding is needed for the conduit itself.
In a mobile home, the neutral and ground are bonded together at the main service panel only. Never bond them at the water heater or anywhere downstream. That would create a parallel path for neutral current, which is a shock hazard. If you see a green wire connected to the neutral bus in a subpanel, that’s a violation.
Test the ground with a multimeter before powering up: measure resistance between the heater’s ground screw and the panel’s ground bus. It should be near zero ohms. If it reads anything above 1 ohm, check your connections.
Common Code Violations and How to Pass Inspection
Inspectors see the same mistakes over and over. Here are the ones that fail in mobile homes:
- NM cable exposed in the underbelly — always use conduit, even if the cable is rated for wet locations.
- No strain relief where conduit enters the heater — the wire can chafe and short out.
- Improper conduit support — straps every 3 feet for horizontal runs, every 6 feet for vertical, per code.
- Missing ground screw or ground wire — the chassis must be bonded.
- Overfilled conduit — too many wires cause heat buildup and make pulling impossible.
- White wire used as hot without re-identification — it must be taped black or red at both ends.
- Breaker size too large for wire gauge — a 40-amp breaker on 10 AWG is a fire hazard.
One common issue is the “pass-through” problem: the conduit ends at a junction box, and a flexible cord goes from the box to the heater. That’s fine, but the cord must be a listed appliance cord with a strain relief, and the box must be accessible. If you bury the junction box in the underbelly, it’s a violation because it’s not accessible for inspection.
Another frequent failure is using a 120-volt receptacle for a 240-volt heater. The plug and cord are different, but some people try to force it. Don’t. The heater must be hardwired or use a properly rated cord and plug.
Before calling for inspection, do a self-check: verify the breaker is off, test for voltage, and make sure all connections are in approved enclosures. It takes 10 minutes and can save a re-inspection fee.
Final Checklist Before Powering Up
- Wire gauge matches breaker and heater nameplate (10 AWG for 30-amp, 240V).
- Conduit is continuous, supported, and sealed at penetrations.
- All wire connections are tight and in approved junction boxes.
- Ground wire connects the heater chassis to the panel ground bus.
- Metal conduit is bonded if used.
- No white wire used as hot without re-identification.
- Strain reliefs installed at every conduit entry point.
- Underbelly access flap sealed to keep out moisture and pests.
If you’re replacing an existing heater, take a photo of the old wiring before you disconnect it. That makes the new install easier and helps you spot previous code violations.
For a deeper look at choosing a new unit, check the best 40-gallon mobile home water heater guide. And if you’re dealing with slow hot water from a small tank, the mini-tank water heater review covers options that might fit your space.
Frequently Asked Questions
Can I use Romex in conduit for a mobile home water heater?
Yes, you can run NM cable (Romex) inside conduit, but it’s not the best choice. Romex isn’t rated for wet locations, and the conduit doesn’t change that rating. THHN wire is cheaper and easier to pull, and it’s rated for wet locations if it’s THWN-2. For a new install, use THHN.
What size conduit do I need for 10/2 wire?
10/2 wire with ground has three conductors: two hot and one ground. For THHN, you need a 1/2-inch conduit minimum, but 3/4-inch is easier to pull, especially if the run has bends. The fill calculation: 10 AWG THHN has an area of 0.0211 square inches per conductor. Three conductors = 0.0633 square inches. 1/2-inch EMT has a 40% fill area of 0.127 square inches, so it fits, but it’s tight. Go with 3/4-inch for a smoother pull.
Is a ground rod required for a mobile home water heater?
No. The ground is provided by the service panel’s grounding electrode system, which is tied to the steel frame and ground rods. Adding a separate ground rod at the water heater can create a ground loop and is not allowed unless it’s bonded to the main system. Just connect the equipment ground wire from the circuit.
Can I use an extension cord to power my water heater temporarily?
No. Extension cords are not rated for 240-volt loads, and using one is a fire hazard. Even a 120-volt unit should be on a dedicated circuit. If you’re waiting for a new heater, use a properly rated cord and plug, but for permanent install, hardwire it.
Do I need a permit for water heater wiring in a mobile home?
Most jurisdictions require an electrical permit for any new circuit or water heater replacement. The HUD code also requires an inspection if the work is part of a rehabilitation or resale. Check with your local building department. Failing to get a permit can void insurance claims if a fire occurs.

I am a mechanical engineer and love doing research on different home and outdoor heating options. When I am not working, I love spending time with my family and friends. I also enjoy blogging about my findings and helping others to find the best heating options for their needs.
Related guides

Easy Rheem Gas Water Heater Venting Kit for Basement Install
Get your Rheem gas water heater vented right with this easy horizontal termination kit, perfect for hassle-free basement…
Easy Upgrade! Rheem Water Heater Electronic Ignition Kit Works Great
Upgrade your Rheem water heater with this electronic ignition conversion kit designed for older pilot-light units. Quick install,…
Hot Water Tank Lights: What They Mean and How to Respond
The lights on a hot water tank indicate its operational status, with green usually meaning it's heating water…