Checking a radiant heater in a barn is a quick DIY job for the temperature reading and the basics, but not for wiring, gas, or venting repairs. Plan on 20 to 30 minutes for a safe check, and start by measuring the air and surface temperatures so you know whether the heater is actually holding the set point.
A barn radiant heater can feel hot at the panel and still leave the space colder than you expect, so the first job is to measure, not guess. One useful benchmark: if a 1,500 W electric heater runs 8 hours, that’s 12 kWh, so the temperature check matters because a heater that cycles wrong wastes real money.
If the unit uses gas or sits near hay, dust, or stored fuel, the check also tells you whether the clearance, controls, and mounting still match the manual. For temperature control basics on radiant units, can you control temperature in radiant heaters goes deeper on what the thermostat can and can’t do.
What to remember
Measure both the heater surface and the barn air; a single reading can fool you.
Keep the thermometer or infrared gun consistent and record the same spot each time.
If the heater overshoots badly or never reaches set point, check the control, sensor location, and clearance before replacing parts.
Any gas smell, scorch mark, loose wiring, or damaged vent stops the job until a licensed pro looks at it.
How To Check Radiant Heater Temperature In Barn
To check radiant heater temperature in your barn, use an infrared thermometer aimed at the heater’s surface and the surrounding air after the unit has run for 20 minutes or more. Radiant heaters warm objects and people directly, so the air temperature may be lower than the surface temperature or your comfort level.
Radiant heat temperature control works by setting your heater’s thermostat to a target temperature, but you need to verify that the actual surface and air temperatures match that set point. You can control the temperature of radiant heaters through their built-in thermostat, but differences between surface and air temperature mean you must measure both to understand how well the heater performs.
1
Warm up the heater
Turn on the radiant heater and let it run for at least 20 minutes to reach a stable operating temperature.
2
Measure surface temperature
Use an infrared thermometer aimed directly at the heater’s emitting surface. Hold the device steady and aim perpendicularly for the most accurate reading, because angle and distance affect the result.
3
Measure air temperature
Point the thermometer at the air in the barn about 3 feet away from the heater at breathing height (4 to 5 feet) to get the ambient temperature.
4
Compare readings to set point
Check the heater’s thermostat set point and compare it to your surface and air temperature readings. Note any significant differences.
Set Point (°F)
Surface Temp (°F)
Air Temp (°F)
Action
65
70
60
Heater is warming surfaces well; air temp lags but is typical
65
60
55
Check for heater malfunction or poor placement
65
65
65
Heater and barn air temperature are well balanced
Compare your heater’s set point to measured temperatures to decide if adjustments or repairs are needed.
Worked example
Say your heater thermostat is set to 65°F. After running 30 minutes, the infrared thermometer shows 70°F on the heater surface and 60°F in the barn air. This tells you the radiant heater is heating objects and surfaces effectively, but the barn air lags behind, which is normal with radiant heat.
Set point65°F
Surface temp70°F
Air temp60°F
In short
Use an infrared thermometer on the heater surface and barn air after the heater runs 20+ minutes. Compare those readings to the thermostat set point to check if your radiant heater controls temperature properly.
Measure The Barn Before You Touch The Control
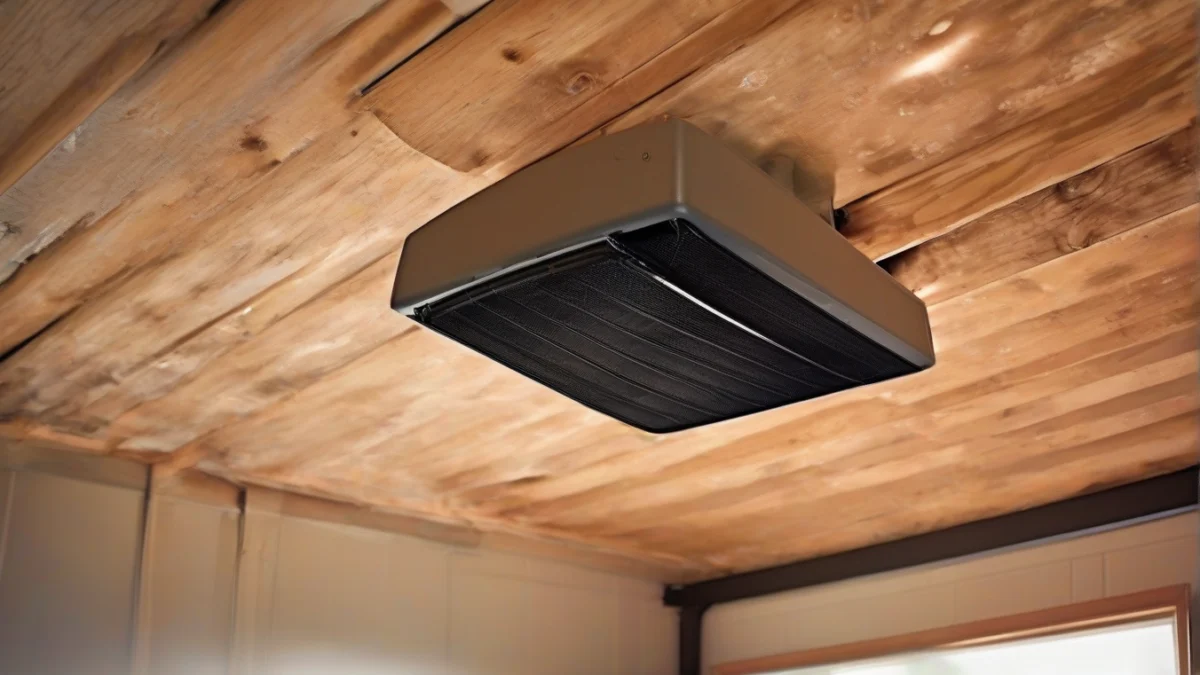
Radiant ceiling panels in barns typically run between 120°F and 180°F on the surface when operating at full output. That range gives a good target to check before adjusting controls or replacing parts.
Check the surface temperature of the radiant heater.
Non-oil radiant heaters with built-in temperature controls can maintain a more consistent barn temperature, but only within the zone they cover. The thermostat’s setting doesn’t guarantee even heat everywhere.
Start by mapping the heated zone. Measure the panel’s mounting height and angle, then mark the area it’s designed to warm. The heater’s manual usually specifies coverage; for example, a 4-foot wide panel mounted 10 feet high might cover roughly a 12-foot diameter below.
Keep at least 3 feet clearance around radiant panels to avoid heat loss and ensure safety. Mounting too close to walls or other objects reduces effective coverage and can cause heat spots or cold pockets.
Measurement
Location
What a Bad Result Means
Surface temperature
Directly on heater panel
Below 120°F after 20 minutes suggests poor output or wiring issues
Air temperature
At intended work or animal height, not just near heater
More than 10°F difference from thermostat setting indicates uneven heat
Coverage area
Floor or ground beneath and around the panel
Cold spots beyond expected coverage show poor placement or insufficient heater size
What to Measure and Where in Your Barn
Check at Work Height
For ceiling or wall-mounted units, always measure air temperature at the intended work or animal height. The heater may be hot at the fixture, but the barn floor or stalls could be much cooler.
Myth
Radiant heaters warm all the air evenly in a barn
Fact
They actually warm objects and surfaces, which then radiate heat to the air. That’s why you’ll feel warmth even if the air temperature seems low.
Check The Parts That Make Temperature Control Work
You can control radiant heater temperature, but only if the thermostat, sensors, and switches are working well and positioned correctly. Problems there cause the heater to overshoot, drift, or run nonstop.
Thermostats, remote sensors, control knobs, and limit switches are the usual suspects when temperature control fails. Check if sensors are mounted near warm surfaces or in drafts — a sensor near the heater will shut off too early, while one in a cold draft will keep the heater running too long.
Loose mounting of sensors or controls can cause inconsistent readings and cycling. Tighten all parts securely and ensure no wiring is damaged or corroded.
Tools and Items to Inspect Temperature Controls
Flashlight to check wiring and sensor placement
Infrared thermometer to confirm surface and sensor temps
Screwdriver for mounting screws
Manufacturer’s manual for control specifications and wiring diagrams
Electrical Repairs Need a Pro
If you find damaged wiring or hardwired controls, call a licensed electrician. DIY electrical fixes risk shock and code violations.
Replacing Controls vs. Sensor Adjustment
Replacing a control can be expensive and unnecessary. Often, relocating or cleaning a sensor restores proper temperature regulation with less cost and effort.
From HeaterGuides · our own guidePage 4 sets boilers beside every other system, side by side.Heating System Upgrade PlannerChoose between a heat pump, a furnace, a boiler or a hybrid with your own numbers, and hire the right installer.Every system compared side by side25 questions for contractors, red flagsRunning-cost, payback and quote calculator (Excel)$14.99$9.99Get it for $9.99See what's inside and watch the 2-minute video →16-page printable PDF + Excel calculator · instant download · 30-day refund
Fix The Mistakes That Skew Temperature Readings
You check a radiant heater’s temperature too soon or at the wrong spot, and the numbers will lie to you. The heater surface needs to run for 20 minutes or more before you measure. Aim your infrared thermometer at the emitter’s flat painted side, not the shiny metal edges, which reflect and give false low readings.
Ensure you measure the temperature after 20 minutes.
Don’t stop at one spot. Measure several points across the panel to catch uneven heating or damage. A shiny surface can reflect ambient temperatures, skewing your reading by 5 to 10 degrees Fahrenheit or more. Drafts near the heater also cause the sensor to register cooler air, making it seem like the heater isn’t working right.
Blocked Beam Example
Say your radiant panel shows 160°F on the surface, which is normal, but the barn floor beneath feels cold. This often means the panel’s mounting angle or an obstruction is blocking the radiant heat beam. If the beam doesn’t reach the target area, the floor won’t warm, even if the panel is hot. Adjusting the angle or clearing obstacles usually fixes this.
Signs to Shut Down Immediately
If you smell gas, spot scorch marks, melted wiring insulation, loose or frayed wiring, or damaged venting, turn off the heater and get professional help. These are fire and carbon monoxide risks no DIY check can fix safely.
Cleaning dust off the emitter keeps radiant heat efficient. Dust acts like insulation, cutting heat output and causing the panel to run hotter than it should. Keep at least 3 feet clearance below and in front of the panel to avoid blocking the radiant path. For full details on upkeep, see our radiant heater maintenance guide.
When To Call A Licensed Pro Or Pull A Permit
You can measure radiant heater temperature in your barn yourself, but many repairs cross into licensed territory. If you need to change hardwired electrical components, gas piping, venting, or mounting that touches the barn structure, stop and call a pro. These tasks often require a permit and must meet local code.
Fuel-Burning Heaters Indoors
Indoor use requires an indoor-rated model with a working carbon monoxide detector nearby. Vent-free gas heaters are banned or restricted in many states and cities. Check your local rules before installing or repairing these models.
Barns full of hay, dust, or stored fuel add fire risk and may mean heaters must be placed differently or use safer types. A pro can assess these conditions and recommend the right equipment and placement.
If the heater’s control or thermostat is faulty but wiring looks intact, you might swap the control yourself safely. Any signs of wiring damage or gas leaks mean it’s time to stop and get professional service.
Installation Costs and Decisions
Professional installation costs vary by region and job scope. For a clearer idea of what to expect, see our radiant heater installation costs guide. Knowing this helps you budget before calling a pro, or decide if a simple thermostat swap is enough.
What To Do Next, In Order
Start by recording the heater’s set point alongside the temperature reading from your infrared thermometer. This baseline tells you if the heater matches its intended output.
1
Normal Reading
If the surface temperature hits the expected range, clean dust or debris off the heater’s surface and sensors to keep performance sharp, then recheck.
2
Off Reading but Heater Intact
Double-check the thermostat settings and sensor positions. Consult the manual for clearance requirements and operating temperature ranges before adjusting controls or replacing parts.
3
Safety Concern Indicated
If the temperature is too high or too low and the heater shows signs of damage or unusual odors, shut it off immediately. Do not restart until a licensed technician inspects the unit.
Keep troubleshooting only as long as the heater is intact and operating within safety limits. The moment you suspect electrical faults, gas leaks, or venting issues, it’s time to call a pro. Radiant heat temperature control depends on precise conditions you can’t fix blind.
Questions People Ask
How do you check a radiant heater temperature in a barn?
Start by letting the heater run for at least 20 minutes to stabilize. Then use an infrared thermometer aimed at the heater’s surface and the surrounding air to get accurate readings. Avoid touching the heater directly, and measure multiple spots to confirm consistent temperature.
Can you control the temperature in radiant heaters?
Yes, radiant heaters can be controlled using thermostats and temperature sensors designed for the specific unit. These controls adjust the heater’s output to maintain the set temperature, but only if the sensors and switches are properly installed and functioning.
Why does my radiant heater show heat at the panel but not warm the barn?
Radiant heaters warm objects and surfaces directly, not the air, so the panel can feel hot while the barn air remains cooler if the heater is undersized or the barn is poorly insulated. Air circulation and heater placement also affect how well the heat spreads throughout the space.
What temperature should a barn radiant heater be set to?
Most barn radiant panels run between 120°F and 180°F on the surface when operating at full output. The ideal setting depends on your barn’s insulation and the comfort needs of animals or stored items, but staying within that range helps prevent overheating or energy waste.
How do radiant ceiling panels get temperature controlled?
They use thermostats connected to temperature sensors that monitor either the air or the panel surface. The thermostat switches the heater on or off to keep the temperature near the set point, relying on accurate sensor placement to avoid false readings.
When do you need a permit for a barn heater repair?
Permits are typically required if the repair involves electrical wiring, gas lines, venting modifications, or structural changes. Simple temperature checks and sensor adjustments usually don’t need a permit, but always check local codes and hire licensed professionals for any complex work.
Before you go · a welcome giftGet the Heating System Upgrade Planner for $4.99Choose between a heat pump, a furnace, a boiler or a hybrid with your own numbers, and hire the right installer. Normally $14.99; your welcome price saves $10.00. We'll email your link right now.or skip the email and buy it now for $4.99 →One email with your link now. We never share your address.

 Heating System Upgrade PlannerChoose between a heat pump, a furnace, a boiler or a hybrid with your own numbers, and hire the right installer.Every system compared side by side25 questions for contractors, red flagsRunning-cost, payback and quote calculator (Excel)