
Skip to content
Heater GuidesHeaterGuides
Insulation

How to Insulate Your Home for Winter

Short answer
How to insulate your home for winter usually takes a weekend for DIY air-sealing and simple fixes, or longer if you add attic or wall insulation, and most of it is a homeowner job until you get into electrical, gas, venting, or major wall work. Start with the biggest heat-loss spots, then seal leaks, add the right insulation for your climate zone, and leave the risky stuff to a licensed pro.

A half-true belief hangs around this job: every home needs the same insulation in the same places. The true part is that every home does need better heat retention before winter.

The false part is the part that costs you money. Climate zone, attic ventilation, wall type, and moisture risk all change what should go where.

What to remember
Seal air leaks before you buy more insulation; the stack effect will happily carry warm air out through the top of the house.
Match the R-value to your climate zone and location in the house, not to a neighbor’s opinion.
Use bulk insulation for big cavities and reflective insulation where radiant heat is the problem.
Keep attic ventilation open and dry; trapping moisture is how insulation turns into a mold hobby.
Call a licensed pro for cavity wall work, major electrical changes, gas appliances, and anything involving venting or hot-water equipment.

How to Insulate Your Home for Winter

Start with air leaks, then move to the attic or roofline, exterior walls and knee walls, windows and doors, basements or crawl spaces, and finally attached garages or utility spaces. That order tackles the biggest heat-loss areas first and keeps you from wasting money on insulation that sits over a drafty ceiling or an unsealed rim joist.

Heat escapes through conduction (directly through solid materials like studs and drywall), convection (air currents carrying warmth out through gaps), and radiation (infrared energy moving toward cold surfaces). The stack effect drives the worst of it: warm air rises, leaks out through upper-level gaps in the attic hatch or recessed lights, and pulls cold air in below through basement windows and door thresholds. Sealing those upper leaks before you add insulation stops the chimney effect that makes your heater run all night.

R-30 to R-49
Recommended attic insulation in most US climates
Walls typically need R-13 to R-23, with colder zones requiring the higher end. Your climate zone sets the target; Zone 1 in southern Florida needs far less than Zone 7 in northern Minnesota.
Worked example
Say your 1,200 sq ft ranch has R-19 in the attic but a dozen gaps around the hatch, plumbing vents, and recessed lights. A 1,500 W space heater running 8 hours a night uses 12 kWh, about $2.04 at 17 cents per kWh. Sealing those leaks can cut runtime by a quarter, saving roughly 50 cents a night, $15 a month, without adding another batt of fiberglass.
Home1,200 sq ft ranch
Attic insulationR-19 with air leaks
Heater1,500 W, 8 hours/night
Daily cost$2.04 at 17 cents per kWh before sealing

Bulk insulation—fiberglass batts, mineral wool, cellulose, spray foam—does the heavy lifting in walls, attics, and floors by trapping air and slowing conduction and convection. Reflective insulation like foil-faced bubble wrap or radiant barriers works differently: it reflects infrared heat back into the room rather than absorbing it. Reflective products can reflect up to 97% of radiant heat, making them useful in attics with a hot summer sun or behind radiators, but they won’t replace the thermal resistance bulk insulation provides in winter. Most homes need both: bulk insulation in the envelope, reflective barriers in targeted spots.

Weatherstripping around doors and windows, outlet gaskets on exterior walls, draft stoppers under doors, and foam weatherseals on the attic hatch are all homeowner jobs with a utility knife and a weekend. Blown-in cavity wall insulation, spray foam in rim joists, and retrofitting solid masonry walls with interior insulation boards usually require a contractor with the right equipment and an understanding of vapor barriers and moisture control. If the job involves opening walls, moving wiring, or working near combustion venting, it’s time to call a licensed pro.

Climate zone lookup
The Department of Energy publishes a climate zone map by county. Zone 1 is the warmest (southern Florida, Hawaii); Zones 6, 7, and 8 cover the coldest parts of the northern tier and mountain states. Your local building code often specifies minimum R-values by zone.
Tools And Parts To Have On Hand
Use these for the steps below; skip anything that does not match the area you are fixing.
Wrong product
Majosta Winterizing Your Chicken Coop Guide
This is a guide for insulating a chicken coop, not a residential home. It won’t help you with attic air-sealing, wall insulation, or the other tasks in this article.
Check today’s price

Check The Attic And Air Leaks First

The attic is usually the first place to check because warm air rises and escapes through every crack in the ceiling plane. An attic hatch with no weatherseal, recessed light fixtures, plumbing chases, and the gap where interior walls meet the top plates all act as chimneys. Sealing those leaks before you roll out another layer of fiberglass keeps the insulation from sitting over a conveyor belt of warm air headed outside.
An attic hatch with weatherseal installed above a ceiling
Inspecting the attic hatch is crucial for preventing heat loss.

Feel for drafts along baseboards, outlet covers, window frames, and the attic hatch on a cold, windy day. A candle or incense stick held near a suspected leak will flicker or stream sideways—just keep it away from insulation, paper vapor barriers, and anything flammable. Check the rim joist where the floor frame meets the foundation wall in the basement; that joint is often uninsulated and leaky. In the attic, look for light coming up through gaps around pipes, wires, and ductwork, and for dark stains on the insulation that show where air has been washing dust through.

Seal before you insulate
Piling more insulation over a drafty ceiling does almost nothing if air keeps flowing through the gaps below. Seal the leaks with caulk, expanding foam, or weatherstripping first, then add insulation on top of a tight envelope.

Ducts running through unheated attics, garages, or crawl spaces leak conditioned air and waste energy even if the furnace is sized correctly. Seal duct joints with mastic or foil tape (not cloth duct tape, which fails), and wrap exposed runs with duct insulation rated R-6 or R-8. That keeps heated air inside the duct instead of warming the attic.

If a water heater sits in an unheated garage, basement, or utility closet, the tank itself loses heat through its walls and the first few feet of hot-water pipe radiate heat into cold air. Adding a tank jacket and pipe insulation is a separate task with its own safety steps, so check the water heater insulation guide to get it right without blocking vents or covering the controls.

For a drafty chicken coop or small outbu
How to Keep Your Chicken Coop Warm During Winter: Actionable Beginner…
The same attic-sealing and draft-blocking steps apply to unheated sheds and coops; start with gaps around doors and vents before adding insulation to walls or rooflines.
Check today’s price

Choose Insulation For Walls, Knee Walls, And Garages

Insulating your home comes before buying a new heater or heat pump, because heat retention cuts the load no matter what equipment you run. A well-insulated home in San Jose might need only a small heat pump and solar panels to stay comfortable all winter, while a drafty Michigan house will burn through fuel even with the most efficient furnace. The decision isn’t insulate or upgrade your heating system—it’s insulate first, then size the heating equipment to the reduced load.

Two kinds of insulation work in different ways. Bulk insulation—fiberglass batts, blown cellulose, mineral wool, spray foam—slows conduction by trapping still air in millions of tiny pockets. Reflective insulation like SmartFOIL or SmartSHIELD reflects radiant heat back into the room; installed correctly with an air gap, it can reflect up to 97% of radiant heat. Reflective products shine in attics and garage ceilings where radiant heat from the sun matters, but walls and floors usually need bulk insulation for year-round thermal resistance.

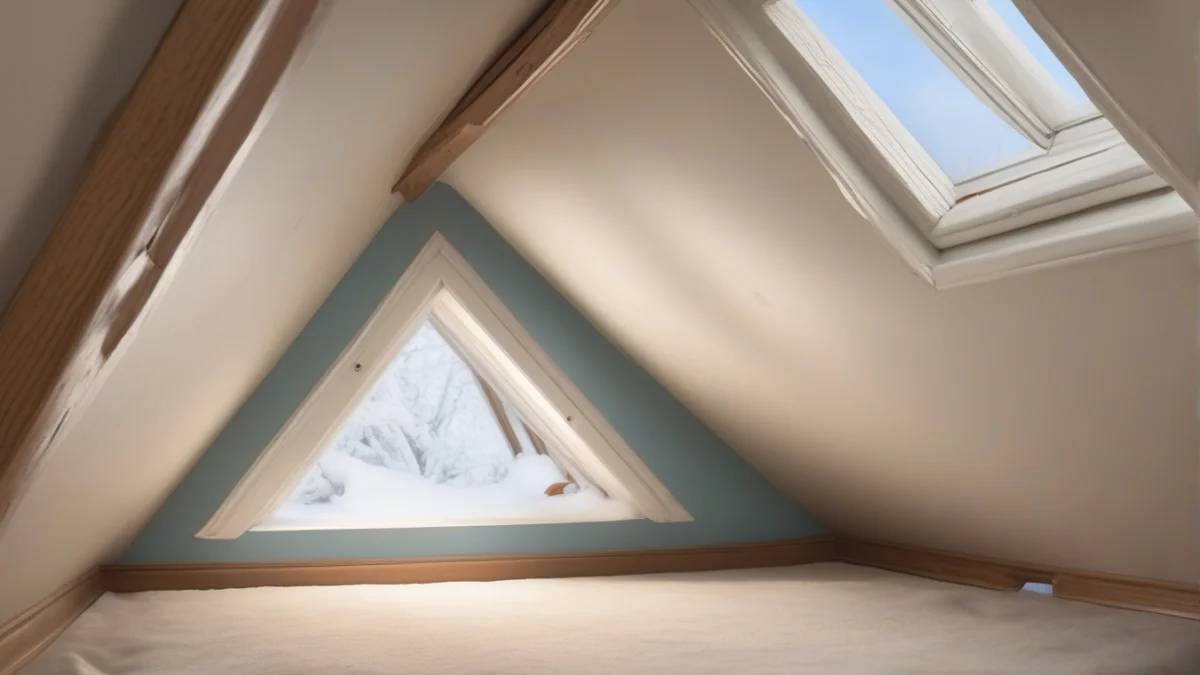
Knee walls and bonus rooms lose heat fast because builders often insulate the attic floor under the room instead of the sloped ceiling and short walls that form the room’s actual boundary. Insulate the surfaces you condition—the sloped roofline above the room, the short knee wall behind it, and the floor only if there’s unheated space below. The same logic applies to attached garages: the shared wall with your living space is a heat-loss hotspot. Seal every crack in that wall, then insulate it to at least the same R-value as your exterior walls.

Climate ZoneWall R-ValueAttic R-Value
Zone 1–2 (South)R-13R-30 to R-38
Zone 3–4 (Mid)R-13 to R-15R-38 to R-49
Zone 5–8 (North)R-20 to R-21R-49 to R-60
Colder zones need higher R-values; check your zone on the Department of Energy map.

Older homes with solid masonry walls or narrow stud bays need different approaches. A modern 2×6 stud wall holds R-20 batts; a 2×4 wall from 1950 tops out at R-13 unless you add rigid foam inside or outside the framing. Solid brick or stone walls often get internal wall insulation—rigid boards or a new stud wall filled with mineral wool—because you can’t retrofit a cavity that doesn’t exist.

Myth
All insulation is the same and one type fits all homes.
Fact
Insulation needs vary by climate zone, home construction, and the kind of heat transfer you’re blocking. A reflective barrier works in a radiant-heavy attic; bulk insulation is what exterior walls need. Picking the wrong type or R-value leaves money on the table or traps moisture where it doesn’t belong.

Install It Without Trapping Moisture

Poor installation traps moisture inside walls and leads to mold, rot, and insulation that quits working within a few seasons. The biggest risk comes from blocking airflow without controlling vapor, or from shoving insulation into a cavity that’s already leaking air.

Insulation batts properly installed in wall cavities without moisture traps
Proper installation of insulation prevents moisture-related issues.
Moisture and mold
Improperly installed insulation can cause moisture buildup and mold inside walls. Always seal air leaks before adding insulation, and match your vapor control strategy to your climate—vapor barriers go on the warm side in cold climates, but many mixed climates do better with vapor-permeable materials.
1
Inspect the cavity
Pull back a section of drywall or siding to see what’s already there and check for water stains, rot, or existing insulation that’s compressed or wet. A flashlight and a moisture meter tell you whether the wall is dry enough to insulate.
2
Seal air leaks first
Caulk gaps around electrical boxes, plumbing penetrations, and the rim joist where the floor meets the foundation. Spray foam works for larger cracks. Air leaks carry far more moisture into wall cavities than vapor diffusion does, so sealing them matters more than the facing on your batts.
3
Choose the right thickness and facing
Measure the stud depth and pick insulation that fills the cavity without compressing—R-13 for a 2×4 wall, R-20 or R-21 for 2×6 framing. Kraft-faced batts include a vapor retarder and suit cold climates; unfaced batts work in mixed climates or when you’re adding a separate vapor barrier.
4
Keep the insulation dry and continuous
Tuck batts snugly around wires and pipes without leaving gaps, but don’t stuff them so tight they lose loft. In the attic, maintain at least two inches of clearance between insulation and the roof deck so air can flow from soffit vents to ridge vents. Attic ventilation is essential—it lets moisture escape and keeps the insulation from getting damp.
5
Finish with trim or patching
Reinstall drywall, siding, or access panels and seal the edges. Hidden air leaks around windows and doors get draft stoppers or fresh weatherstripping; a candle flame flickers near a leak, or you’ll feel the draft on a cold day.

Older solid masonry walls often use internal wall insulation or cavity wall insulation, but cavity work usually needs a pro. Holes get drilled into the exterior brickwork at regular intervals, then beads or mineral wool get injected under pressure to fill the hollow space. DIY injection rarely achieves complete coverage, and missed spots become cold bridges.

Windows and doors
They’re leakage points, but the goal is to make the insulation layer continuous around them. Spray foam the gap between the rough opening and the window frame, then insulate the wall cavity right up to the edge. Weatherstripping and caulk handle the rest.

Know When A Licensed Pro Is Required

Cavity wall insulation, major wall retrofits, and most garage-to-living-space conversions require a building permit and a licensed contractor in many jurisdictions. Codes vary by state and county, so check with your local building department before you drill into exterior walls or open up a bonus room above the garage. Some places let you add batts to an open attic without a permit; others want an inspection even for that.

Gas connections, venting changes, electrical circuits, and any work around a water heater’s T&P valve or combustion air belong to a licensed plumber or electrician in most places. You’ll void the warranty and risk carbon monoxide poisoning if you alter a gas heater’s vent pipe or adjust the burner without the right training. Water heater insulation is a homeowner job when you’re wrapping the tank with a jacket; it’s a pro job when you’re adding electric elements, adjusting the thermostat beyond the factory range, or touching the T&P valve discharge line.

Vent-free gas heaters
Vent-free gas heaters are restricted or banned in California, Massachusetts, Montana, and some cities elsewhere. Check local code before you buy or install one, even if the retailer ships to your ZIP.

Changing from fuel oil to a heat pump, natural gas furnace, or propane system crosses into mechanical permitting: ductwork, venting, fuel lines, electrical load calculations, and refrigerant handling. Hire an HVAC contractor licensed in your state. They’ll size the equipment, pull the permit, and arrange the inspection so the new system heats safely all winter.

Jobs for a licensed pro
Blowing insulation into closed wall cavities
Running new 240 V circuits for electric heaters or heat pumps
Installing or moving gas lines, vents, or combustion air ducts
Sealing or insulating around a chimney or B-vent
Adding attic ventilation that requires cutting roof or soffit openings
Checking duct leakage with a blower door or duct blaster
When DIY is fine
Weatherstripping doors, caulking window trim, adding door sweeps, and tucking unfaced batts into an open attic are all homeowner jobs. Don’t open up fuel-burning equipment or alter its vents, and never cap or remove a T&P valve.

Finish With The Right Maintenance Plan

Check insulation after any roof leak, plumbing drip, pest activity, or remodel that opens walls or the attic. Water turns batts into soggy lumps that quit insulating; mice chew through foam and fiberglass to nest; and contractors sometimes compress or shove insulation aside and forget to put it back. Walk the attic once a year and look for damp spots, compressed batts, peeling vapor barriers, and gaps around recessed lights or duct boots.

Cold spots on interior walls, new drafts around the attic hatch, or a heating bill that creeps up without explanation all point to insulation that’s shifted, settled, or gotten wet. Catch it early and you’ll replace a few batts; ignore it and you’re looking at mold remediation and a bigger insulation job next season.

1
Annual check before winter
Walk the attic, rim joists, and crawl space in October. Look for gaps, compression, and moisture. Check weatherstripping on doors and the attic hatch.
2
Seal air leaks first
Caulk around window trim, add door sweeps, and foam-seal the rim joists and any penetrations in the attic floor. Winter heater maintenance includes checking that the equipment has enough combustion air after you’ve sealed the house tighter.
3
Insulate the biggest heat-loss spot
Start with the attic if it’s under R-30, then move to the rim joists, knee walls, and basement or crawl space. Add reflective insulation to an attached garage if you heat a bonus room above it.
4
Schedule pro work last
If the job crosses into cavity walls, gas venting, or electrical circuits, get three quotes from licensed contractors and ask to see their permits and insurance before they start.
In short
Insulation keeps working for decades if you check it once a year and fix leaks or compression as soon as you spot them. Seal air leaks before you add insulation, and remember that a small draft fixed now is cheaper than a bigger heater later.

Questions People Ask

How do I determine the correct R-value for my home’s climate zone?
Check the Department of Energy’s climate zone map to find your zone, then match it to the recommended R-values: zones 1 and 2 need R-13 walls and R-30 attics, while zones 6 through 8 need R-20 to R-21 walls and R-49 attics. Your local building department can confirm the code minimum for your area. Existing insulation counts toward the total, so measure what’s already there before you add more.
What are the best DIY insulation solutions for renters?
Draft stoppers under doors, removable rope caulk around window frames, and thermal curtains or window film are the easiest renter-friendly fixes because they leave no damage when you move. Foam outlet gaskets behind switch plates and door sweeps also help without drilling or permanent changes. Focus on air sealing rather than adding bulk insulation, which usually requires landlord permission and wall access.
How to insulate knee walls and utility spaces effectively?
Treat knee walls as exterior walls: install batt insulation between the studs with the vapor barrier facing the heated room, then seal every seam and edge with caulk or expanding foam to stop air movement behind the wall. The attic floor behind the knee wall also needs insulation, and the triangular space between them must stay vented to the exterior. Utility spaces follow the same approach, with extra attention to sealing around pipes, ducts, and recessed lights that pierce the thermal boundary.
What ventilation measures complement attic insulation?
Soffit vents at the eaves and ridge or gable vents at the peak create continuous airflow that carries moisture out and keeps the roof deck dry, even with thick insulation below. Aim for one square foot of net free ventilation area per 150 square feet of attic floor, split evenly between low intake and high exhaust. Baffles stapled between each rafter keep insulation from blocking the soffit vents, and never insulate over a vent opening or seal an attic completely.
What are the risks of improperly installed insulation?
Insulation installed without air sealing lets convection currents carry warm, moist air into wall and attic cavities, where it condenses and causes mold, wood rot, and rust on fasteners within one or two seasons. A vapor barrier facing the wrong direction traps moisture inside the wall instead of blocking it, and compressed or gapped insulation loses most of its R-value. In the attic, blocking ventilation leads to ice dams in winter and shingle failure in summer.
Share
Written by Joye

HeaterGuides covers home heating, water heating and HVAC: how the equipment works, what it costs to run, and how to use it safely.

Free newsletter

Heater deals and guides, worth opening

Price drops, new guides and safety recalls. One email, only when it matters.

No spam. Unsubscribe in one click. Privacy policy.