

To install an electric heater, turn off power, mount the heater securely, connect wiring per the manual, and restore power to test functionality.
Installing an electric heater requires careful planning and execution. Whether you’re adding supplemental heat to a chilly room or replacing an old unit, proper installation ensures safety and efficiency. This guide covers everything from circuit requirements to final testing.
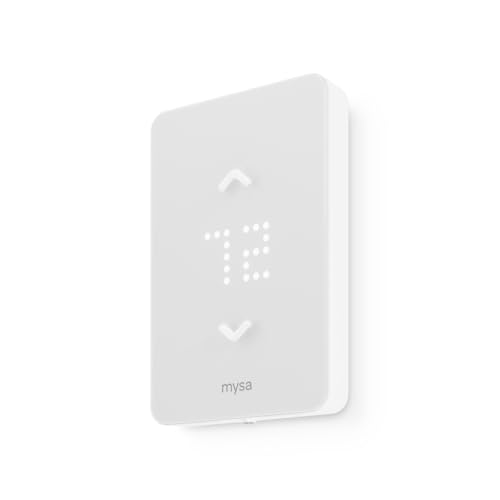
Mysa
Mysa Smart Thermostat LITE for Electric Baseboard…
- SAVE UP TO 26% ON HEATING COSTS: Create custom schedules for every day of the week, reduce temperature when you're away, and warm…
- CONTROL FROM ANYWHERE: Connects directly to your home WiFi — no hub required. Use the free Mysa app (iOS & Android) to change temp…
- WORKS WITH VOICE ASSISTANTS: Pair with Apple HomeKit, Amazon Alexa, or Google Home for hands-free temperature control. Say 'set th…
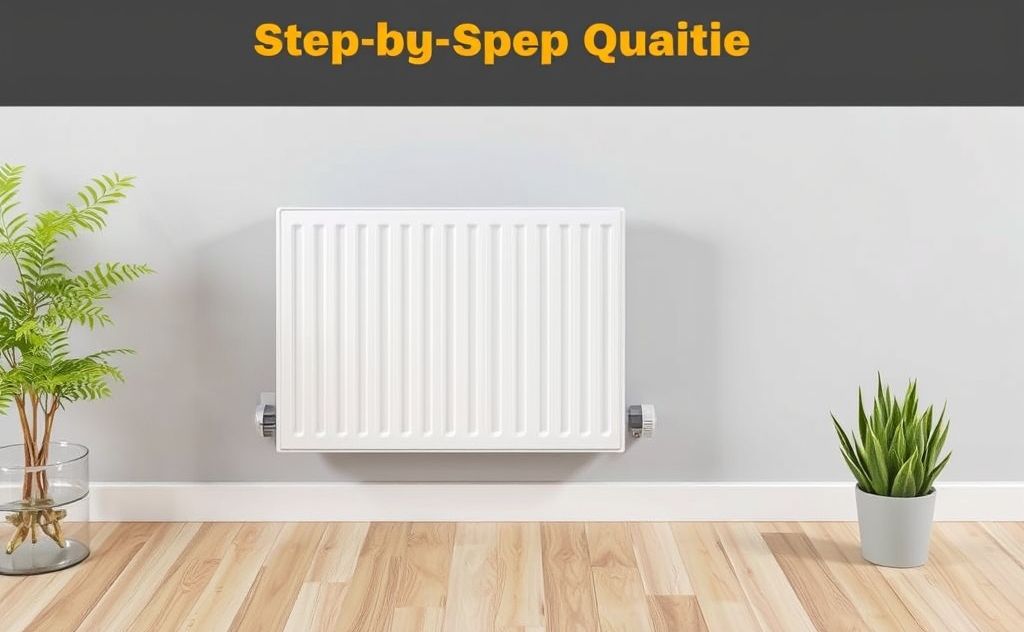
Types of Electric Heaters
Before installation, understand your heater type:
- Baseboard heaters – Mount along walls under windows
- Wall-mounted convection heaters – Hang on interior walls
- In-floor radiant heaters – Install between floor joists
- Portable plug-in units – Require no permanent wiring
For permanent installations, 240-volt heaters offer better efficiency than 120-volt models. As noted in our electric fireplace heaters guide, proper voltage selection impacts performance.
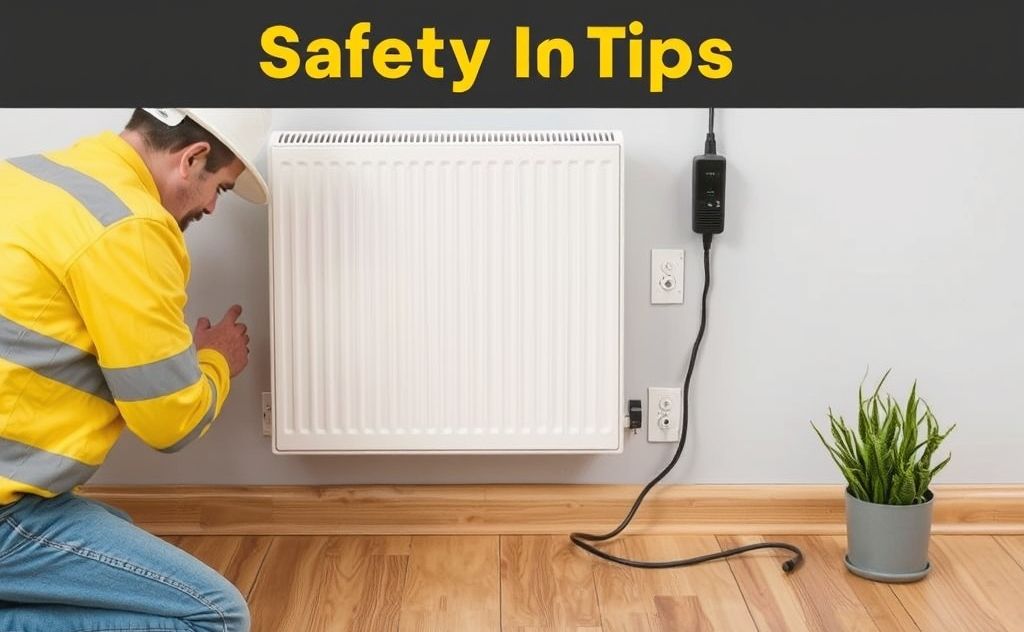
Safety Precautions
Before Starting
- Turn off power at main breaker
- Verify power is off with voltage tester
- Wear insulated gloves and safety glasses
Code Requirements
| Requirement | Detail |
|---|---|
| Clearance | 12″ from furniture/window coverings |
| Airflow | 1″ minimum under baseboard units |
| Circuit | Dedicated 20-30 amp breaker |
Installation Steps
1. Plan the Circuit
Calculate your heater’s wattage needs:
- Measure room square footage
- Multiply by 10 watts per sq ft
- Add 10% for safety margin
Example: 150 sq ft room needs 1,650 watts (150 x 10 + 15%). Choose a heater matching this capacity.
2. Run New Wiring
For 240V circuits:
- 20-amp circuit: 12-gauge wire
- 30-amp circuit: 10-gauge wire
Run cable from panel to thermostat location, then to heater. Use fish tape for finished walls. Mark white wire with red tape when used as hot.
3. Mount the Heater
For baseboard units:
- Locate wall studs
- Position heater 1″ above floor
- Secure with 5/8″ drywall screws
Wall-mounted units require proper brackets. Our wall-mounted heater guide covers mounting specifics.
4. Wire Connections
At heater connection box:
- Strip 1/2″ insulation from wires
- Connect black to black (hot)
- Connect white (marked) to red (hot)
- Connect bare/green to ground screw
Use wire nuts rated for the gauge. Tug test all connections.
5. Install Thermostat
Choose location:
- Interior wall
- Away from heat sources
- 48-60″ above floor
Follow manufacturer’s wiring diagram. Digital thermostats offer precise control.
6. Test Operation
- Restore power at panel
- Set thermostat to desired temp
- Verify even heating
- Check for unusual noises/smells
Professional vs DIY
Consider hiring an electrician if:
- Your panel lacks capacity
- You’re uncomfortable with wiring
- Local codes require licensed work
According to Energy.gov, proper installation impacts efficiency by up to 25%.
Maintenance Tips
- Vacuum dust from vents annually
- Test safety shutoffs monthly
- Inspect wiring connections yearly
- Replace thermostat batteries if applicable
For hard water areas, consider a water filtration system to protect hydronic units.
Related pick: Check today's price on Amazon

I am a mechanical engineer and love doing research on different home and outdoor heating options. When I am not working, I love spending time with my family and friends. I also enjoy blogging about my findings and helping others to find the best heating options for their needs.
Related guides
5 Key Benefits of Following Your Oil Heater Installation Guide
You just bought an oil heater for your generator or space. The manual sits on the bench, still…
How Weather Impacts Infrared Heater Installation: Key Factors
You pick a warm, still day to mount your new infrared heater. The brackets go up easy, the…

Why Hire a Pro for Infrared Heater Installation?
Hiring a professional for infrared heater installation ensures safety, optimal performance, and compliance with local codes, enhancing efficiency…
