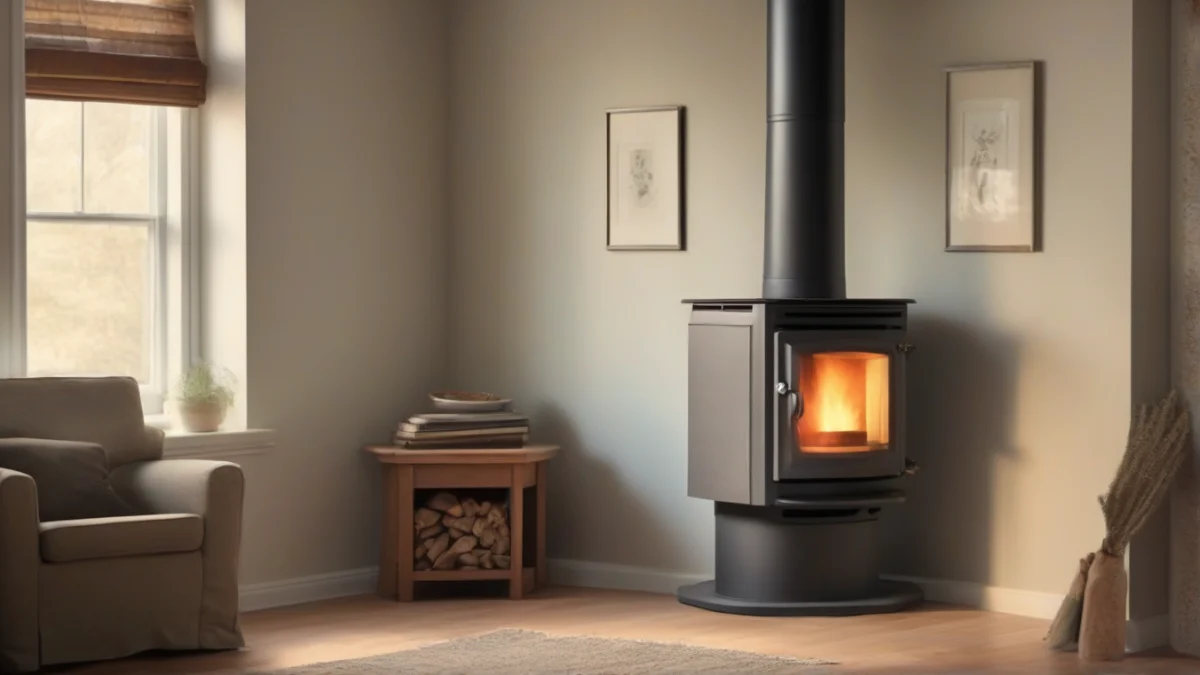
You know the drill. The stove ran fine all January, and now in mid-February it’s struggling to light. The flame looks lazy, the glass is brown after two days, and the auger makes a grinding sound you don’t remember hearing before. Most people respond by turning up the heat setting. That’s the wrong move. A dirty pellet stove doesn’t need more fuel; it needs less ash.
This guide walks through the entire lifecycle of pellet stove maintenance. You’ll get the weekly and monthly routines, the annual deep clean, what to do when the stove still runs poorly after cleaning, and how to store the unit for summer. I’ve also included a realistic cost breakdown of DIY versus hiring a professional, because the answer isn’t always obvious.
RUTLAND PRODUCTS
Rutland Products Pellet Stove Creosote Remover, Chimney…
- Helps prevent dangerous creosote buildup in pellet stoves, wood stoves, and fireplaces
- Concentrated creosote removing formula combined with high quality wood pellets dried to 2-5% moisture content
- 4 pound bag = 8 treatments of 8 ounces each
One product worth mentioning before we start: Rutland pellet stove creosote remover. It’s a 4-pound bag of treated pellets you burn like regular fuel. Each 8-ounce treatment helps break down creosote in the exhaust path, which is the stuff that causes chimney fires. It’s not a replacement for scraping the vent, but it does slow down the buildup between cleanings.
Why a Clean Pellet Stove is a Safe and Efficient Stove
Pellet stoves are essentially precision air pumps. They meter fuel through the auger, ignite it in the burn pot, and use a combustion fan to push exhaust out the vent. The entire system depends on consistent airflow. When ash accumulates, it chokes that airflow.
Here’s what actually happens when you skip cleaning: the burn pot gets clogged with clinkers, the heat exchanger tubes lose their ability to transfer heat into the room, and the exhaust vent narrows with fly ash and creosote. The stove compensates by feeding more pellets, which creates more ash. It’s a downward spiral that ends with a weak flame, high fuel consumption, and a real fire risk.
The safety part isn’t theoretical. Creosote is a tar-like substance that condenses on cool exhaust surfaces. It’s highly flammable. A thick layer of creosote in the vent pipe can ignite from a single hot ember. That’s why the annual cleaning focuses on the exhaust path, not just the firebox.
What You Need Before You Start (Tools and Safety Gear)
You don’t need a garage full of specialized equipment, but a few items make the job dramatically easier. Here’s the list I use:
- Ash vacuum – A regular shop vac will blow fine ash right back into the room. Ash particles are tiny enough to pass through standard vacuum filters. You need a vacuum rated for ash, or at least a fine-particle filter bag. Expect to pay $50–$100 for a decent one.
- Burn pot scraper – A small metal scraper or putty knife works fine. Some stoves come with a dedicated tool.
- Chimney brush – You need one sized to your vent pipe diameter (usually 3 or 4 inches). A flexible rod kit is worth the money.
- Gasket brush – A stiff nylon brush for the door gasket and glass.
- Glass cleaner – Use a dedicated pellet stove glass cleaner or a vinegar-water solution. Avoid standard oven cleaner; it can damage the ceramic glass.
- Safety gloves – Heavy-duty work gloves, not thin nitrile ones. Ash is abrasive and hot spots can remain for hours.
- Drop cloths – Ash gets everywhere. Cover the floor and nearby furniture.
Step-by-Step Cleaning Process
This is the core routine. Follow it in order, and you won’t miss anything critical.
Step 1: Power Down and Cool Down
Turn the stove off and let it run its shutdown cycle. That’s important—the exhaust fan needs to clear remaining smoke. Then unplug the unit. Wait until the firebox is cool to the touch. For most stoves, that’s 2 to 4 hours. Don’t rush this. Vacuuming warm ash can melt vacuum components.
Step 2: Empty the Burn Pot and Firebox
Remove the burn pot and dump the ash into a metal container. Scrape off any clinkers—those rock-hard deposits of fused ash and minerals. They don’t come off easily, but they must go. Clinkers block the air holes in the burn pot, which kills combustion efficiency.
Vacuum the firebox thoroughly, including the walls and the bottom. Pay attention to the area around the igniter if your stove has one. Ash can smother the igniter and cause startup failures.
Step 3: Vacuum the Heat Exchanger and Combustion Fan
The heat exchanger tubes are metal rods or pipes that run through the top of the firebox. They absorb heat from the flames and transfer it to the room air. When they’re coated with ash, heat transfer drops significantly. Most stoves have a scraper rod you pull back and forth to knock ash off the tubes. Do that first, then vacuum the ash that falls.
The combustion fan is the harder part. It’s usually accessible through a side panel or the back of the stove. Remove the panel and vacuum the fan blades and the housing. Ash buildup here unbalances the fan, creating noise and reducing airflow. If the fan has a gasket, check it for wear.
Step 4: Scrape and Clean the Exhaust Vent and Chimney
This is the messy one. Disconnect the vent pipe from the stove if possible. Use your chimney brush and rods to scrape the inside of the pipe. Work from both ends if you can. You’re looking for flaky black deposits—that’s creosote. If you see a thick, tar-like layer, that’s a red flag (more on that later).
Vacuum out the loose debris. If you have a horizontal vent run, pay extra attention to the bottom of the pipe where ash settles. Reconnect everything and check the gaskets on the pipe connections.
Step 5: Wipe Down the Glass and Door Gasket
Spray the glass with cleaner and let it sit for a minute. Wipe with a soft cloth or newspaper. For stubborn brown buildup, use a razor blade held at a shallow angle to scrape it off. Don’t use abrasive pads; they scratch the glass.
Inspect the door gasket. It should be soft and springy. If it’s hard, flat, or crumbling, replace it. A worn gasket lets air leak into the firebox, which messes with the air-to-fuel ratio and makes the stove burn dirty. Gaskets typically cost $10–$20 and take about 15 minutes to replace.
Step 6: Hopper and Auger Maintenance
Empty the hopper completely. Vacuum out the sawdust and pellet fines that accumulate at the bottom. These fines are highly combustible and can cause a flash fire if they build up near the auger motor.
Check the auger for any jammed pellets or debris. Rotate it by hand if you can to make sure it moves freely. If the auger bearing feels rough, that’s a sign it might need lubrication or replacement.
How Often Should You Clean? (Weekly, Monthly, Annual Schedule)
Frequency depends on pellet quality and how many hours a day you run the stove. A general schedule looks like this:
| Task | Frequency | Notes |
|---|---|---|
| Empty burn pot and wipe glass | Weekly | More often if using low-quality pellets |
| Vacuum firebox and heat exchanger | Monthly | Do this after every ton of pellets burned |
| Clean exhaust vent and combustion fan | Every 2–3 months | Critical for safety |
| Deep clean (hopper, auger, full vent) | Annually | Before first use in fall or after last use in spring |
| Replace door gasket | As needed | Check every month; replace if flattened |
Pellet quality changes this math. Premium pellets (low ash content, under 1%) let you stretch the schedule. Economy pellets with high ash content or lots of bark dust can clog a burn pot in three days. If you’re burning cheap pellets, check the burn pot every few days. Your stove will tell you when it’s unhappy.
Troubleshooting: What If the Stove Still Runs Poorly?
You cleaned everything, put it back together, and the stove still won’t light or the flame is weak. Don’t panic. Work through these checks in order.
- Check the exhaust pressure switch. Most pellet stoves have a vacuum switch that prevents operation if the vent is blocked. If it’s stuck or the hose is disconnected, the stove won’t start. Clean the hose and check the switch with a multimeter.
- Inspect the igniter. If the igniter doesn’t glow red within a minute of startup, it’s likely burned out. Igniters are a wear item; expect to replace one every 2–3 seasons. They cost $30–$60.
- Look at the flame pattern. A lazy, orange flame with black tips means poor combustion. This usually points to an air intake problem. Check the outside air intake for blockages—spiders love building nests there.
- Test the auger. If the auger isn’t feeding pellets consistently, you might have a jam or a failing motor. Listen for a clicking sound, which indicates the motor is struggling.
- Check the door seal. Hold a dollar bill between the door and the stove body. Close the door and try to pull the bill out. If it slides out easily, the gasket isn’t sealing properly.
If you’ve gone through all of this and the stove still acts up, it’s time to call a professional. Some issues—like a cracked heat exchanger or a failing control board—aren’t safe to DIY.
Off-Season Storage and Pre-Winter Checkup
Most people clean the stove in the fall and forget about it until spring. That’s a mistake. How you store the stove for summer determines how well it starts in October.
After the last fire of the season, do a full deep clean. Empty the hopper completely. Don’t leave pellets in it over the summer—they absorb moisture, swell, and can jam the auger. Store leftover pellets in sealed metal or plastic containers. Paper bags invite rodents and moisture.
Open the stove door and leave it slightly ajar during the summer. This allows air to circulate and prevents rust from forming inside the firebox. Also, disconnect the vent pipe and cap the outside opening to keep birds and rain out.
Before the first fire of the new season, do a quick check: clean the glass, vacuum the firebox, and inspect the door gasket. Run the stove on a test fire for 30 minutes. Watch for unusual smoke or odors. A small amount of dust burning off is normal, but heavy smoke means a vent blockage.
DIY vs. Professional Cleaning: Cost and Value
Let’s talk money. A professional cleaning runs $150–$300 depending on your area and the stove’s condition. That’s for a full service: firebox, heat exchanger, vent, and a basic inspection. It’s worth it if you’re not comfortable on a ladder or if you have a complex venting setup.
DIY costs are lower but not zero. A good ash vacuum is $60–$100. A chimney brush kit is $40–$70. Gaskets and igniters add up over time. Your first-year DIY cost is roughly $150–$200, but the tools last for years. By year two, you’re spending only on consumables—maybe $30–$50 per season.
My honest take: if you burn more than two tons a season, learn to do the basic weekly and monthly cleaning yourself. It takes 20 minutes and saves you from calling a pro every few weeks. But the annual vent cleaning is worth paying for if you have any doubt about your ability to do it thoroughly. A partially cleaned vent is worse than not cleaning it at all, because it gives you false confidence.
Final Checklist for a Perfect Burn
Here’s the short version you can print and stick to the side of your stove:
- Empty the burn pot weekly; scrape clinkers off the air holes.
- Vacuum the firebox and heat exchanger tubes monthly.
- Clean the combustion fan and exhaust vent every 2–3 months.
- Use a creosote remover like Rutland’s creosote pellets twice a week during heavy use to reduce buildup.
- Check the door gasket monthly; replace when it flattens.
- Empty the hopper and clean the auger at season’s end.
- Run a test fire before the first cold snap. If the flame looks weak or the glass fogs up fast, investigate before relying on it.
For more on specific stove models and their quirks, check out our Comfortbilt HP50S review or the US Stove Wiseway guide for non-electric options. Each stove has its own cleaning quirks, but the fundamentals here apply to all of them.
Related guides
How to Store Pellets to Keep Them Dry & Efficient
You've invested in quality wood pellets for your stove or grill. Maybe you bought a few bags on…
Pellet Stove Safety: Essential Tips for Safe Operation
Pellet stoves are generally safe when properly installed and maintained, featuring automatic shut-off systems and cool-to-the-touch exteriors to…
Safe Pellet Storage & Transport: Essential Guidelines
You just bought a pallet of premium hardwood pellets for your stove. You get them home, stack them…