

Say you have a 2,400 sq ft home with tile floors in the kitchen and carpet in the bedrooms. Without zoning, the whole floor heats evenly, but the bedrooms feel cold and the kitchen overheats. Zoning lets you heat these areas separately, matching their different heat needs and floor types.
This guide explains how zoning works in radiant floor heating systems, the components involved, and how to design zones for multi-story or complex homes. You’ll learn how valves, pumps, and thermostats work together to keep each zone comfortable and efficient.
Zoning Options For Radiant Floor Heating Explained
Zoning in radiant floor heating splits your system into independently controlled areas—bedrooms, living spaces, garages—so you heat only what you use and cut waste. Each zone gets its own thermostat that triggers valves, pumps, or electric circuits to deliver heat precisely where you need it.
Hydronic systems circulate warm water through PEX tubing, typically 85 to 120°F. When a zone’s thermostat calls for heat, a zoning valve opens at the manifold and lets water flow through that zone’s loops. A circulator pump moves the water; one pump can serve multiple zones if paired with the right valves and manifold design. Electric systems skip the plumbing and use separate circuits controlled by individual thermostats per zone—flip the switch and the cables under that floor start heating.
A zoning valve controls an entire zone at the manifold, turning all its loops on or off together. Loop actuators are different: they balance flow within individual loops of a zone but don’t replace the valve. You’ll install one zoning valve per zone, not per loop, so a three-bedroom house with a kitchen and a garage needs five valves, even if the garage alone has six loops.
Garages benefit from zoning because you can heat the workspace only when you’re out there, leaving the rest of the house alone. Say your detached two-car garage is 24 by 24 feet with a four-inch slab: that’s roughly 18,000 BTU per hour on a cold morning if uninsulated, less if you’ve sealed the door and added R-10 to the walls. A dedicated zone with its own thermostat lets you fire it up an hour before you head out, then shut it down when you leave, rather than maintaining shop temperature around the clock.
Electric radiant works well in bedrooms and bathrooms where you want fast zone response and simple wiring. Cables heat the floor directly with no water loops, so when the thermostat clicks on, the floor warms within minutes if the subfloor is thin. Hydronic zoning suits larger areas—living rooms, basements, whole-home layouts—where the upfront cost of a boiler or heat pump and manifold pays off over years of lower running cost.
Thermal mass matters for zoning strategy. Tile over concrete holds heat for hours, keeping the floor evenly warm but delaying thermostat changes by 30 to 90 minutes. Plywood subfloors with thin screed or electric mats respond in 15 to 30 minutes. Choose high mass for spaces you heat continuously, low mass for zones you turn on and off.
| Component | What It Controls |
|---|---|
| Thermostat | Calls for heat in one zone based on set temperature |
| Zoning valve | Opens or closes water flow to an entire zone at the manifold |
| Loop actuator | Balances flow within individual loops; does not replace zoning valves |
| Circulator pump | Moves water through tubing; one pump can serve multiple zones |
| Electric circuit | Powers one zone’s heating cables, switched by that zone’s thermostat |
Choose and Place Valves and Pumps: Number and Type for Your Zones
The number of zoning valves equals the number of zones, not the number of loops, because each valve controls flow to an entire zone regardless of how many loops it contains.
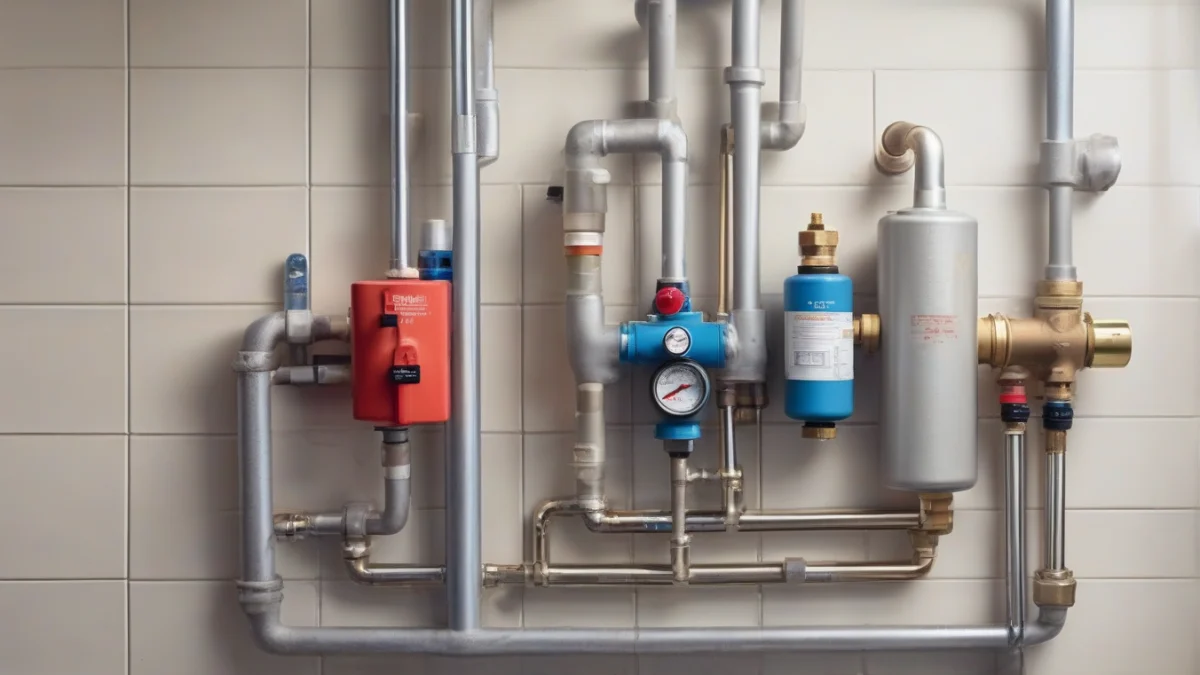
One circulator pump can serve multiple zones when combined with zoning valves installed on the manifold. This setup uses a single pump to push water through all zones, with valves opening and closing to direct flow where needed.
Zoning valves attach directly to each manifold port and regulate water flow to their corresponding zones. Alternatively, manifold actuators work with a single pump and open or close to control individual loops. Both systems achieve zoning, but valves simplify wiring and often reduce installation costs.
Variable-speed pumps adjust their flow rate to match the current demand from the open zones, improving energy efficiency and reducing noise. They maintain consistent pressure without cycling on and off, unlike single-speed pumps.
Manifold design impacts flow balancing because the length and diameter of tubing in loops affect resistance. Proper manifold sizing and port location help ensure even distribution across all loops within a zone, preventing some loops from running hotter or cooler than others.
A single zoning valve can control multiple loops bundled within a zone if those loops share the same thermostat setting. This grouping reduces valve count but requires careful flow balancing to avoid temperature inconsistencies.
Multiple circulator pumps are generally not necessary for multi-zone radiant floor heating. Using one pump with zoning valves or actuators on a properly designed manifold provides efficient and responsive zone control.
| Configuration | Description | When to Use |
|---|---|---|
| One Pump with Zoning Valves | Single circulator pump with individual valves controlling flow to each zone. | Typical residential systems with 2-6 zones. |
| One Pump with Manifold Actuators | Single pump with electric actuators on manifold ports to open/close flow. | Systems with many small loops requiring precise control. |
| Multiple Pumps | Separate pump for each zone. | Rare, only for very large or complex systems requiring independent flow rates. |
Designing Zones for Multi-Story and Complex Floor Plans
Balancing flow and temperature in each zone starts with understanding how heat moves differently across floors and areas. Multi-story homes often require zoning by floor or wing to handle varying heat losses and thermal masses efficiently.
Thermal mass, like concrete slabs on the first floor, can slow the system’s response but provides steady warmth. Upper floors with lighter construction heat and cool faster, so their zones need quicker control to avoid overshoot or undershoot.
For typical homes, an effective number of zones ranges from three to eight. A two-story house might have one zone per floor plus additional zones for large wings or rooms with special heating needs, such as sunrooms or bathrooms that need warmer floors.
| Home Size and Layout | Suggested Number of Zones |
|---|---|
| Up to 1,500 sq ft, single story | 3 to 4 zones |
| 1,500 to 3,000 sq ft, two stories | 4 to 6 zones |
| 3,000 sq ft and larger, multi-story | 6 to 8 zones or more |
Rooms with opposing temperature demands, like a cool guest bedroom next to a warm living room, require separate zones with independent thermostats and valves. This setup prevents one zone’s call for heat from flooding another space that doesn’t need it.
Manifolds play a key role in organizing zones in multi-story homes. One large manifold can serve multiple zones on one floor, but separate manifolds per floor reduce piping runs and simplify maintenance. Primary/secondary piping arrangements help balance flow and keep water temperatures steady across zones.
You can use one circulator pump with multiple zoning valves if the manifold and piping are designed to maintain proper flow to each zone. Pumps sized for the total flow rate and pressure drop of the system, combined with zone valves, allow precise control without extra pumps on every zone.
Integrating Zoning Controls with Heat Pumps and Smart Thermostats

Integrating zoning with an air-to-water heat pump means linking thermostats, valves, and pumps to the heat pump’s control system for precise, responsive heating. The thermostats send zone-specific temperature demands, and the heat pump adjusts water temperature and flow accordingly. This coordination maximizes efficiency by running the heat pump only as needed for each zone.
Thermostats designed for radiant floors combine floor sensors with air sensors to balance comfort and prevent overheating. The floor sensor tracks the slab temperature, avoiding damage or discomfort from excessive heat, while the air sensor ensures the room reaches the desired temperature. Both readings guide the zone valve or pump to modulate flow.
Weather-reset control, or outdoor reset, integrates outdoor temperature data to automatically modify the water temperature supplied to the radiant system. When it’s colder outside, the heat pump delivers warmer water; when it’s milder, it lowers the temperature. This prevents overheating, reduces energy use, and enhances comfort across zones.
Smart thermostats add another layer of control with programmable schedules and remote access. They learn occupancy patterns and adjust zone temperatures automatically, cutting back heating when rooms are empty. In multi-zone radiant systems, these thermostats communicate with zone valves and pumps to follow the programmed schedule precisely without wasting energy.
Electric radiant floor heating zoning relies on separate circuits controlled by thermostats equipped with ground-fault circuit interrupters (GFCI). This safety feature detects electrical faults and cuts power quickly, preventing shocks or fire risks. Always ensure electric zoning controls include GFCI protection, especially in bathrooms and kitchens.
Communication between thermostats, valves, pumps, and heat pumps usually runs over low-voltage wiring or wireless protocols designed for HVAC systems. Reliable signal exchange ensures the heat pump modulates output to match each zone’s demand. Some heat pumps come with built-in zone control interfaces; others require add-on modules or smart home hubs.
Maintenance and Common Pitfalls in Zoned Radiant Floor Heating Systems
Most zoning problems come down to valves placed where they don’t belong. Installing a valve at each loop instead of one per zone creates a tangle that’s hard to balance and stresses the pump. Each zone gets one valve at the manifold, full stop. That valve opens and closes based on the thermostat for that entire area, whether the zone has two loops or six.
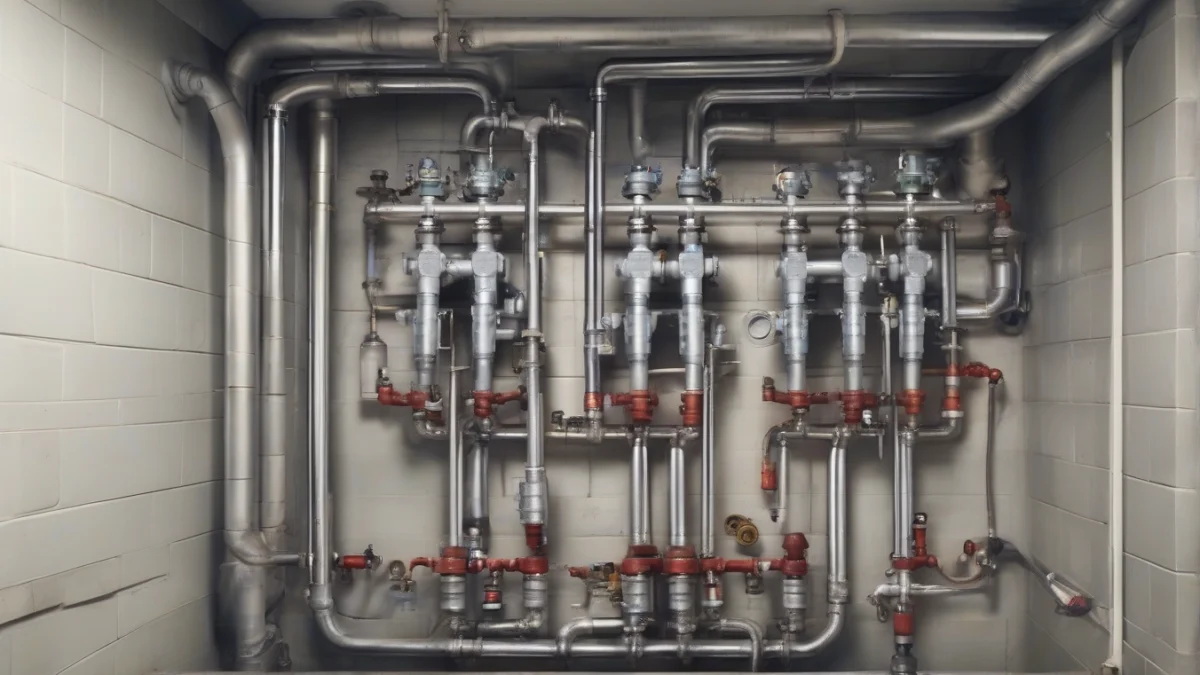
Flow balancing keeps one zone from hogging all the heat while another runs cold. Check it with flow meters on the manifold or by measuring the temperature drop between supply and return lines—most systems target a 10 to 20°F drop. If one zone shows a 5°F drop and another hits 30°F, the flow is uneven and the zones won’t hold setpoint.
Circulator pumps and valve actuators wear out before the tubing does. Inspect the pump annually for noise, vibration, and drips around the seals. A hum that turns into a whine means the bearings are going. Replace actuators every three to five years even if they still move; they slow down as the motor weakens, and a zone that takes five minutes to respond instead of thirty seconds wastes energy every cycle.
Concrete and tile floors store heat, which means a 30 to 90 minute lag between thermostat call and noticeable warmth. Zoning only works well when the thermostat accounts for thermal mass. Program it for setback and recovery times that match your floor—dropping temperature overnight and recovering an hour before you wake up, not five minutes before. Rapid changes fight the floor and wear out valves.
Thermostat calibration drifts over time. An uncalibrated thermostat reading 68°F when the room is actually 64°F forces the zone to overshoot and cycle more often. Check calibration yearly with a reference thermometer placed near the thermostat but away from drafts or sunlight. Most digital thermostats let you adjust the offset in the settings menu.
Pre-Installation Checklist for Radiant Floor Heating Zoning
Before installing or upgrading zoning, confirm the heat loss calculation for each zone. This step ensures your valve and pump sizes match heating demand and avoids oversizing, which wastes energy and increases costs.
Select valve types compatible with your system’s operating temperature and pressure. Ball valves with electric actuators are common, but ensure your pump matches the total flow rate required for all zones combined or plan for multiple pumps.
Verify thermostat compatibility and placement. Use thermostats designed for radiant floors, placed away from direct sunlight, drafts, or heat sources to avoid false readings. Wireless options simplify placement but check battery life and signal strength.
Plan the manifold location carefully. It should be centrally accessible and close to the boiler or heat pump to minimize pipe lengths and heat loss. Layout piping to avoid unnecessary bends and ensure easy maintenance access.
Plan how zoning controls will connect with your heat pump or boiler. Some setups allow direct wiring or communication with smart thermostats for coordinated operation. If you use manual heaters like baseboards or fireplaces, their controls must be managed separately since zoning valves don’t regulate electric heating circuits indoors.
More Questions, Answered
Can one zoning valve control several loops within a single zone?
Is it necessary to have multiple circulator pumps for multi-zone radiant systems?
How does the thermal mass of concrete floors affect zoning response time?
What is the recommended number of zones for a typical two-story home?
How do smart thermostats improve zoning efficiency in radiant floor heating?
What maintenance is required to keep zoning valves and pumps working properly?

HeaterGuides covers home heating, water heating and HVAC: how the equipment works, what it costs to run, and how to use it safely.