Installing a gas heater is a significant home improvement project. It promises reliable warmth and efficiency, but it demands respect for the systems involved. The process intertwines careful planning, precise mechanical work, and a non-negotiable focus on safety. Getting it right means cozy winters; getting it wrong can be dangerous.
This guide walks you through the critical steps, from permits to final inspection. We’ll cover the tools you need, the safety protocols to follow, and when it’s absolutely time to call a professional. For those considering a specific model, many DIYers find success with units like the ProCom Heating Natural gas heater, known for its straightforward design. Remember, this is a guide for understanding the process, not a replacement for certified expertise where required.
Pre-Installation: Safety, Permits, and Planning
Never skip this phase. Rushing into the physical work is the most common and risky mistake. Your first stop isn’t the hardware storeit’s your local building department.
Navigating Permits and Codes
Do you need a permit to install a gas heater in your home? Almost certainly. Local codes exist for your safety. They govern everything from vent pipe sizing to clearances from combustibles. Pulling a permit ensures an inspector will verify your work meets these standards, which is your best defense against hazards like gas leaks or carbon monoxide poisoning. Always check your local requirements; they are the final authority guide.
Non-Negotiable Safety Precautions
Gas heater installation safety starts before you touch a tool. Assume the gas line is live until you’ve personally confirmed it’s off. Your checklist must include:
- Installing a carbon monoxide detector in the same room as the heater and in sleeping areas.
- Locating and testing the main gas shutoff valve.
- Ensuring the installation area is clear of dust, debris, and flammable materials.
- Having a fire extinguisher rated for Class B fires readily accessible.
These steps are not suggestions. They are the foundation of a safe project.
Gathering Tools, Materials, and Preparing the Space
What tools do I need to install a gas heater? Your list will vary by heater type, but a core set is universal. Preparation prevents frustration.
Essential Tools and Materials
For a typical gas furnace installation or wall heater installation, you’ll need:
- Tools: Pipe wrenches, adjustable wrenches, tubing cutter, pipe thread sealant (rated for gas), level, drill, screwdrivers, wire strippers, manometer (for gas pressure testing).
- Materials: Approved gas line pipe (black iron or CSST), fittings, pipe hangers, venting materials specific to your heater type, electrical wire, conduit.
- Safety Gear: Safety glasses, gloves, and a reliable gas leak detection solution.
For a vent-free heater setup, the tool list is shorter, but the code requirements for room size and ventilation are extremely strict. Never assume a vent-free unit is a simple plug-and-play option.
Site Preparation is Key
Clear the workspace completely. For a wall-mounted unit, locate studs and ensure the wall can support the weight. Verify the electrical circuit has the correct capacity. For a floor-standing furnace, ensure the pad is level and stable. This prep work makes the actual gas heater hookup much smoother.
Step-by-Step Gas Heater Installation Process
This is a generalized overview. Always, always follow the manufacturer’s instructions for your specific model. Treat the manual as your primary guide.
Step 1: Mounting and Securing the Unit
Whether it’s a propane heater installation or a natural gas model, start by physically placing the heater. For how to install a wall mounted gas heater, use the provided template to mark drill holes. Secure it firmly to the wall studs with the appropriate hardware. A wobbly heater is a problem waiting to happen.
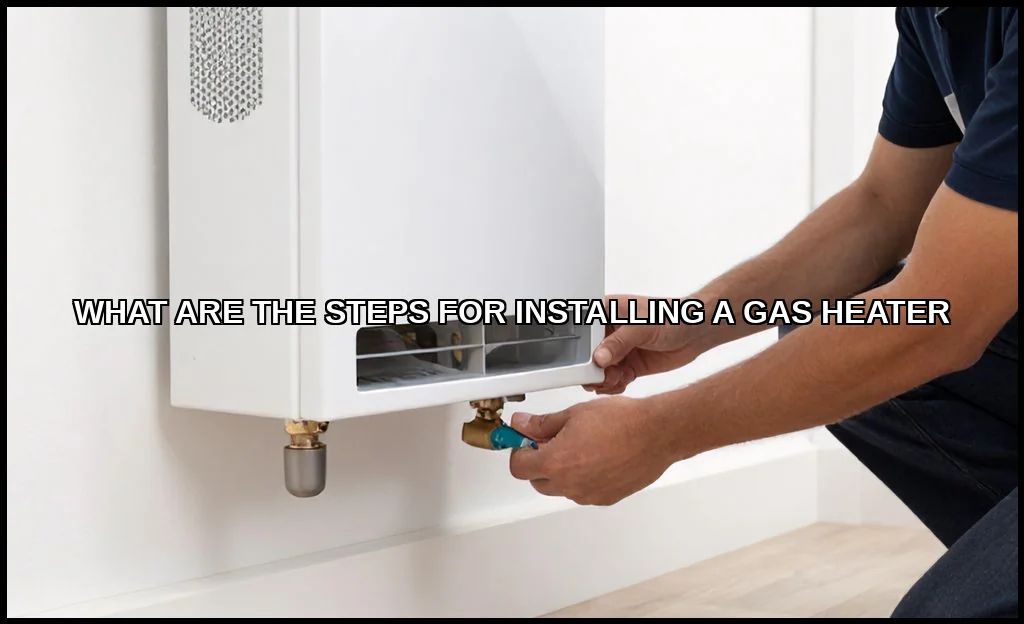
Step 2: Gas Line Installation and Connection
This is a critical phase. If you’re not experienced with gas piping, stop here. A professional should handle the gas line installation for heater. The process involves:
- Running approved pipe from the main line to the heater location.
- Installing a dedicated gas shutoff valve within easy reach of the appliance.
- Using proper thread sealant on all connections.
- Performing a pressure test on the new line before connecting it to the heater. This test checks for leaks in your piping work.
Step 3: Venting and Exhaust
Improper venting is a leading cause of carbon monoxide issues. You must adhere to the manufacturer’s gas heater venting requirements. This includes the correct type of vent pipe (B-vent, direct vent, etc.), proper slope, secure connections, and termination clearances from windows and doors. The draft diverter, if your heater has one, must be installed exactly as specified to ensure proper exhaust flow.
Step 4: Electrical and Control Wiring
Connect the power supply, ensuring the circuit is off. For heaters with a thermostat, you’ll run low-voltage wire. Thermostat wiring follows a standard color code, but always double-check your heater’s wiring diagram. Secure all connections with wire nuts and ensure no bare wire is exposed. This step powers the ignition system and controls, which is good practice for any appliance installation.
Post-Installation: Testing, Leak Checks, and Final Inspection
The heater is physically installed. Now you must prove it works safely. Do not skip these verification steps.
Comprehensive Leak Testing
With the gas valve at the heater turned off, slowly open the main supply. Use a gas leak detector solution or a dedicated electronic sniffer on every single fittingfrom the main line to the final connection at the heater valve. Bubbles indicate a leak. Tighten the fitting, never over-tighten, and re-test. This is more thorough than the initial pressure test on the pipe alone.
Initial Startup and Operational Test
How to test a gas heater after installation? Follow the manufacturer’s lighting instructions precisely. Observe the ignition sequence. Listen for unusual noises. Check that the flames are steady and blue (a yellow or orange flame indicates a problem). Let the unit run through a few cycles, ensuring it reaches temperature and shuts off correctly. Monitor your carbon monoxide detector throughout this process.
The Final Inspection
If you pulled a permit, the local inspector will visit. They will check your gas heater installation permit, review the work against code, and often witness a startup test. Passing inspection is mandatory and provides official validation that your installation is safe. It also protects you legally and can be required for home insurance.
When to Call a Professional: DIY Limitations and Costs
Be brutally honest about your skill level. Gas work is not the place for hopeful guessing. Understanding the gas heater installation cost involves weighing professional labor against potential risks.
Clear DIY Limitations
You should hire a licensed HVAC technician or plumber if:
- You need to run a new gas line from the meter.
- The vent pipe requires complex routing through walls or the roof.
- Your home lacks the necessary combustion air provisions.
- The electrical work involves a new circuit from the breaker panel.
- You are unsure about any part of the gas heater installation guide.
Professionals carry liability insurance and guarantee their work. That peace of mind has real value, much like knowing what safe operating limits are for other home systems.
Cost Considerations
The gas heater installation cost for a professional can range from a few hundred dollars for a simple wall heater swap to several thousand for a new furnace with complex ductwork. DIY might save on labor, but factor in the cost of specialized tools, permit fees, and your time. A mistake can be far more expensive to fix than hiring a pro from the start.
Installing a gas heater is a serious undertaking that blends mechanical skill with rigorous safety protocols. A successful project delivers efficient, reliable heat for years. It hinges on meticulous planning, adherence to codes, and an unwavering commitment to checking your work. If your confidence wavers at any pointespecially regarding gas lines or ventingcalling a professional isn’t a failure. It’s the smartest step you can take. Your safety, and your home’s, depends on it.
