

Infrared heating works by sending radiant heat directly to plants and soil, unlike conventional heaters that warm the air. This method improves plant growth and reduces wasted energy.
Before installing infrared heating, you need to calculate your greenhouse’s heat loss, choose the right heater capacity, and plan the placement for effective coverage.
Infrared Heating For Greenhouses: How It Works And How To Size
Infrared heating warms plants, growing media and greenhouse surfaces directly, so sizing starts with heat loss through the enclosure rather than the heater’s label alone. A correctly sized infrared heating system can maintain the crop’s target temperature with less warm air circulating overhead, provided you account for glazing, outdoor temperature and air leakage.
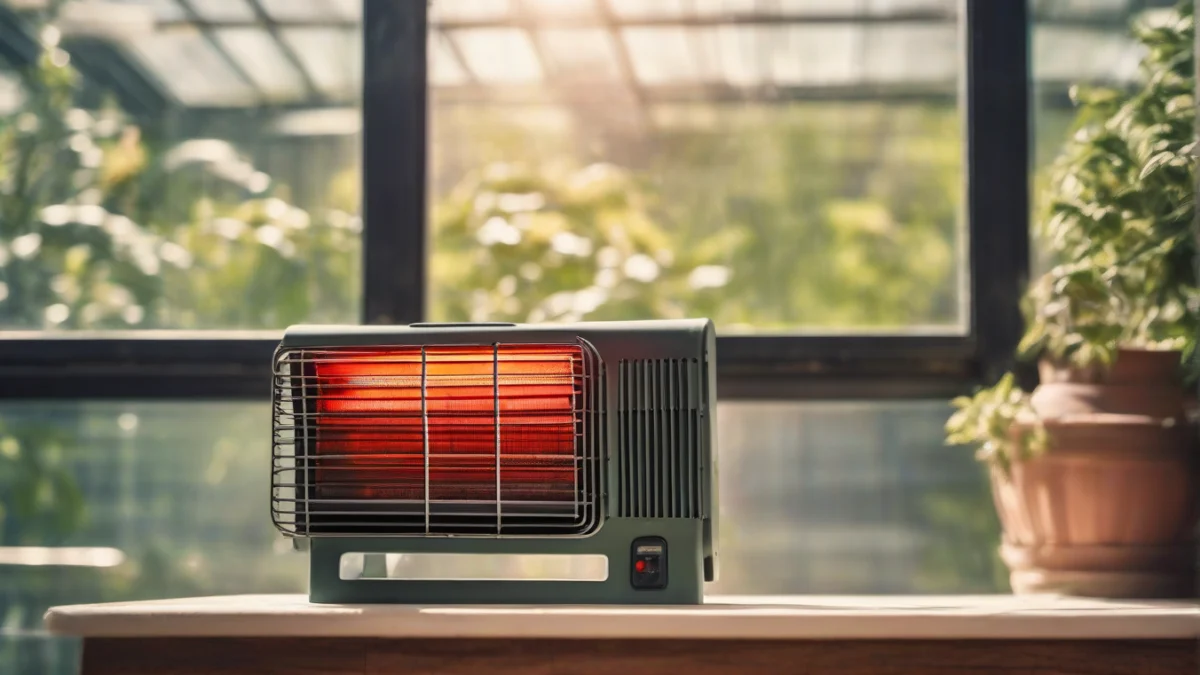
Infrared heating is radiant heat: an electric panel, tube, lamp or other emitter sends energy outward, and nearby solid surfaces absorb it. Convection heaters warm air first; that air then rises, mixes and eventually warms the plants. Infrared heating works more like sunlight through a window, minus the seasonal scheduling problems.
The answer to “how does infrared heating work?” is therefore direct surface heating. Leaves, benches, soil and pots can absorb the radiation, while the surrounding air may remain cooler than it would with a fan heater. Far-infrared panels, radiant tubes and near-infrared lamps are different infrared heating technologies, but the sizing job is the same: calculate the heat leaving the greenhouse, then add a sensible allowance for infiltration and unusual cold.
For a deeper explanation of wavelength, emitter types and surface absorption, see how infrared heating works. The practical limit is worth keeping in view: infrared doesn’t repeal heat loss. A leaky greenhouse still needs heat, and a plant sitting in the wrong place won’t receive much benefit from a beam aimed at the roof.
Use The Heat Loss Formula
The standard conductive heat-loss formula is Q = A × U × ΔT, where Q is heat loss in BTU per hour, A is the exposed area in square feet, U is the glazing’s U-value, and ΔT is the indoor design temperature minus the outdoor design temperature.
- Measure the greenhouse’s exposed walls and roof. Don’t count the floor unless it sits above an unheated space or the calculation method you’re using includes ground loss.
- Choose a U-value for the actual glazing, not the value for an upgrade you might buy later.
- Set ΔT from the crop’s required indoor temperature and your local winter design temperature. A 65°F target with a 15°F outdoor design temperature gives a 50°F difference.
- Multiply A × U × ΔT, then add infiltration heat loss and a modest reserve.
| Greenhouse covering | Typical U-value (BTU/h·ft²·°F) |
|---|---|
| Single glass | 1.1–1.2 |
| Double glass | 0.5–0.6 |
| Twin-wall polycarbonate | 0.5–0.6 |
| Single polyethylene film | About 1.1 |
| Double inflated polyethylene film | About 0.7 |
Worked Greenhouse Sizing Example
Say your greenhouse is 12 by 20 feet, with 8-foot walls and a simple roof area of 240 square feet. The four walls total 384 square feet, giving 624 square feet of exposed covering. Suppose it uses double inflated film at U = 0.7, and you want 65°F inside when the outdoor design temperature is 15°F.
Why Radiant Heat Can Use A Lower ΔT
Infrared may let you design around a lower air temperature difference when the crop and layout allow the leaves and soil to receive direct radiation. In the same example, using a 35°F design difference instead of 50°F cuts conductive loss to 624 × 0.7 × 35 = 15,288 BTU/h, or about 4,480 W.
That lower number is valid only if the plants actually receive the radiant energy and the chosen minimum temperature is safe for them. A shaded bench, dense canopy or blocked panel still follows the colder-air calculation. Size for the coldest important crop zone, not the thermometer mounted beside the heater.
Add Air Infiltration To The Load
Air infiltration can add a surprising amount of heat loss because every crack, opened door and loose vent lets heated air escape. A useful planning formula is Qᵢ = 0.018 × ACH × volume × ΔT, with volume in cubic feet and ACH meaning air changes per hour.
The example greenhouse has 12 × 20 × 8 = 1,920 cubic feet. At 0.5 air changes per hour and a 50°F difference, infiltration adds 0.018 × 0.5 × 1,920 × 50 = 864 BTU/h, or about 253 W. At 1 ACH, the loss doubles. Add that result to the conductive loss before choosing heater capacity, then check the manufacturer’s controls and the electrician’s load calculation for the final installation.

How To Install And Place Infrared Heaters In Your Greenhouse
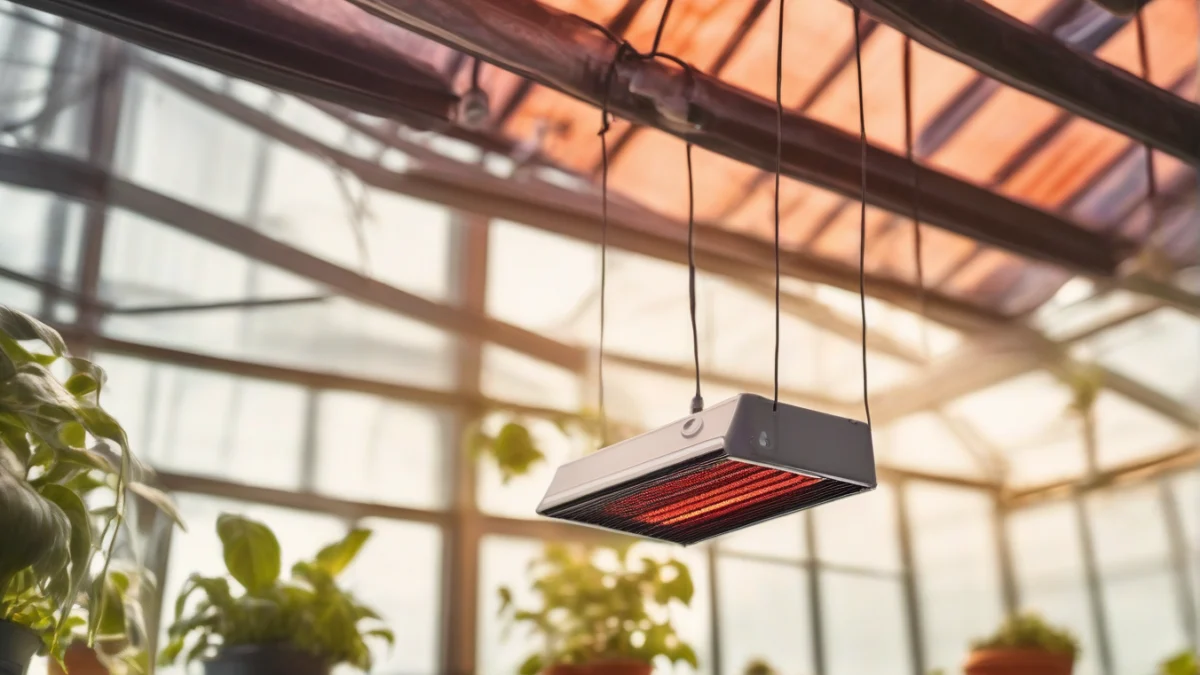
An infrared heating system works best when each heater has a clear view of the plants and sits high enough to spread radiant heat without scorching leaves or blocking your work. For most greenhouse layouts, infrared heating panel installation belongs on the ceiling or high on a wall at roughly 6 to 10 feet above the floor, following the panel’s mounting instructions.
Gather The Tools And Parts
Before drilling, confirm the heater’s voltage, wattage, mounting hardware and control method. A typical kit may need the heater or panel, brackets, screws rated for the mounting surface, a thermostat or temperature controller, cable or conduit approved for the installation, wire connectors, a drill, screwdrivers, a level, a tape measure, a voltage tester and a ladder. Use hardware that can support the heater securely; greenhouse humidity is a poor place for optimistic engineering.
Choose Ceiling Or Wall Placement
Ceiling mounting usually gives the most even infrared heating placement because the panel can face the plant canopy from above. Wall mounting can work along a cold side of the greenhouse, but aim the heating surface across the growing area rather than into a solid wall. Floor placement is generally the wrong choice for a fixed infrared panel: benches, pots and damp soil interrupt the line of sight, while a low heater is easier to bump or splash.
Keep the heater about 6 to 10 feet high unless its manual specifies another distance. A higher position covers more area and reduces hot spots; a lower position may provide stronger local heat but can leave the nearest leaves or plastic too warm. Measure the recommended clearance above and around the unit, then mark a location where hanging baskets, shade cloth, trellises and tall plants won’t sit between the heater and the crop.
Make A Clear Radiant Path
Infrared energy travels in a straight line, so place panels where their face can see the plants, growing media and benches you need to warm. Don’t hide a panel behind shelving, a water tank or a row of dense foliage. Divide a long greenhouse into heating zones if one panel can’t see the whole crop, and leave room to reach the heater for inspection without stepping on beds.
Plan The Thermostat And Wiring
Mount the thermostat at plant height in a shaded spot that represents the growing area, away from the heater’s direct radiation, doors, vents and cold outside walls. Direct radiant heat can make the thermostat think the greenhouse is warmer than the leaves and soil actually are. Follow the wiring diagram exactly: some panels use a plug and external controller, while others require a thermostat relay and fixed wiring.
Install And Test In Order
Mistakes That Damage Infrared Heating Or Reduce Efficiency
Infrared heating mistakes usually come from poor mounting, bad wiring, moisture or controls that fight the heater. Infrared heating leaks need a closer look: electric systems don’t leak fuel, but roof leaks, condensation and damaged cable insulation can let water reach the heater or its connections. Gas-fired infrared units can also leak fuel if fittings or hoses are damaged, so shut off the supply and leave the area if you smell gas.
Blocked infrared beams waste the heater’s main advantage. A hanging basket, bench, shade cloth or tall crop between the panel and the plants absorbs the radiant energy before it reaches the growing area; mounting the heater too close can create hot spots on leaves while leaving the far side cold. Keep the manufacturer’s clearance around the heater and check the heat pattern after plants grow taller.
Poor wiring is one of the most serious infrared heating damage causes because loose terminals, undersized conductors or a circuit carrying too much load can overheat before the heater itself looks abnormal. Plug electric heaters straight into a wall outlet, never an extension cord or power strip, and use the required overheat protection, tip-over protection where supplied, and a UL, ETL or CSA listing. A 1,500 W heater on 120 V draws about 12.5 A, leaving little spare capacity on a standard 15 A circuit.
Cold drafts and unplanned ventilation can erase the heat you paid for. Seal obvious gaps around doors, glazing and service penetrations, but never block the ventilation or flue arrangement required by a fuel-burning heater; combustion equipment needs the manual’s air supply and a working carbon monoxide alarm. High humidity also encourages condensation, so inspect cable entries, junction boxes and the heater surface after damp nights.
Thermostat settings can cause short cycling when the sensor sits in the radiant beam or the temperature differential is too narrow. Move the sensor out of direct radiation and away from doors, then use the manufacturer’s allowed differential or minimum run-time setting so the heater completes useful cycles instead of switching on and off every few minutes. Essential infrared heater maintenance tips checklist can help you catch loose mounts, blocked surfaces and moisture damage before winter makes the inspection unpleasant.
Permits And Licensed Professionals For Infrared Heater Installation
Infrared heating permits and a licensed pro infrared heating installation are usually required when the work changes fixed wiring, adds a circuit, modifies the panel or uses gas. A plug-in unit may fall under simpler local rules, but the answer depends on your city, county, greenhouse structure and the heater’s listing. Call the building department before buying wire or cutting a hole; the permit desk can tell you which applications and inspections apply.
A licensed electrician should handle a hardwired heater, a new 240 V circuit, panel work, outdoor or underground wiring, disconnects, junction boxes in damp locations and any circuit whose load needs calculation. The electrician can verify conductor size, grounding, overcurrent protection and the greenhouse’s wet-location requirements. Don’t treat a greenhouse like a dry spare bedroom just because the plants are doing better than you are.
Gas or propane infrared heaters bring separate permit and safety questions. Indoor-rated equipment must have the ventilation required by its manual, a working carbon monoxide alarm and correctly sized fuel piping, shutoff valves and regulators; an outdoor or patio heater isn’t made safe by moving it under glass. Local rules may require a gas permit, licensed gas fitter, inspection, vent approval and clearance from combustible framing.
Infrared heating code requirements can also cover structural attachment, clearance to glazing and crops, fire separation, weather exposure, fuel storage and access for servicing. Zoning or building officials may have additional rules if the greenhouse is attached to a home, used commercially or supplied by a permanent gas line. Keep the heater’s installation instructions, electrical specifications and listing information ready for that conversation.
Skipping required work can create two problems after an accident: the installation may be unsafe, and your insurer may question unpermitted or unlicensed alterations. Permit rules don’t replace the manufacturer’s clearances or local inspection, and an approval doesn’t make a damaged cord, blocked vent or leaking fitting acceptable. Stop and hire the appropriate professional if you can’t verify the circuit, gas connection, ventilation path or mounting strength.
Questions People Ask
What is the difference between infrared heating and convection heating in greenhouses?
How do I calculate the size of the infrared heater needed for my greenhouse?
At what height should I mount infrared heaters in a greenhouse?
Can I install an infrared heater myself or do I need a professional?
What are common mistakes to avoid when installing infrared heating in a greenhouse?
Do I need a permit to install infrared heating in my greenhouse?
How does infrared heating improve plant growth compared to traditional heating?

I am a mechanical engineer and love doing research on different home and outdoor heating options. When I am not working, I love spending time with my family and friends. I also enjoy blogging about my findings and helping others to find the best heating options for their needs.
Related guides

Why Infrared Light Feels Hotter Than Visible Light
Infrared radiation has longer wavelengths than visible light, allowing it to carry more energy, which makes it feel…
Infrared Heating Pad Guide: Safe Use & Maximum Benefits
To use an infrared heating pad, plug it in, select the desired temperature, place it on the targeted…
Infrared Patio Heaters: Ultimate Outdoor Comfort Guide
Maximize comfort outdoors with infrared patio heaters, which provide efficient, targeted warmth while minimizing energy consumption and enhancing…
