DIY installation of infrared heaters involves selecting the right location, ensuring proper electrical connections, and following manufacturer guidelines for safety and efficiency.
Installing infrared heaters yourself can save hundreds in electrician costs. With basic tools and safety precautions, most homeowners can complete this project in under an hour per unit.

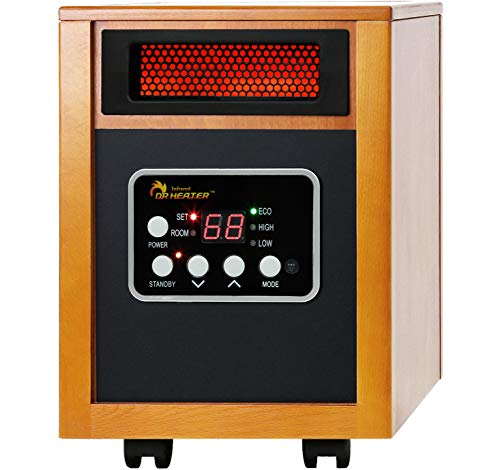
Infrared Heater Installation Basics
Modern infrared panels are designed for simple DIY installation. Unlike traditional heating systems, they don’t require complex ductwork or plumbing connections.
Tools You’ll Need
- Power drill with masonry/concrete bits (for hard surfaces)
- Screwdriver set
- Stud finder
- Level
- Pencil
- Measuring tape

Step-by-Step Installation Process
1. Choose the Right Location
Mount heaters 6-8 feet above floor level for optimal heat distribution. Maintain at least 12 inches clearance from ceilings and 24 inches from furniture or curtains. For bathrooms, consider waterproof models with integrated ventilation.
2. Prepare the Mounting Surface
Use a stud finder to locate wall studs or ceiling joists. Mark drilling points using the included template. For drywall without studs, use heavy-duty toggle bolts.
3. Secure the Mounting Bracket
- Drill pilot holes at marked locations
- Insert wall plugs if needed
- Screw bracket securely into place
- Verify level before final tightening
4. Wire the Heater
For plug-in models, simply connect to a dedicated outlet. For hardwired units:
| Wire Color | Connection |
|---|---|
| Black | Hot (Line) |
| White | Neutral |
| Green/Bare | Ground |
5. Mount the Heater Panel
Lift the unit onto the bracket until it clicks into place. Ensure all safety catches engage properly.
Safety Considerations
Always follow these critical safety steps:
- Turn off power at the breaker before wiring
- Use GFCI protection in bathrooms
- Never daisy-chain multiple heaters on one circuit
- Maintain proper clearance from combustibles
Troubleshooting Common Issues
Heater Not Turning On
Check circuit breaker, thermostat settings, and wiring connections. Verify power at the outlet with a voltage tester.
Uneven Heating
This often indicates improper placement. Refer to infrared heater placement guides for optimal positioning strategies.
Advanced Installation Options
For whole-home systems, consider these professional tips:
- Use dedicated 20-amp circuits for multiple heaters
- Install smart thermostats for zoned control
- Consider ceiling mounting for larger spaces
For complex installations, consult resources like Infrared Heaters Direct or hire a licensed electrician for the wiring portion.
Maintenance Tips
Keep your infrared heaters working efficiently with simple care:
- Dust panels monthly with a soft cloth
- Check electrical connections annually
- Inspect mounting hardware for tightness
- Clean reflectors with mild soap solution