Temperature calibration verification is not just a box to tick. It’s the backbone of reliable data in labs, kitchens, and industrial processes. You need to know your readings are accurate. A simple calibration verification process confirms your instrument hasn’t drifted. It builds confidence in every decision based on that number.
Think of it as a health check for your measurement system. Without it, you’re operating on assumptions. For tasks requiring precise environmental control, like maintaining a humidor, consistent tools are key. Many enthusiasts rely on the Boveda Cigars One-Step calibration kit for its simplicity and reliability. It’s a smart example of a dedicated tool for a specific temperature sensor validation need.
Why Bother with a Temperature Calibration Check?
Every temperature instrument drifts over time. Stress, age, and environmental exposure take a toll. A formal thermometer accuracy test catches these shifts before they cause problems. This is about risk management. Inaccurate readings can ruin a product batch, compromise safety, or invalidate research.
Consider how temperature affects everything from food safety to pharmaceutical storage. A two-degree error in a refrigerator can have significant consequences. Regular verification is your first line of defense. It ensures your temperature measurement accuracy is where it needs to be.
Gathering Your Verification Toolkit
You can’t verify what you can’t compare. The core of any check is a trusted reference standard. This is a device with a known, higher accuracy than your unit under test. Its calibration certificate from an accredited lab is your proof.
Essential Equipment for Verification
- A Certified Reference Thermometer: Often a platinum resistance thermometer (PRT) or a high-quality digital thermometer with a valid certificate.
- A Stable Temperature Source: A dry-well block, liquid bath, or even a properly maintained ice bath (for 0C).
- Documentation Tools: A worksheet to record as-found data before any adjustment.
For a basic field calibration check, a simple ice slurry can be a practical start. But for true temperature instrument validation, a controlled heat source is non-negotiable. The goal is to create a stable, uniform environment for comparison.
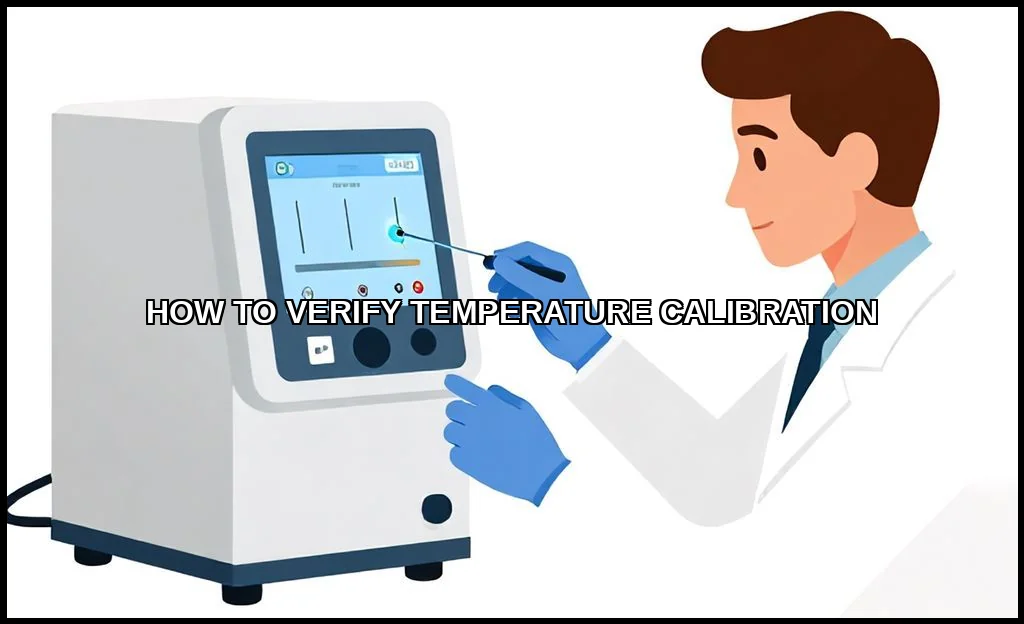
Step-by-Step Temperature Calibration Verification
Follow this procedure to systematically verify your device. This is your calibration confirmation procedure in action.
1. Preparation and Documentation
Start by reviewing the instrument’s last calibration certificate. Note its specified accuracy and the test points used. Record the initial reading of your unit under test. This is the critical as-found data. It tells you the magnitude of any drift since its last calibration.
2. Performing the Comparison
- Stabilize your temperature source (bath or block) at the desired test point. Common points include 0C, 100C, and a typical use temperature.
- Insert both the reference probe and the probe you are checking into the source. Ensure they are at the same depth and location.
- Allow sufficient time for both readings to stabilize. This can take several minutes.
- Record the readings from both devices simultaneously. Note any difference.
3. Analyzing the Results
Compare the difference to the stated accuracy specification of your device. Is the deviation within acceptable limits? If so, your verification passes. Document everything. If not, the instrument requires adjustment or formal recalibration. This process answers the common question: how to verify calibration of a digital thermometer with confidence.
Navigating Standards and Compliance
Verification isn’t done in a vacuum. It’s often governed by standards like ISO/IEC 17025 or industry-specific regulations. Your calibration certificate review is part of this. You’re checking traceability to national standards, often through an official source like NIST.
Proper documentation is not bureaucracy. It’s evidence. It shows auditors and regulators that you have a controlled process. Your records should include the reference standard used, environmental conditions, results, and the person performing the check. This creates an audit trail.
| Verification Element | Purpose | Documentation Needed |
|---|---|---|
| Reference Standard | Provides the known “true” value for comparison. | Current calibration certificate with uncertainty. |
| As-Found Data | Records the instrument’s state before any action. | Dated worksheet with initial readings. |
| Test Conditions | Ensures the test was performed correctly. | Record of temperature source, stabilization time, ambient temp. |
Common Pitfalls and Troubleshooting
Even a straightforward check has nuances. Avoid these common mistakes to ensure your temperature calibration verification is valid.
Top Verification Mistakes
- Poor Probe Placement: The biggest error. Probes must be at the same depth in the temperature source to “see” the same temperature.
- Insufficient Stabilization: Impatience leads to false readings. Wait for the values to stop changing.
- Ignoring Environmental Factors: Drafts, sunlight, or heat from your hand can affect probes, especially in a field calibration check.
- Misinterpreting the Certificate: Confusing the accuracy of the reference standard with the tolerance of your device.
What If You Lack Formal Equipment?
The question of how to verify temperature calibration without equipment often arises. While not a formal calibration, you can perform a sanity check. Use a properly made ice bath (32F/0C) or boiling water (at your known altitude). Compare readings. It won’t give you data for compliance, but it can flag a gross failure. It’s better than nothing, but not by much.
For critical applications, there’s no substitute for proper tools. Knowing what temperature your water heater should reach, for instance, requires a verified tool for safety and efficiency.
Building a Sustainable Verification Schedule
So, how often should you verify temperature calibration? There’s no universal answer. It depends on criticality, usage frequency, manufacturer recommendations, and historical performance data. A pH meter used daily in a quality control lab might need monthly checks. A thermometer used quarterly in a stable environment might be fine with an annual verification.
Start with the manufacturer’s guideline. Then, adjust based on your as-found data trend. If your device consistently passes verification for a year, you might extend the interval. If it drifts, shorten it. The schedule should be a living part of your quality system.
Verifying temperature calibration is a fundamental practice of measurement integrity. It transforms a simple instrument into a trusted tool. You move from guessing to knowing. By mastering the step by step temperature calibration verification, using proper references, and documenting diligently, you build a foundation of reliable data. That reliability saves time, money, and reputations. Start your next check with confidence.
