

To use a thermocouple thermometer, insert the probe into the material to be measured, ensuring good contact, and read the temperature on the display.
Thermocouple thermometers are essential tools for measuring extreme temperatures in industrial, scientific, and culinary applications. This guide will show you how to use them properly while avoiding common pitfalls.

Desa
Thermocouple 104146-02 104146-01 Dayton Master Reddy Desa…
- Precise Temperature Sensing: Measures a range of 0 - 120F, ensuring accurate control of your electrical heating systems
- Long Sensing Distance: With an 18-inch sensing distance, it can be placed safely away from heat sources
- Durable Surface Mount Design: Easy to install and built to last, perfect for industrial and commercial settings
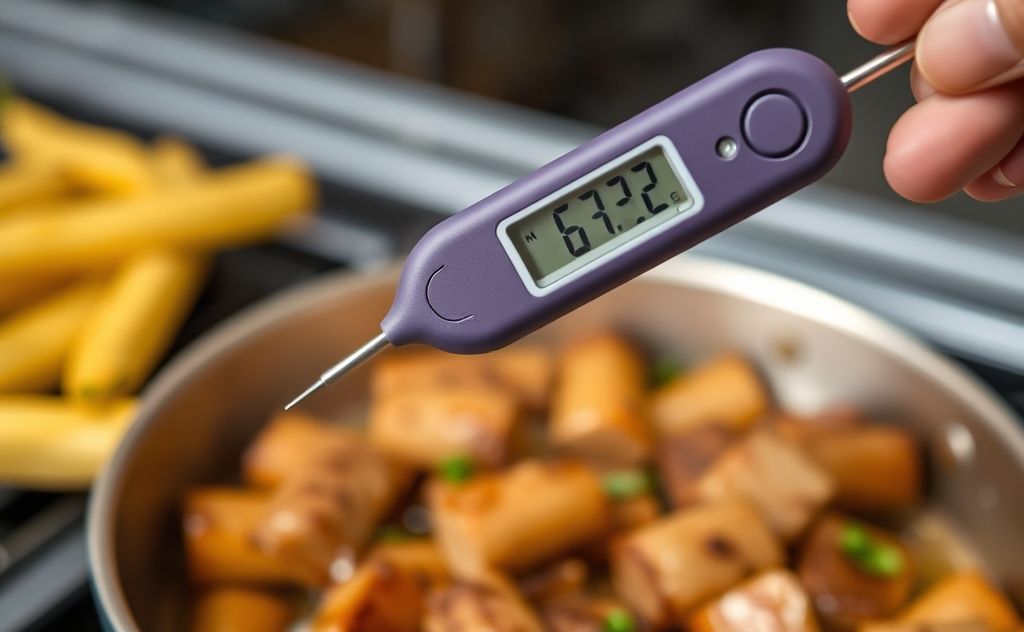
What Is a Thermocouple Thermometer?
A thermocouple thermometer consists of two dissimilar metal wires joined at one end (the measurement junction) and connected to a temperature-reading device at the other end. When the measurement junction experiences temperature changes, it generates a small voltage that correlates to temperature.
Key Components
- Measurement junction (hot end)
- Reference junction (cold end)
- Signal conditioning circuitry
- Temperature display unit
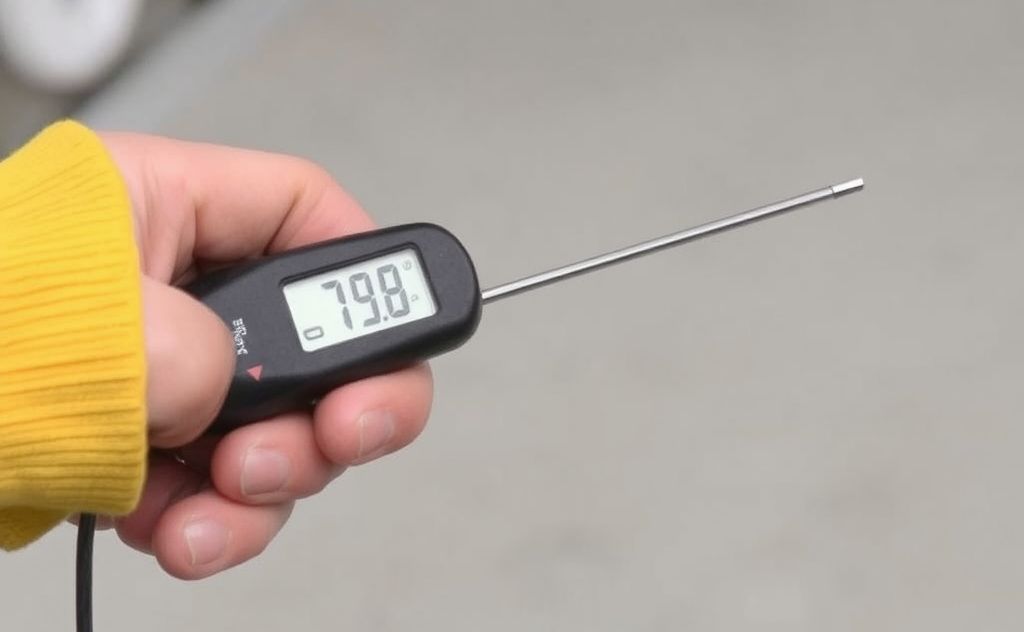
How to Use a Thermocouple Thermometer Properly
Step 1: Select the Right Thermocouple Type
Choose based on your temperature range and environment:
| Type | Materials | Temperature Range | Best For |
|---|---|---|---|
| Type K | Chromel-Alumel | -200°C to +1260°C | General purpose |
| Type J | Iron-Constantan | 0°C to +760°C | Reducing atmospheres |
| Type T | Copper-Constantan | -200°C to +350°C | Cryogenics |
Step 2: Prepare the Measurement Area
Clean the surface where you’ll place the thermocouple. For surface measurements, ensure good contact. For air measurements, position the junction in the center of the area you’re measuring.
Pro Tip:
Use thermal paste when measuring surfaces to improve contact and accuracy. This is especially important for metal surfaces that conduct heat unevenly.
Step 3: Connect and Read
- Insert the thermocouple probe into the thermometer input
- Wait for the reading to stabilize (typically 2-10 seconds)
- Record the temperature
Advanced Techniques for Better Accuracy
Reference Junction Compensation
Modern thermocouple thermometers use electronic cold junction compensation instead of ice baths. The device measures the temperature at the reference junction (where wires connect to the meter) and automatically adjusts readings.
Noise Reduction
Thermocouples generate microvolt signals that are susceptible to interference:
- Use twisted pair thermocouple wires
- Keep leads away from power cables
- Use shielded cables in noisy environments
Common Mistakes to Avoid
Improper Grounding
Ground loops can introduce errors. Follow these guidelines:
- Use isolated thermocouple inputs when possible
- Avoid grounding both ends of the thermocouple circuit
- Check for stray voltages in industrial settings
Calibration Neglect
Thermocouples drift over time. Calibrate regularly using:
- Ice point calibration (0°C reference)
- Boiling water checks (100°C at sea level)
- Professional calibration services for critical applications
For more on calibration techniques, see this detailed guide from Fluke.
Special Applications
High-Temperature Measurements
For temperatures above 1000°C:
- Use ceramic sheathed thermocouples
- Allow proper thermal soak time
- Consider infrared verification for cross-checking
Cryogenic Measurements
When measuring below -100°C:
- Use Type T or special low-temperature thermocouples
- Minimize heat conduction along wires
- Account for thermal EMFs in connecting materials
Maintenance and Care
Cleaning Procedures
Regular cleaning prevents measurement drift:
- For general cleaning, use isopropyl alcohol
- Remove oxidation with fine emery cloth
- Never use abrasives on thin-wire thermocouples
Storage Recommendations
Proper storage extends thermocouple life:
- Keep in dry environment
- Prevent kinks in wires
- Store in original containers when possible
Related pick: Check today's price on Amazon

I am a mechanical engineer and love doing research on different home and outdoor heating options. When I am not working, I love spending time with my family and friends. I also enjoy blogging about my findings and helping others to find the best heating options for their needs.
Related guides
How to Clean a Thermometer: Step-by-Step Guide
You probably know how to use a thermometer. But do you know how to clean it properly? That's…
How to Measure Air Temperature Accurately With a Thermometer
To measure air temperature with a thermometer, place the thermometer in the shade away from direct sunlight and…

7 Types of Thermometers: How to Choose the Right One
You wake up at 2 a.m. to a warm forehead and a crying toddler. Your old thermometer reads…