To replace the anode rod in a Rheem water heater, first turn off the power and water supply, then drain a few gallons of water from the tank, remove the anode rod using a socket wrench, and install the new rod by securing it tightly, ensuring a proper seal to prevent leaks.
Replacing the anode rod in your Rheem water heater is a crucial maintenance task that extends the lifespan of your unit. This simple DIY project can save you hundreds in premature tank replacement costs.

Why Replace Your Water Heater’s Anode Rod?
The anode rod is a sacrificial component that protects your water heater tank from corrosion. Rheem recommends inspecting it every 3 years and replacing when more than 6 inches of core wire is exposed. Signs you need replacement include:
- Rotten egg smell in hot water
- Discolored water
- Visible corrosion on plumbing connections
- Water heater age over 5 years

Tools Needed for Anode Rod Replacement
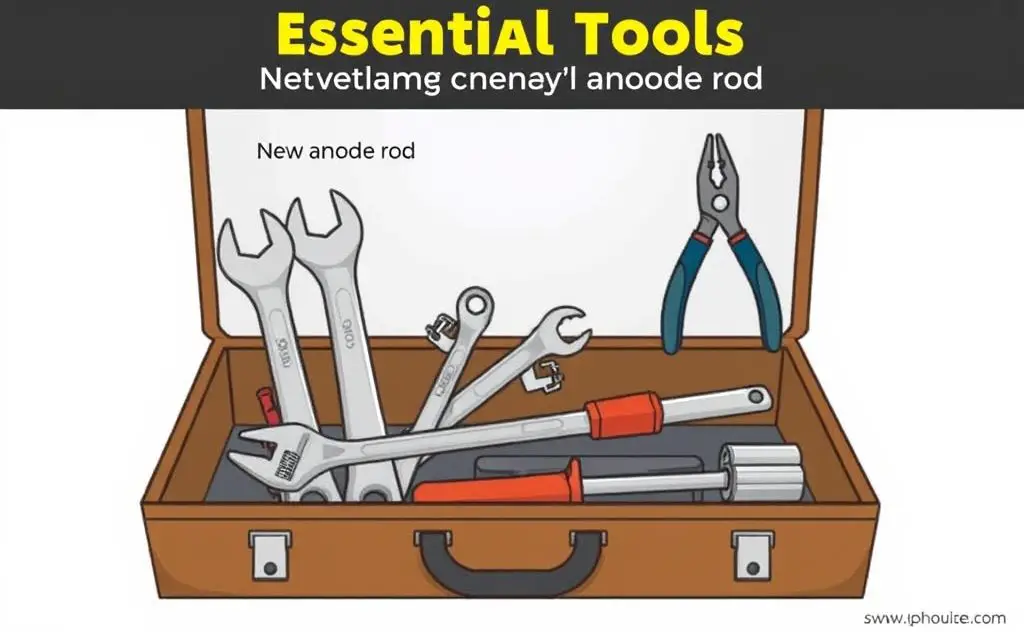
Essential Tools
- 1-1/16″ socket (standard Rheem anode rod size)
- Breaker bar or impact wrench
- Teflon tape
- Channel locks
- Garden hose
Optional Helpful Tools
- Pipe wrench for stubborn rods
- WD-40 for rusted connections
- Shop vac for water removal
Step-by-Step Replacement Guide
1. Turn Off Power and Water Supply
For electric heaters, shut off power at the breaker. For gas units, turn the gas control knob to “Pilot.” Close the cold water supply valve.
2. Drain Partial Tank Water
Connect a garden hose to the drain valve and open it to drain about 5 gallons. This prevents spills when removing the rod. Learn more about proper water heater draining techniques.
3. Locate and Remove Old Anode Rod
Find the hex head anode rod on top of the tank. Use your 1-1/16″ socket with breaker bar to loosen it. If stuck, apply penetrating oil and wait 15 minutes before retrying.
4. Install New Anode Rod
Wrap the new rod’s threads with Teflon tape. Hand-tighten first, then give it an additional 1/4 turn with your wrench. Consider upgrading to a powered anode rod for longer protection.
5. Restore Water and Power
Open the cold water supply and let the tank fill completely before restoring power. Check for leaks at all connections.
Choosing the Right Replacement Anode Rod
| Type | Pros | Cons |
|---|---|---|
| Magnesium | Best protection, standard in Rheem | Faster corrosion in hard water |
| Aluminum | Lasts longer in soft water | May discolor water |
| Powered | Never needs replacement | Higher upfront cost |
Pro Tips for Easier Replacement
- Replace when tank is warm (not hot) for easier removal
- Use a flexible anode rod if space is limited
- Consider installing a water heater expansion tank while working on the system
- Mark your calendar for next inspection in 3 years
When to Call a Professional
While most homeowners can handle this job, seek professional help if:
- The anode rod won’t budge after multiple attempts
- You discover significant tank corrosion
- Your water heater shows other issues like flashing red lights
