How to Adjust and Regulate Underfloor Hydronic Heating
On this page 7 sections
- How to Control Floor Heat on a Constantly Heated Hydronic System
- Balance Heating Zones by Adjusting the Manifold Flow Meters
- Set and Program Your Thermostat for Hydronic Floor Heating Comfort
- Common Mistakes That Cause Damage or Poor Performance
- When to Call a Licensed Pro or Get a Permit
- Tools and Parts Checklist for Adjusting Hydronic Floor Heat
- Frequently Asked Questions
Underfloor hydronic heating feels like a hidden luxury—warm floors and steady comfort without noisy radiators. But tweaking the system isn’t obvious since it’s out of sight. This guide walks you through adjusting flow, thermostat settings, and balancing zones to get your system humming efficiently.
You’ll learn practical steps, avoid common mistakes, and know when to call in a pro. A few tools and patience are all you need to take control of your floor heat.
How to Control Floor Heat on a Constantly Heated Hydronic System
You control floor heat on a constantly heated hydronic system mainly by adjusting the flow rates through each loop at the manifold and setting your thermostat with a floor sensor in mind. Regulating flow involves balancing valves and flow meters to match loop length and heat demand, while thermostats guide gradual temperature changes to keep floors comfortable and avoid sudden swings.
At the heart of flow control is the manifold, where each heating zone’s loop has a balancing valve and a flow meter. The valve lets you tweak how much heated water passes through that loop, adjusting heat output by controlling flow rate. The flow meter shows the current rate, so you can dial it in to suit the size and insulation of each room’s floor.
Start by finding the manufacturer’s recommended flow rate—often between 0.3 and 0.6 gallons per minute (GPM) per loop—and adjust the valve slowly while watching the flow meter. Longer loops need higher flow rates to deliver enough heat, but too high a flow wastes energy and can cause noise or wear. Short loops require less flow to maintain steady warmth.
Your thermostat setting is equally important. Most underfloor hydronic systems use thermostats with floor sensors that measure the actual temperature of the slab or floor covering, not just the air. This feedback lets the system modulate heat output smoothly and prevents overheating the floor surface, which can be uncomfortable or damage flooring materials.
Set your thermostat to a target floor temperature rather than just room air temperature. Typical comfort zones range from 80°F to 85°F for tile or stone floors, and slightly cooler for wood or carpeted floors. Adjust the dial or programming in small increments—about 1°F at a time—and allow several hours to gauge the effect, since the floor mass changes temperature slowly.
The boiler’s flow temperature—the temperature of the water it sends to the manifold—also influences floor heat output. Higher boiler temperatures mean hotter water entering the loops, producing more heat, but the system usually runs at 85°F to 140°F to protect floor materials and maintain efficiency. Check your boiler’s settings and avoid exceeding the maximum flow temperature recommended for your floor type.
If your system runs constantly, these adjustments matter more because your floor temperature can drift if flow rates are off or the thermostat isn’t calibrated correctly. Monitor your flow meters regularly to spot imbalances or deviations, especially if some rooms feel colder or warmer than others. Small tweaks can restore balance without shutting the system down.
Controlling floor heat on a constantly heated hydronic system boils down to balancing water flow with valves and meters, setting thermostats for steady floor temperature, and monitoring boiler flow temperature. These steps keep your floor warm without wasting energy or risking damage.
Balance Heating Zones by Adjusting the Manifold Flow Meters
Uneven floor temperatures usually mean your hydronic system’s loops are out of balance, and the fix involves adjusting the manifold flow meters to get the right water volume through each zone.

Start by identifying problem zones. Walk across your floors and note which rooms feel cooler or hotter than others. Cold spots often indicate low flow, while overly warm floors suggest too much flow.
Next, locate the flow meters on your manifold. They look like small vertical tubes with a floating indicator inside, often marked with flow rates in gallons or liters per minute. The flow meter tells you how much hot water is traveling through each loop.
To balance the system, use the balancing valves—usually knobs or screws near each flow meter—to adjust flow. Turning the valve clockwise decreases flow, while turning it counterclockwise increases flow. For example, if a loop’s floor is too cold, open its valve a quarter turn and wait 15–20 minutes for the change to take effect before reassessing.
Remember that longer loops generally require higher flow rates because the water loses heat the farther it travels. A loop running through a large room or a distant wing often needs more water volume than a short loop in a small bathroom.
Avoid overtightening the valves when decreasing flow. Excessive torque can damage the valve seals or cause leaks, especially on older manifolds. Turn the valve smoothly and stop as soon as the flow meter shows the desired reduction.
Set and Program Your Thermostat for Hydronic Floor Heating Comfort
To set your thermostat for hydronic floor heating, you want to use a model with a floor sensor, not just an air sensor. Floor sensors measure the actual floor temperature, which keeps the heat steady and avoids overheating or underheating your floors.
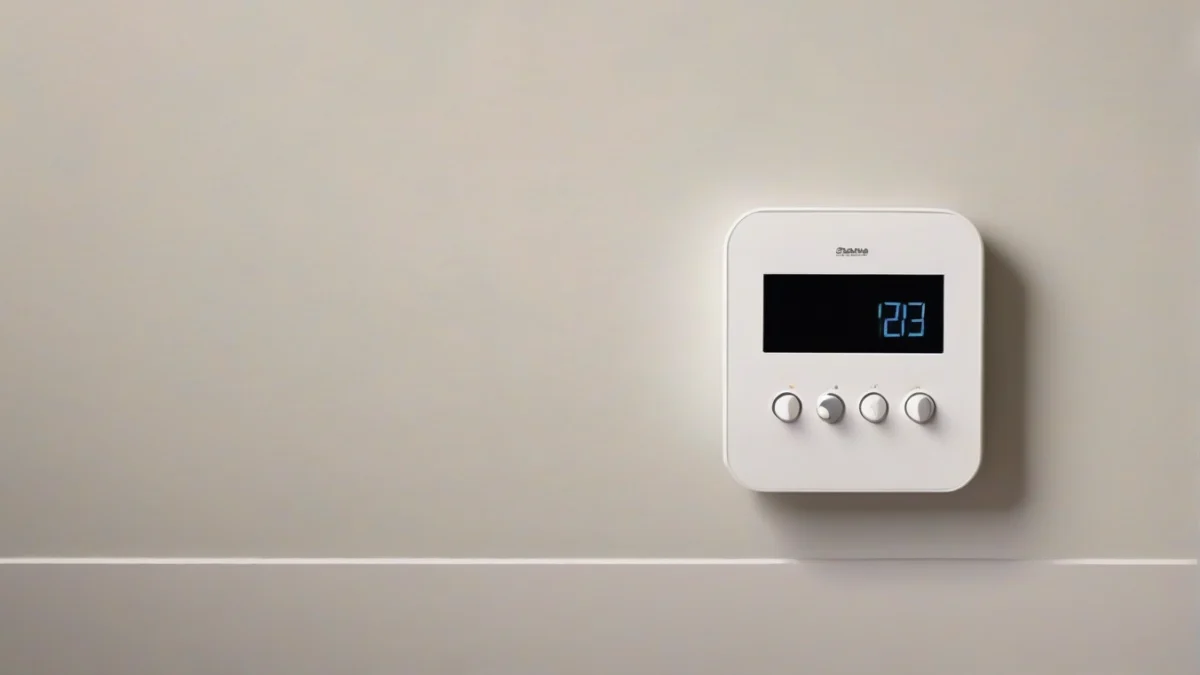
The WDE002497 is a common thermostat for floor heating comfort. Start by connecting the floor sensor and selecting the floor sensor mode if your unit has both options. Then set your target floor temperature between 75 and 85°F—this range gives comfortable warmth without damaging flooring or wasting energy.
 Heating System Upgrade PlannerChoose between a heat pump, a furnace, a boiler or a hybrid with your own numbers, and hire the right installer.Every system compared side by side25 questions for contractors, red flagsRunning-cost, payback and quote calculator (Excel)
Common Mistakes That Cause Damage or Poor Performance
Over-tightening balancing valves is a common error that leads to leaks or broken parts. These valves seal by compressing washers or O-rings; too much force can crack the valve housing or deform seals, causing drips or stuck valves.
Trapped air in loops reduces water flow and creates cold spots on the floor. Air pockets block circulation, wasting energy and stressing the pump. Bleed air from each loop regularly to maintain even heat distribution.
Running your boiler at too high a flow temperature can damage flooring materials like wood or vinyl. Floors have maximum safe surface temperatures, often around 85°F to 90°F. Exceeding that can cause warping, discoloration, or even toxic gas release from some plastics.

Skipping annual maintenance lets pressure drops, corrosion, and pump noises go unnoticed until they cause system failure. Regular checks catch leaks, dirty filters, and air buildup early. Maintenance also ensures your expansion tank and pressure relief valves work correctly.
Attempting major adjustments like repiping, boiler replacement, or electrical work without proper permits or expertise risks code violations, safety hazards, and costly repairs. Know your limits and when to stop.
When to Call a Licensed Pro or Get a Permit
Modifying boiler settings beyond basic temperature tweaks, or replacing pumps and circulators, requires a licensed HVAC or plumbing professional. These components connect to gas or electrical systems and must meet code.
Any electrical or gas connections to your hydronic heating system legally must be done by a licensed electrician or plumber. This ensures safe wiring, proper venting, and compliance with local codes.
Permits are normally required for major system modifications, such as adding new loops, replacing the boiler, or installing a new manifold. Your local building department can confirm when permits apply.
Stick to basic flow balancing and thermostat programming yourself. Beyond that, safety and code compliance are good reasons to hire a pro. Licensed installers carry insurance and guarantee their work.
Tools and Parts Checklist for Adjusting Hydronic Floor Heat
Adjusting your hydronic floor heating demands a basic set of tools and parts collected before you begin. You won’t get far without the right equipment at hand, and scrambling for tools mid-job wastes time and risks mistakes.
The flow meter key or a small screwdriver fits the adjustment screws on your manifold valves. Without this, balancing flow rates is guesswork. Check your manifold’s exact valve type before buying a tool.
A thermometer or infrared sensor lets you verify floor temperatures without guesswork. Spotting cold spots or overheating early avoids discomfort and system stress.
Keep the thermostat’s manual handy. Programming hydronic systems often involves non-intuitive steps, and having the guide ensures you won’t misconfigure controls or lose saved settings.
Manual air bleeders need a dedicated tool to open and close them safely. Air trapped in the system causes noise and poor heat circulation, so bleeding is essential after adjustments.
Basic hand tools cover loosening or tightening fittings and valves. An adjustable wrench fits various nut sizes, while pliers help grip and turn parts securely without damage.
Protective gloves shield your hands from hot water pipes and sharp edges hidden in manifold assemblies. A flashlight helps you see small valve markings or hard-to-reach spots, especially if you work early mornings or evenings.
Gather these before starting. Having them ready simplifies the process and prevents interruptions that lead to mistakes or incomplete adjustments. If you want to dig deeper into system components or accessories, check our guide on essential hydronic underfloor heating accessories you need.