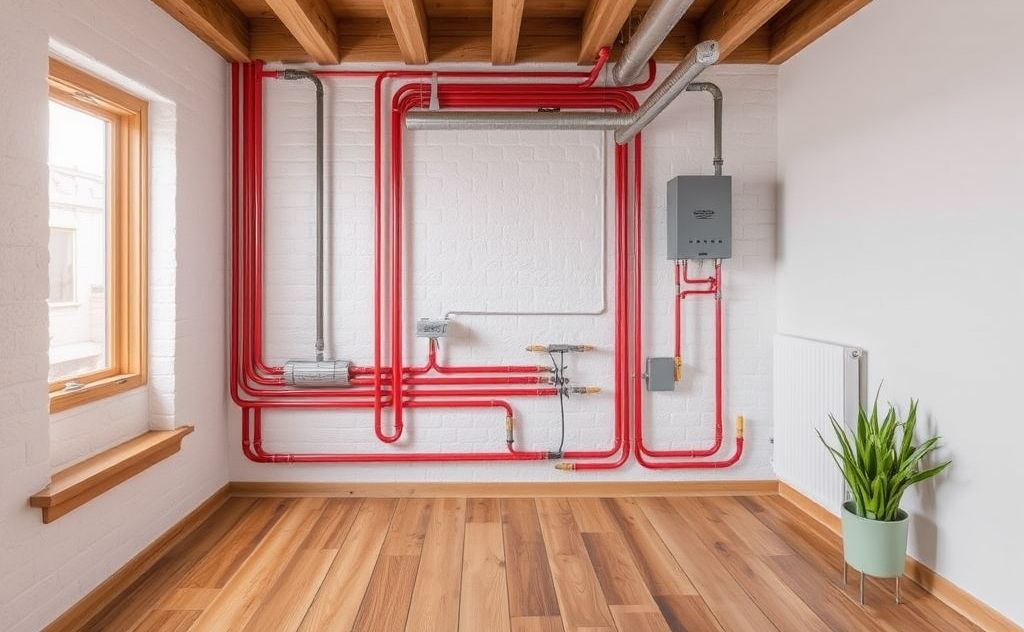
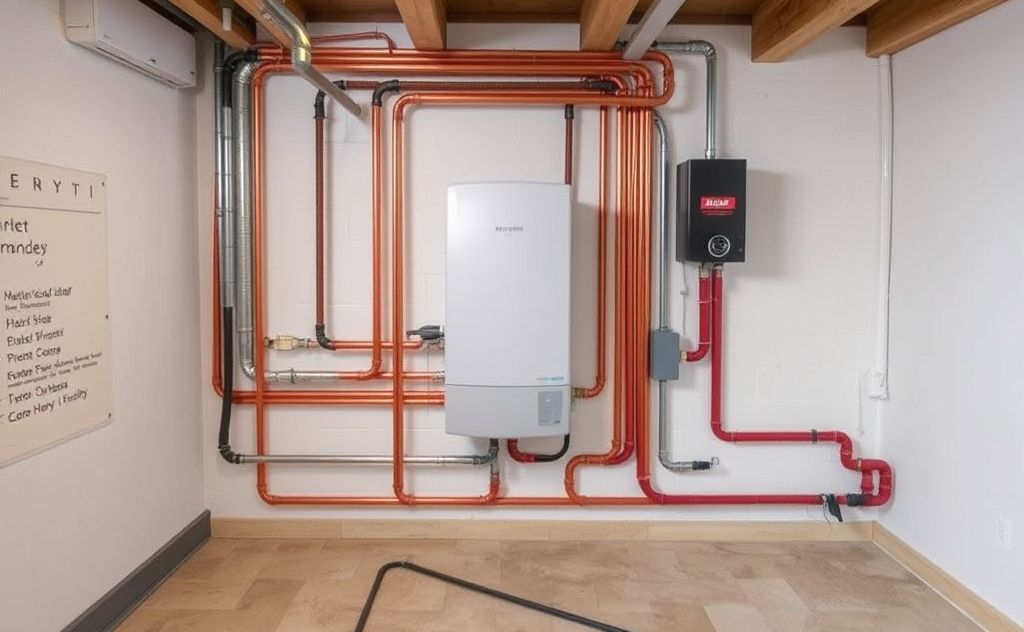
You turn on your radiant floor system, but one room stays cold while another feels like a sauna. Or your energy bill jumped this winter and you have no clue why. That’s the reality for a lot of homeowners who get a hydronic system installed, then leave it alone for years. The system works, sort of, but it never quite delivers the even, comfortable heat it should.
This article walks through how to test and optimize your hydronic floor heating system. You’ll learn which settings actually matter, which tools give you real answers, and which common beliefs are costing you money. I’ve worked on enough of these systems to know the difference between a setup that runs okay and one that runs right.
Floorheat
FloorHeat Essential Series Hydronic Radiant Heat Control…
- Direct Phone Number Required for Delivery
- Pre-Assembled for Faster Installation - Fully built and pressure-tested panel reduces install time and eliminates the need to sour…
- Complete Hydronic System Integration - Includes integrated pumps, valves, gauges, and control components needed for radiant floor…
If you are considering a new installation or upgrading an existing one, a pre-assembled control panel like the FloorHeat Essential Series Hydronic Radiant Heat Control Panel (1-Zone) can save a lot of headaches. It comes fully built and pressure-tested, with integrated pumps, valves, gauges, and a control relay. No sourcing parts, no assembling on site. The included UPMS 20-58F ECM circulator pumps use variable-speed motors that adjust to actual demand, which cuts power use and noise compared to fixed-speed pumps.
Myth #1: Higher Water Temperature Delivers More Heat
Many people crank the boiler temperature up to 140°F or 150°F thinking more heat equals warmer floors. That’s wrong. Radiant floor systems are designed for low-temperature water. The heat transfer depends on the difference between the water temperature and the room temperature, plus the flow rate through the loops.
For a typical concrete slab on grade, the ideal supply water temperature is around 100°F to 110°F. For staple-up systems (pipes under the subfloor), you may need 120°F to 130°F because the wood and air gap slow heat transfer. Going higher than that forces the boiler to short-cycle, wastes fuel, and can stress the floor covering. Vinyl plank flooring, for instance, often warps above 85°F surface temp.
What actually improves heat delivery is getting the flow right. A standard ½-inch PEX loop should carry about 0.8 to 1.2 gallons per minute (GPM) for a typical heating load under 12,000 BTU. Much less than 0.5 GPM and you get temperature stratification (hot at the start, cold at the end). Above 1.5 GPM you waste pump energy without gaining much heat transfer.
So stop turning up the boiler. Instead, measure the temperature drop (delta T) across the manifold. Aim for a 10°F to 15°F drop between supply and return. If it’s less than 5°F, your flow is too high. If it’s over 20°F, flow is too low.
If your current pump setup can’t handle variable flow, a good ECM pump like the one in the FloorHeat panel will automatically adjust speed to maintain setpoint. That’s the right fix, not raising the water temperature.
Myth #2: You Can Balance Zones by Eye or by Feel
I have seen installers open all manifold valves fully and call it balanced. Then they close one valve halfway on the cold loop and think that is tuning. That is guesswork, not balancing. You need actual flow measurements or at least temperature readings per loop.
Every loop has a different length, and each room loses heat at a different rate. A short loop with low resistance will pull more flow than a long loop, starving the long loop unless you add balancing valves or flow meters. The goal is to get supply water reaching the end of every loop at roughly the same temperature.
How to do it right:
- Install flow meters on each loop (some manifolds have built-in glass tube flow meters). If yours does not, you can use a clip-on ultrasonic flow meter temporarily.
- Calculate the required flow for each loop: BTU/hr ÷ (500 × ΔT). For a room needing 4,000 BTU with a 10°F ΔT, you need 0.8 GPM.
- Adjust the balancing valve on each loop until the flow meter reads close to that target. Tighten clockwise to reduce flow, counterclockwise to increase.
- Re-check after 15 minutes because changes in one loop affect others. This iterative process is called proportional balancing.
A pre-assembled panel like the FloorHeat system includes balancing valves and often comes with factory set flow values for common layouts. That helps, but you still need to fine tune on site if your loop lengths vary by more than 20%.
If you skip balancing, you get the cold room problem I mentioned at the start. On a recent service call, a house had a master bathroom loop that was 280 feet long, while the guest bath loop was only 80 feet. The short loop hogged 65% of the flow. The guest bathroom hit 82°F floor temp, the master barely reached 68°F. After balancing, both rooms came within 2°F of each other.
How to Test Your System Without Guessing
You need tools and a process. Here are the three tests that matter most:
Pressure Test (Leak Check)
Before anything else, verify the system holds pressure. Fill the system to 40–50 PSI cold, then watch the gauge for at least 12 hours. A drop of more than 3 PSI means you have a leak. Common spots are manifold connections, pump flanges, and PEX joints under the floor. If you suspect a slab leak, you will need to isolate zones and possibly call in a specialist with a thermal camera or listening disc. But for most installed systems, a slow pressure drop comes from the boiler or expansion tank bladder, not the floor loops.
Temperature Logging
Place a non-contact infrared thermometer or a simple thermocouple on the supply pipe and return pipe of each loop. Record the temperature at the start of the loop (manifold) and at the end (if accessible). The difference tells you if the loop is getting enough flow. For a slab, the end-of-loop temperature should be no more than 10°F colder than the start. For staple-up, up to 12°F is acceptable.
Log these readings over a full heating cycle (about 30 minutes after the pump starts). This catches issues like air locks, closed valves, or fouled loops.
Flow Verification
If your manifold lacks flow meters, borrow or buy a clip-on ultrasonic flow meter (costs about $100–$150). Clamp it to each loop and note the GPM. Compare against your design flow. If one loop reads zero or very low, it may be air-bound or kinked. You then need to purge that loop with a purge pump. I have a separate guide on purging the hydronic system if you need step-by-step.
| Testing Method | What It Measures | Best Tool | Cost | Accuracy | When To Use |
|---|---|---|---|---|---|
| Pressure test | System integrity | Standard pressure gauge | $10–$30 | High (leak or no leak) | Annual check, after repairs |
| Temperature logging | Delta T per loop | IR thermometer or thermocouple | $20–$60 | Medium (depends on surface) | Quick troubleshooting |
| Flow measurement | GPM per loop | Ultrasonic flow meter | $100–$150 | High (±0.1 GPM) | Balancing, after purging |
| Thermal imaging | Floor surface temperature pattern | FLIR or similar camera | $200–$500 | Very high (visual) | Identifying cold spots in slab |
Optimizing for Efficiency and Comfort
Once you have balanced flows and confirmed no leaks, the next step is to tune the controls for efficiency. The most effective optimization is an outdoor reset curve. This adjusts the supply water temperature based on the outdoor air temperature. Colder weather = hotter water; milder weather = cooler water. Without it, your system runs at a fixed temperature even on 45°F days, wasting 15–20% of the fuel.
Most modern boilers and control panels support an outdoor sensor. If yours does not, you can add a separate controller like the one integrated into the FloorHeat panel. It uses a control relay to manage zone operation and keep the water temperature matched to demand. Even if you already have a thermostat per room, the water temperature still matters because the slab takes hours to heat up. A fixed high temperature causes the slab to overshoot.
Another optimization: set the pump to run only when needed, not 24/7. Some installers leave the circulator on all winter thinking it prevents the water from freezing. That only matters if you have no antifreeze and the boiler is off. For a modern system with glycol or boiler backup, set the pump to cycle on with zone calls. The FloorHeat panel’s ECM pumps ramp up and down based on demand, so they use less power than a fixed-speed pump running constantly.
Check your floor temperature limits. Most wood floors should not exceed 85°F surface temp. Tile can handle higher (95°F), but high temperatures waste heat because the room already feels warm. Use a floor temperature sensor if your thermostat supports it. If you have vinyl plank flooring, check the manufacturer’s limit—common max is 85°F.
Finally, do not ignore routine maintenance. Regular maintenance of your hydronic system includes checking the expansion tank pressure, flushing sediment out of the boiler, and verifying the system pressure after any work. A well-maintained system runs more efficiently and lasts longer.
Frequently Asked Questions
Should I run my hydronic floor heating 24/7?
No, not unless you have a massive thermal mass and no setback capability. Slab systems take hours to heat up, so a deep setback (5°F or more) often wastes fuel because the slab has to reheat everything. A small setback of 1–2°F is fine. For frame floors (staple-up), you can use standard setbacks because they respond faster. Set the thermostat to hold your comfort temperature, not wide swings.
Why is one room cold while the others are warm?
Almost always a flow imbalance. The short loops in the warm rooms are stealing flow from the long loops. The fix is to install balancing valves and measure flow. Do not close the warm loop valves completely—that can damage the pump. Reduce them slowly until the cold loop gets its fair share.
How often do I need to purge air from the system?
Purging is needed any time you open the system for repairs or when you see bubbles in the sight glass or hear gurgling. Otherwise, a well-sealed system should not need annual purging. But if your system uses automatic air vents, check them yearly. I recommend purging after the first full season, then every 3–5 years unless something changes.
Can I use automotive antifreeze in my hydronic system?
Do not. Automotive antifreeze contains silicates and phosphates that can gum up the pump seals and heat exchanger. Use only propylene glycol specifically rated for hydronic heating (look for ‘boiler antifreeze’ or ‘radiant heating fluid’). Mix to 30–50% concentration for freeze protection down to -30°F. And remember, glycol reduces heat transfer by about 10%, so you may need slightly higher water temperature.
How often should I replace the circulator pump?
Fixed-speed pumps last 8–12 years on average. ECM pumps can last 15–20 years because they run cooler and don’t hammer on start. Replace a pump if it leaks, makes grinding noise, or draws more amps than its nameplate rating. Do not replace until it fails—clean the pump housing occasionally and check the capacitor (for non-ECM pumps). If you have an ECM pump like the UPMS 20-58F, the electronics may fail before the motor, but a replacement head is usually affordable.
Quick Actions to Improve Your System
- Measure the supply and return temperature at your manifold. A delta T under 5°F means flow is too high; over 20°F means flow is too low. Adjust pump speed or balancing valves accordingly.
- Install an outdoor reset control if you don’t already have one. This alone can cut fuel use by 10–15% in moderate climates.
- Balance each loop using flow meters or temperature readings. Spend an hour on this—it fixes uneven heating more effectively than any other single step.
- Check system pressure monthly during heating season. It should stay between 15 and 25 PSI cold. A drop signals a leak or failed expansion tank bladder.
- Purge air from any loop that shows erratic temperature after a repair. Use a purge pump and feed water into the system slowly to avoid new air.
- Upgrade to a pre-assembled control panel like the FloorHeat Essential Series if you are building new or replacing old components. The integrated ECM pumps and control relay reduce both install time and operating cost.
- Keep records of your flow settings, pressure readings, and any changes. That data makes future troubleshooting ten times faster.
If you suspect slab leaks, read our guide on repairing leaks in hydronic floor heating. For energy efficiency tips, the optimizing energy efficiency guide covers more advanced strategies like night setback and zone scheduling.
Related guides
Hydronic Floor Heating: 7 Key Benefits for Your Home
IntroductionYou know that feeling when you step out of bed onto a cold floor on a winter morning?…
Hydronic Underfloor Heating Maintenance: Expert Guide
You turn on the hydronic underfloor heating and notice one zone feels warm, another barely lukewarm. Maybe you…
Essential Hydronic Underfloor Heating Accessories You Need
You spend good money on a hydronic underfloor heating system. The boiler is solid, the tubing is laid…