How to Install Hydronic Heating Under the Floor in 3 Days
On this page 6 sections
Hydronic radiant floor heating warms your home quietly and evenly by circulating hot water through tubing beneath the floor. Installing it right means better comfort, lower energy bills, and no leaks.
This guide breaks down the key steps, what tools and parts you need, and the common pitfalls that can cost you money or cause damage. You’ll know when to call a pro and how to avoid mistakes that ruin your floor or system.
How to install hydronic heating under the floor
Installing hydronic floor heating involves preparing the subfloor, laying PEX tubing in a precise pattern, connecting it to a manifold, pressure testing for leaks, covering the tubing with a slab or appropriate floor material, then starting the system with a mixing valve and pump. This step-by-step process ensures even heat distribution and reliable performance.
Begin by ensuring the subfloor is clean, level, and insulated well to prevent heat loss downward. Use a rigid foam insulation board rated for under-slab use, typically at least 1 to 2 inches thick. This reduces wasted energy and improves heating efficiency by reflecting heat upward into the room.
Next, lay out the PEX tubing in loops with consistent spacing, usually between 6 and 12 inches depending on your heat output needs. Secure the tubing to wire mesh or plastic fastening strips with zip ties or clips to keep it from moving during the slab pour. Closer spacing offers more even heat but uses more tubing and increases cost.
After tubing layout, connect each loop to the manifold using compression fittings designed for PEX. The manifold controls flow to each loop individually, allowing for zoning and balancing. Use a wrench to tighten fittings firmly but avoid overtightening which can damage the tubing or fittings.
Before pouring the concrete slab or installing the floor covering, perform a pressure test on the system. Pressurize the tubing with water or air to the recommended test pressure—commonly around 60 psi—and monitor for leaks for at least 30 minutes. This step catches any installation errors that could cause leaks later, which are costly to fix once the floor is finished.
With no leaks confirmed, pour the concrete slab or install a thin-set mortar bed over the tubing, embedding it fully to protect it and provide thermal mass. The slab thickness usually ranges from 2 to 4 inches above the tubing. Allow the slab to cure fully before starting the system; curing time depends on the concrete mix but typically takes 7 to 28 days.
Finally, start up the hydronic system by setting the mixing valve to blend hot water from the boiler with cooler return water to achieve the desired supply temperature, usually between 85°F and 140°F. Turn on the circulator pump to begin flow through the tubing. Monitor system pressure and temperature controls during initial operation to ensure even heating and safe function.


Tools and Materials Required for Hydronic Floor Heating
Installing hydronic radiant floor heating in a home renovation calls for specific tools and materials to ensure the system works efficiently and lasts.
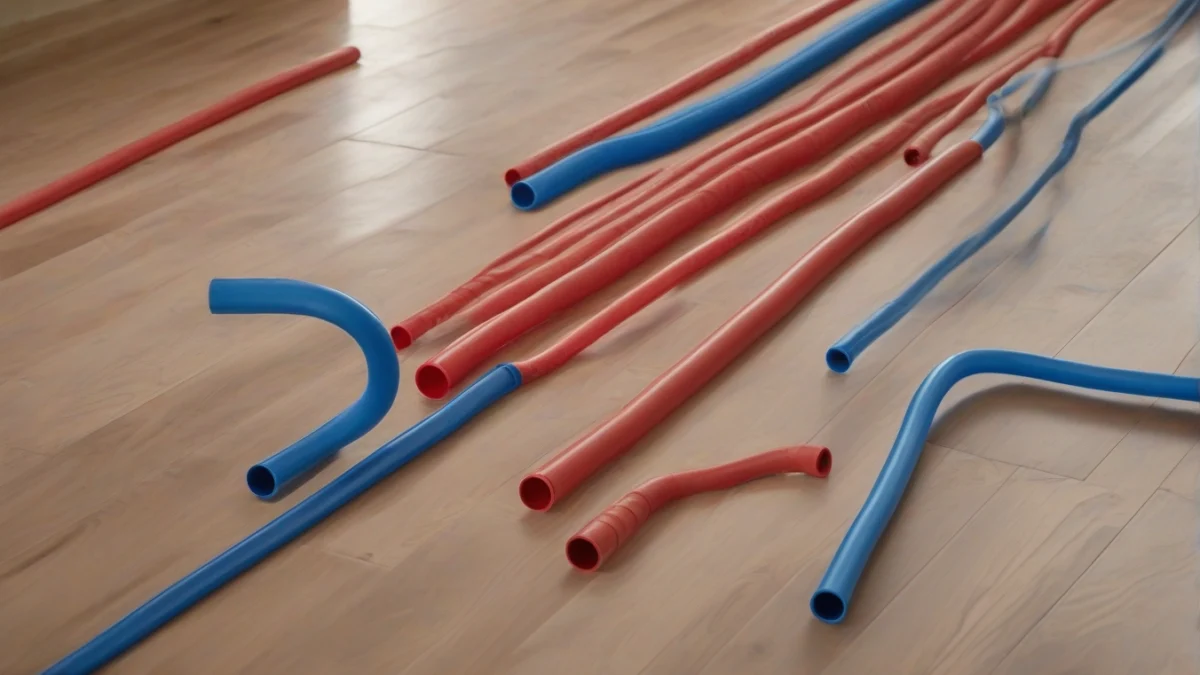
Start with the tubing. Cross-linked polyethylene (PEX) tubing is the standard choice. It comes in various sizes, typically 3/8, 1/2, and 5/8 inch diameters. For most residential underfloor systems, 1/2 inch is common because it balances flow rate and flexibility. PEX-A type is preferred for its kink resistance and easier bending, which saves time and reduces risks during installation.
The manifold is the system’s control center. It houses supply and return ports, flow meters, and balancing valves. You’ll need fittings compatible with your tubing — usually compression or crimp fittings. Manifold components also include shutoff valves and sometimes thermostatic mixing valves to regulate water temperature before it hits the floor.
Insulation and vapor barriers are crucial, especially for slab or wood subfloors. Rigid foam insulation under the tubing prevents heat loss downward, improving efficiency. A polyethylene vapor barrier keeps moisture from seeping up through concrete slabs or wooden floors, protecting the tubing and floor materials.
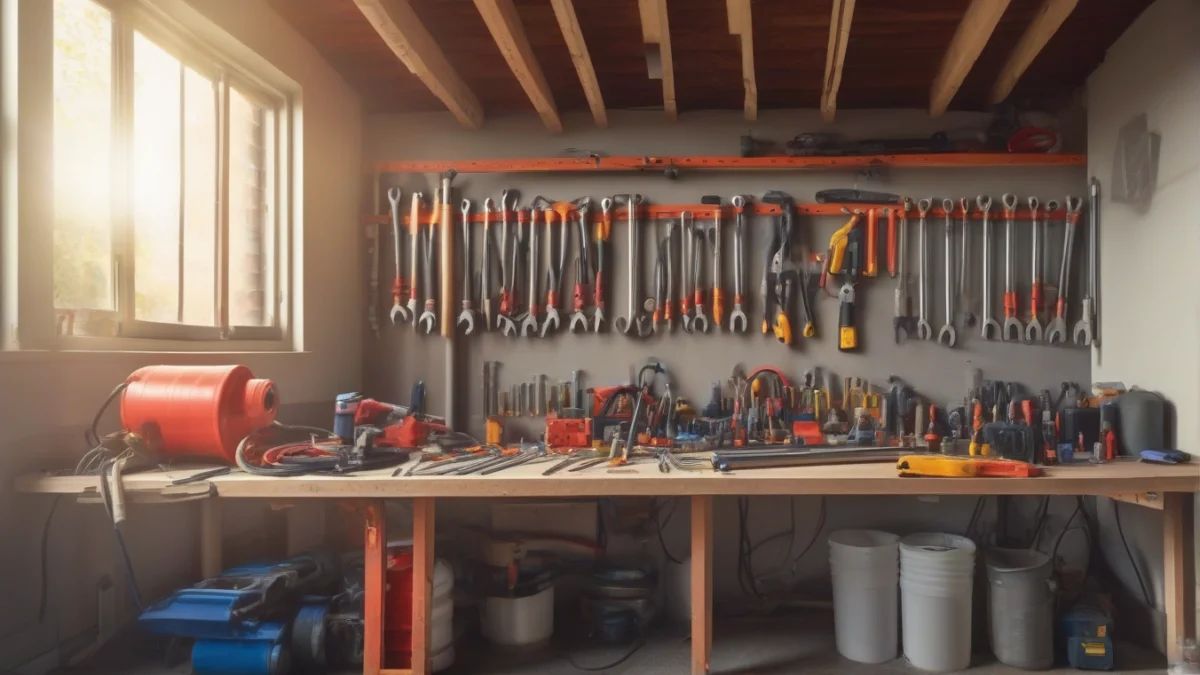
Tools include tubing cutters designed to make clean, square cuts without deforming the PEX. Zip ties or specialized clips secure the tubing in place on the subfloor or insulation panels. A pressure gauge is essential to perform leak tests after tubing installation. Pipe wrenches or adjustable wrenches help tighten fittings on the manifold and heat source connections.
For a home renovation, consider whether the existing floor structure can support adding insulation and tubing layers without raising finished floor height too much. That may affect your choice of materials and tools.
Having these tools and materials ready speeds up hydronic radiant floor heating installation and helps avoid costly mistakes.
Common mistakes that cause leaks or poor heating
Hydronic floor heating system installation demands attention to detail; common mistakes can lead to leaks or uneven heating that waste energy and money.
Kinking or over-bending PEX tubing is a frequent error. Tubing bent beyond its minimum bend radius weakens and cracks over time. PEX-A tubing is more forgiving, but sharp bends still risk pinching or cracking, which causes leaks.
Tube spacing matters a lot. Uneven spacing or running loops that are too long creates hot and cold spots. Tubing loops longer than 300 feet increase pressure drop, reducing flow and heat delivery. Aim for consistent spacing, usually 6 to 12 inches apart, depending on the floor type and heat needs.
Skipping pressure testing after installation is a costly oversight. The system should be pressurized to about 60 psi and monitored for at least 30 minutes. Ignoring pressure drops risks flooding and damage once you run hot water through the floor.
Poor insulation under a slab wastes heat by sending warmth down into the ground, not the room. Always install rigid foam insulation below the tubing and vapor barriers where required. Otherwise, your running costs jump and comfort drops.
Incorrect mixing valve settings can overheat the floor surface, making it uncomfortable and potentially damaging floor materials. The valve should keep water temperature between 85°F and 130°F depending on the flooring type; ceramic tiles tolerate higher temperatures than wood or vinyl.
Avoiding these mistakes improves system reliability and comfort. For more on adjusting and regulating your system, see how to adjust and regulate underfloor hydronic heating.
 Heating System Upgrade PlannerChoose between a heat pump, a furnace, a boiler or a hybrid with your own numbers, and hire the right installer.Every system compared side by side25 questions for contractors, red flagsRunning-cost, payback and quote calculator (Excel)
Permits and When to Hire a Licensed Professional
Installing hydronic heating under the floor involves several steps that usually require permits and licensed professionals, especially in a home renovation. The cost to install hydronic heating depends heavily on labor, permits, and equipment, often making professional help the better choice for safety and compliance.
Electrical wiring for the thermostat and any pump controls must follow local electrical codes. A licensed electrician should handle these connections to avoid fire hazards or code violations. Incorrect wiring can damage the system or cause safety risks.
Gas or boiler connections and venting demand a licensed plumber or HVAC technician. Boilers burn fuel and create exhaust gases that need proper venting to prevent carbon monoxide buildup. Improper vent installation can cause dangerous indoor air quality issues or system failure.
Plumbing work for laying the tubing, connecting mixing valves, and integrating the manifold also requires a licensed plumber. This ensures leak-free joints and proper water flow, which are critical for efficient heating and preventing water damage.
Local code requirements vary but often mandate permits for any plumbing, electrical, or fuel-burning appliance work. Inspections ensure that installations meet safety standards, protecting your investment and your home.
If you’re installing hydronic infloor heating as part of a renovation, check with your local building department before starting. They’ll tell you exactly what permits and licensed trades are mandatory. Skipping permits risks fines and costly corrections later.
Pre-installation checklist to run before you start
Before installing hydronic radiant floor heating, confirm the subfloor is clean, level, and fully dry. Any debris or unevenness can cause tubing to kink or the floor to crack after installation.
Gather and double-check all tools and parts. This includes PEX tubing, manifolds, fittings, mixing valves, pumps, and the thermostat. Missing items mid-installation delay the whole project and raise costs.
Verify the manifold location and zone layout on your floor heating hydronic installation guide. Proper zoning controls heat distribution and prevents some areas from overheating while others stay cold.
Have a clear pressure test plan before covering the tubing. Test at the recommended pressure for at least 24 hours to catch leaks early. Also, prepare safety gear like gloves and eye protection for handling tools and hot water.
Make sure all permits and inspections are arranged with your local authorities. Having inspections scheduled prevents last-minute stop-work orders and ensures your installation complies with regulations.