

To install a programmable thermostat, turn off power to the HVAC system, remove the old thermostat, connect the new one’s wires as per instructions, and restore power.
Installing a programmable thermostat can save up to 10% on your energy bills while keeping your home comfortable. This guide covers everything from safety precautions to wiring diagrams for different HVAC systems.

Types of Programmable Thermostats
Choose the right thermostat for your needs:
- 7-Day Models: Different schedule for each day
- 5+2 Models: Weekday/weekend schedules
- 5-1-1 Models: Separate weekday/Saturday/Sunday programs
- Smart Thermostats: Wi-Fi enabled with learning capabilities
For whole-home temperature control, consider pairing with smart vents for maximum efficiency.
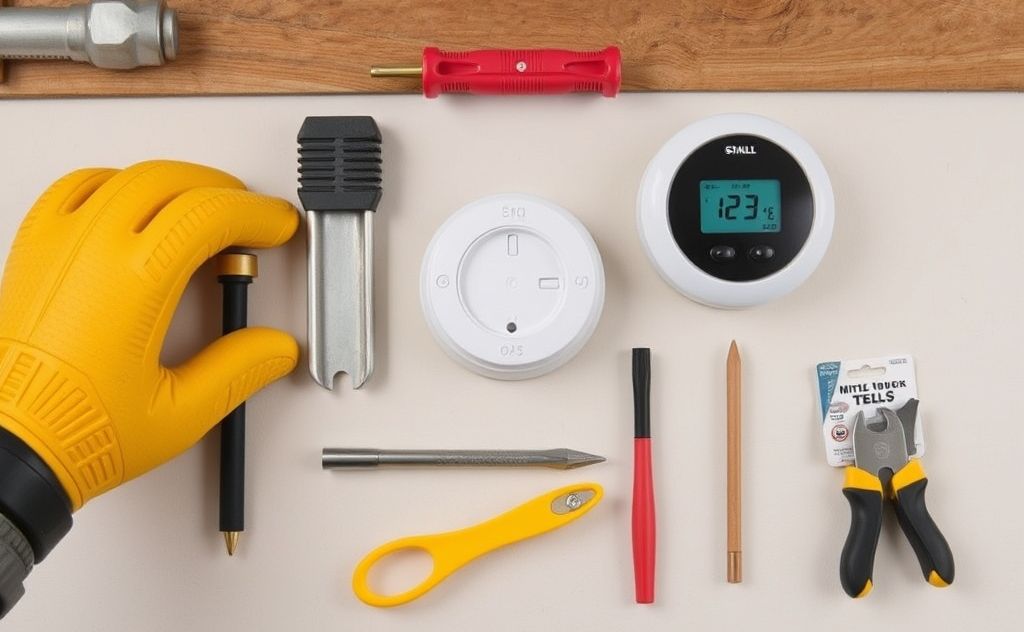
Tools and Materials Needed
Tools and Materials You’ll Need
You’ll need a screwdriver (Phillips and flathead), a drill with bits, a level, wire labels or masking tape, a pencil, drywall anchors (if mounting on drywall), and a non-contact voltage tester. For high-voltage systems, you’ll also need wire nuts and electrical tape. If your thermostat lacks a C-wire, have an add-a-wire kit or 24V transformer ready before starting.
| Tool | Purpose |
|---|---|
| Non-contact voltage tester | Verify power is off |
| Phillips screwdriver | Remove old thermostat |
| Drill with bits | New mounting holes |
| Level | Ensure straight installation |
| Wire labels | Identify connections |
Safety First
Power Down Properly
Turn off power at your main electrical panel. The HVAC breaker should be clearly labeled. Verify power is off by attempting to adjust your current thermostat. For extra safety, use a non-contact voltage tester near the thermostat wires to confirm no current is present before touching any connections.
Mercury Handling
Older thermostats may contain mercury. According to EPA guidelines, these require special disposal at hazardous waste facilities.
Step-by-Step Installation
1. Remove Old Thermostat
Take off the cover and photograph the wiring configuration. Label each wire with its terminal letter (R, W, Y, etc.) using provided stickers or masking tape. If you see a wire connected to the C terminal, you have a common wire. If not, note which wires are present — you may need a C-wire solution for smart thermostats (see below).
2. Prepare the Wall
Remove the old backplate. Patch holes if needed. Newer thermostats often have different mounting requirements. Use a level to mark new screw locations.
3. Install New Backplate
Drill pilot holes and insert drywall anchors if necessary. Feed wires through the new plate and secure it to the wall.
4. Connect the Wires
Refer to your photo and labels. Common connections:
- R/Rh: 24V power (heating) Rc: 24V power (cooling) W/W1: Heat Y/Y1: Cooling G: Fan C: Common (required for smart thermostats) W2: Second-stage heat (multi-stage systems) Y2: Second-stage cooling (multi-stage systems) O/B: Heat pump reversing valve
For complex systems, consult thermostat compatibility guides. Before wiring, verify your system type using the manufacturer’s online compatibility tool — enter your existing wire labels and HVAC equipment model to confirm the new thermostat will work. This 5-minute check prevents most installation failures.
5. Mount the Thermostat
Snap the display onto the backplate. Ensure all wires are securely connected and not pinched.
6. Restore Power
Turn the HVAC breaker back on. The thermostat should power up automatically.
7. Initial Setup
Follow manufacturer instructions to:
- Set date/time
- Configure HVAC system type
- Create temperature schedules
- Connect to Wi-Fi (smart models)
- Set date/time Configure HVAC system type (including heat pump or dual-fuel settings) Create temperature schedules Connect to Wi-Fi (smart models) Run a system test to verify all modes work
Special Considerations
No C-Wire Solutions
Many smart thermostats require a C-wire for continuous power. Options if your system lacks one:
- Use an add-a-wire kit (also called a C-wire adapter) that repurposes an unused wire or adds a dedicated common wire Use a plug-in 24V transformer connected to a nearby outlet Repurpose the G wire as C and control the fan separately (requires HVAC knowledge)
Multi-Stage Systems
Homes with multi-stage heating/cooling need additional wires (W2, Y2). For dual-fuel systems — a heat pump paired with auxiliary gas heat — you must correctly identify the O/B terminal for the reversing valve and configure the thermostat for dual-fuel operation in its settings. The Department of Energy recommends consulting an HVAC professional for these installations if you are unsure.
Testing and Troubleshooting
After installation:
- Test each mode (heat, cool, fan) Verify temperature accuracy against a separate thermometer Check for error codes Confirm schedule changes work Set temperature swing or cycle rate to prevent short cycling (typically 1°F for most systems)
Common issues include reversed wires, loose connections, or incorrect system settings in the thermostat configuration. If the thermostat shows no power after installation, check the circuit breaker and confirm the C-wire is properly connected. If the system short cycles, adjust the temperature swing setting or check for a dirty air filter restricting airflow.
Advanced Features to Explore
Modern thermostats offer:
- Geofencing (auto-adjusts when you leave)
- Energy usage reports
- Air filter change reminders
- Humidity control
- Integration with other smart home devices
- Geofencing (auto-adjusts when you leave) Energy usage reports Air filter change reminders Humidity control Integration with other smart home devices
For maximum savings, program your thermostat to match your actual schedule. Shift workers should set back temperatures during daytime sleep hours, while stay-at-home households benefit from a steady temperature with small setbacks during the day. Most programmable thermostats allow 4 or more periods per day — use them to align heating and cooling with when you are home and awake.
For optimal performance, pair your thermostat with high-quality air filters to maintain system efficiency.
Related pick: Check today's price on Amazon

I am a mechanical engineer and love doing research on different home and outdoor heating options. When I am not working, I love spending time with my family and friends. I also enjoy blogging about my findings and helping others to find the best heating options for their needs.
Related guides

Top 10 Benefits of Programmable Thermostats for Your Home
Programmable thermostats offer energy savings, enhanced comfort, remote access, and customizable schedules, optimizing heating and cooling efficiency in…
Best Winter Thermostat Settings for Comfort & Savings
The best thermostat setting for winter is around 68°F (20°C) during the day and lower at night for…
Thermostat Installation: A Simple DIY Guide for Homeowners
Thermostats can be easy to install for DIY enthusiasts, especially programmable models, but may require professional help for…