How To Build a Custom Cabinet for Your Electric Fireplace
On this page 6 sections
To build a cabinet for an electric fireplace, measure the fireplace dimensions, choose durable materials, design for ventilation, and assemble with proper tools and techniques.
Building a custom cabinet for your electric fireplace is a rewarding DIY project that adds both functionality and style to your home. With proper planning and the right materials, you can create a beautiful focal point that enhances your living space while safely housing your fireplace unit.
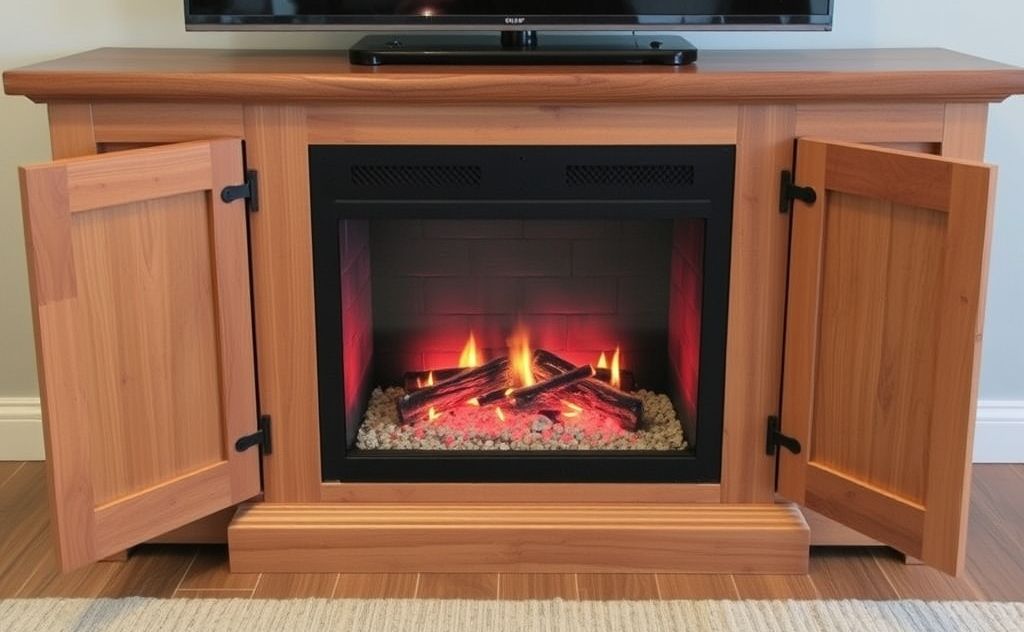

Planning Your Electric Fireplace Cabinet
Before cutting any wood, careful planning is essential for a successful build. Consider these key factors:
Measure Your Fireplace Unit

Take precise measurements of your electric fireplace insert. Most standard units range from 50-70 inches wide, but always verify your specific model’s dimensions. Add 1-2 inches of clearance space around all sides for proper ventilation.
Choose Your Location
Select a wall with adequate electrical access. If you need to add an outlet, consult an electrician. Consider traffic flow and viewing angles when positioning your fireplace.
Determine Cabinet Style
Decide between built-in or freestanding designs. Built-in cabinets create a seamless look, while freestanding units offer flexibility. For a modern aesthetic, check out modern heater materials that complement your design.
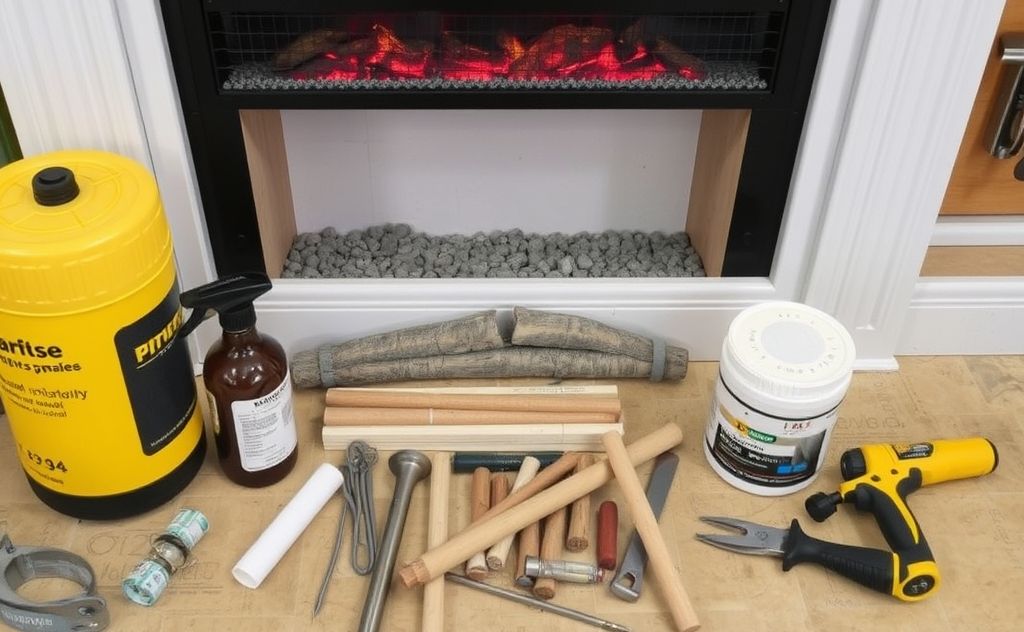
Materials and Tools Needed
Essential Materials
- 2×4 and 2×6 lumber for framing
- 3/4″ plywood for cabinet box
- 1×4 or 1×6 boards for trim
- Drywall for finishing (if painting)
- Wood glue and screws (2.5″ and 3″)
Recommended Tools
| Tool | Purpose |
|---|---|
| Miter saw | Precision cutting |
| Drill/driver | Assembly |
| Level | Ensuring straight installation |
| Clamps | Holding pieces during assembly |
Step-by-Step Construction Guide
1. Build the Frame
Construct a sturdy frame using 2×4 lumber. For areas supporting heavy weight (like the fireplace insert), use 2×6 boards. Secure all joints with wood glue and screws.
2. Install Wall Cleats
Attach horizontal cleats to wall studs using 3″ screws. These will support your cabinet frame. Use a level to ensure perfect alignment.
3. Assemble Cabinet Box
Cut plywood panels to create the cabinet box. Leave an opening for the fireplace insert. For ventilation, drill 1″ holes in the top and bottom panels.
4. Add Fireplace Support
Install doubled 2×6 boards where the fireplace will sit. This extra support is crucial for safety. Test fit your unit before proceeding.
5. Install Mantel and Trim
Build your mantel using quality hardwood or plywood. Add decorative trim pieces for a finished look. Consider wood stove-style designs for traditional appeal.
Finishing Touches
Painting or Staining
Choose a finish that complements your decor. For painted finishes, apply primer first. For stained looks, use wood conditioner before staining.
Installing the Fireplace
Carefully place your electric fireplace into the prepared opening. Follow manufacturer instructions for securing it in place.
Adding Electrical Access
Ensure easy access to power cords and controls. Some builders install hidden compartments for cord management.
Safety Considerations
Always maintain proper clearances around your electric fireplace. Most manufacturers recommend:
- 3″ clearance at sides
- 6″ clearance above unit
- No flammable materials within 12″ of vents
For more safety tips, consult resources like NFPA guidelines on electrical installations.
Customization Ideas
Built-in Shelving
Add open shelving on either side of the fireplace for books or decor. This creates a balanced look while adding functionality.
Media Integration
Design your cabinet to accommodate a TV above the fireplace. Include cable management and proper support for your television.
Double-sided Design
For open floor plans, consider a see-through cabinet that displays the fireplace from multiple rooms.
Building your own electric fireplace cabinet allows complete customization to match your style and needs. With proper planning and attention to detail, you can create a stunning centerpiece for your home that provides warmth and ambiance for years to come.
Related pick: Check price on Amazon
