DIY cleaning tips for specific HVAC system parts

Cleaning the air filter, condenser coils, and evaporator coils of your HVAC system regularly with a vacuum, brush, and mild detergent solution can improve its efficiency and prolong its lifespan.
diy-cleaning-tips-for-specific-hvac-system-parts
HeaterGuides.Com
Key Takeaways:
I. Clean the air filter regularly to maintain the efficiency of your HVAC system. A dirty air filter can cause the system to work harder and increase your energy bills. Use a soft brush or vacuum to remove dust and debris from the filter.
II. Clean the evaporator coil to improve the performance of your air conditioner. Use a coil cleaner and a soft brush to remove dirt and debris from the coil. Make sure to turn off the power to the system before cleaning.
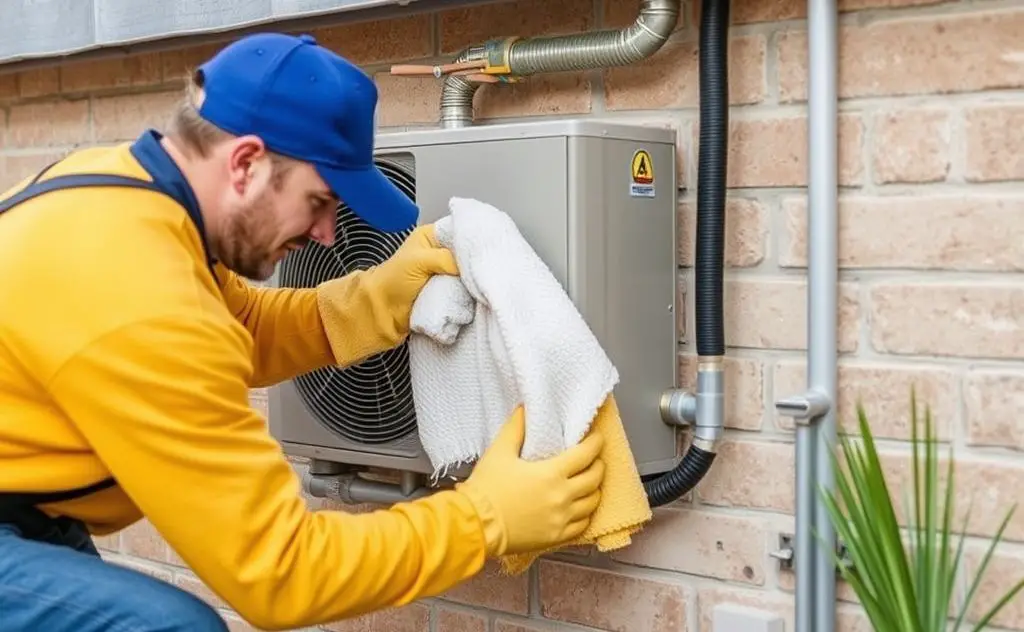
III. Clean the condenser coil to improve the efficiency of your air conditioner. Use a coil cleaner and a soft brush to remove dirt and debris from the coil. Make sure to turn off the power to the system before cleaning.

Check Out The Exclusive Deals Waiting For You! ∇

No products found.

Cleaning the Air Filters

In order to maintain the efficiency and effectiveness of your air conditioning system, regular cleaning of the air filters is essential. Over time, air filters accumulate dust, dirt, and other particles, which can hinder the airflow and reduce the quality of the air circulating in your home or office.

1. Why air filters need regular cleaning

Cleaning air filters on a regular basis has several advantages. To start with, it helps to improve the indoor air quality by removing allergens, such as pollen, pet dander, and dust mites. This is especially important for individuals with allergies or respiratory conditions.

Next, clogged air filters can put a strain on your HVAC system, leading to increased energy consumption and higher utility bills. By cleaning the air filters, you can ensure that your system operates efficiently, saving you money in the long run.

Finally, clean air filters contribute to the longevity of your HVAC system. When air filters are clogged, the system has to work harder to push air through, which can cause wear and tear on the components. By regularly cleaning the air filters, you can extend the lifespan of your HVAC system and avoid costly repairs or replacements.

2. Steps to clean air filters effectively

Cleaning air filters is a relatively simple process that can be done by heeding these steps:

Step 1: Turn off the HVAC system to ensure safety and prevent any debris from being circulated.

Step 2: Remove the air filter from its housing. Depending on the type of filter, this may involve sliding it out or unscrewing it.

Step 3: Inspect the air filter for dirt, dust, and debris. If it is heavily soiled or damaged, it may be more effective to replace it with a new one.

Step 4: Gently clean the air filter using a vacuum cleaner or by rinsing it with water. Be sure to follow the manufacturer’s instructions for cleaning.

Step 5: Allow the air filter to dry completely before reinstalling it into the HVAC system.

Benefits of Cleaning Air Filters Steps for Effective Cleaning
Improves indoor air quality Turn off HVAC system
Reduces energy consumption Remove air filter from housing
Extends HVAC system lifespan Inspect air filter for dirt

Cleaning the Evaporator Coils

Evaporator coils play a crucial role in the HVAC system, as they are responsible for cooling the air that circulates in your home. Over time, these coils can accumulate dirt, dust, and other debris, which can hinder their efficiency and affect the overall performance of your HVAC system. Integral to regularly clean the evaporator coils to ensure optimal functioning and energy efficiency.

Role of evaporator coils in HVAC system

The evaporator coils are located inside the indoor unit of your HVAC system and are responsible for absorbing heat from the air. As the refrigerant flows through the coils, it evaporates and absorbs the heat, effectively cooling the air. This cooled air is then circulated back into your home, providing a comfortable indoor environment.

READ MORE  Assessing the role of HVAC system cleaning in home comfort

Conversely, over time, the evaporator coils can become dirty and clogged with dust, pollen, pet dander, and other airborne psections. This accumulation restricts the airflow and reduces the efficiency of the coils, making your HVAC system work harder to cool the air. This not only decreases the system’s performance but also increases energy consumption and utility bills.

How to clean evaporator coils at home

Cleaning the evaporator coils is a relatively simple task that can be done at home. Before starting, ensure that the power to your HVAC system is turned off to avoid any accidents or injuries.

  1. Remove the access panel to gain access to the evaporator coils. This panel is usually located on the front of the indoor unit.
  2. Using a soft brush or a vacuum cleaner with a brush attachment, gently remove any visible dust or debris from the coils. Be careful not to bend or damage the delicate fins of the coils.
  3. Mix a solution of warm water and mild detergent in a spray bottle. Spray this solution onto the coils, making sure to cover them completely.
  4. Allow the solution to sit on the coils for a few minutes to loosen any stubborn dirt or grime.
  5. Gently rinse the coils with clean water, either using a spray bottle or a hose. Ensure that all the detergent is thoroughly rinsed off.
  6. Once the coils are clean, allow them to dry completely before reassembling the access panel and turning the power back on.

Regularly cleaning the evaporator coils not only improves the efficiency and performance of your HVAC system but also extends its lifespan. It is recommended to clean the coils at least once a year or more frequently if you live in a dusty or high-pollen area.

Benefits of cleaning the evaporator coils:
– Improved energy efficiency
– Enhanced cooling performance
– Reduced utility bills
– Extended lifespan of the HVAC system

Cleaning the Condenser Coils

Condenser coils play a vital role in the functioning of various appliances, including refrigerators, air conditioners, and heat pumps. These coils are responsible for releasing heat from the system, ensuring efficient cooling and optimal performance. It is crucial to keep the condenser coils clean to maintain their efficiency and extend the lifespan of your appliance.

1. Significance of clean condenser coils

Keeping your condenser coils clean offers several benefits. To begin with, it improves energy efficiency. When dust, dirt, and debris accumulate on the coils, it creates a layer of insulation, making it harder for the heat to dissipate. As a result, the appliance needs to work harder and consumes more energy to achieve the desired cooling effect. Regularly cleaning the condenser coils ensures that your appliance operates at its peak efficiency, reducing energy consumption and lowering utility bills.

In addition, clean condenser coils promote proper cooling. When the coils are clogged, heat transfer becomes less effective. This can lead to inadequate cooling and fluctuating temperatures, compromising the performance of your appliance. By regularly cleaning the coils, you ensure that the heat is efficiently released, allowing your appliance to cool effectively and maintain consistent temperatures.

In the end, clean condenser coils contribute to the longevity of your appliance. Accumulated dirt and debris can cause the coils to overheat, leading to potential damage or premature wear and tear. By keeping the coils clean, you prevent excessive heat buildup, reducing the risk of component failure and extending the lifespan of your appliance.

2. DIY methods to clean condenser coils

Cleaning condenser coils is a task that can be easily done at home with a few simple steps. Here are some DIY methods to effectively clean your condenser coils:

  • 1. Disconnect the power: Before starting any maintenance or cleaning, always ensure that the power to the appliance is turned off. This prevents any accidents or electric shocks.
  • 2. Remove debris: Use a soft brush or a vacuum cleaner with a brush attachment to gently remove any loose dirt, dust, or debris from the coils. Be careful not to bend or damage the delicate fins.
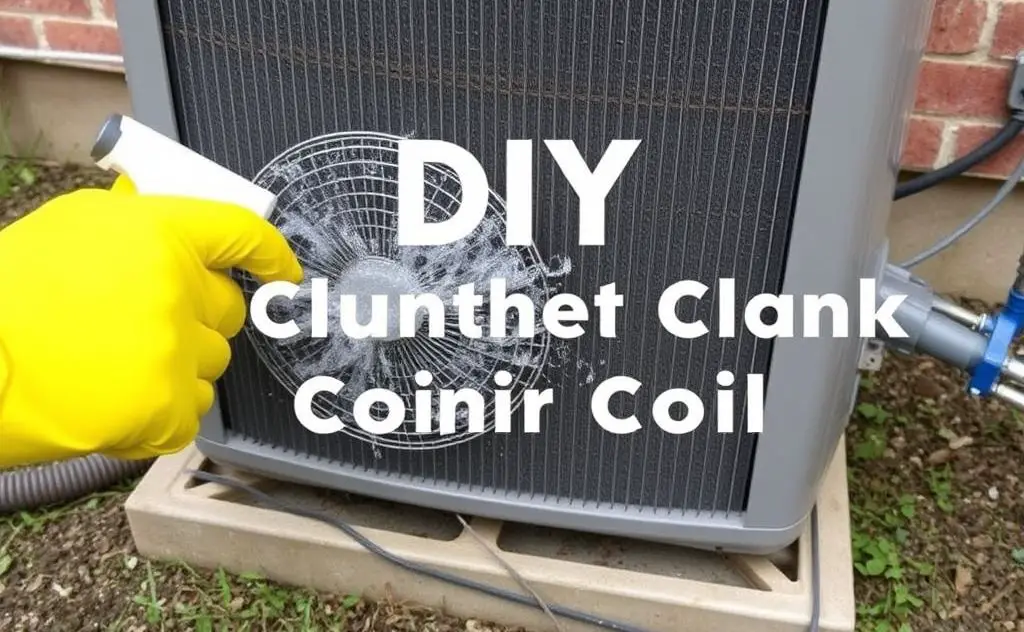
  • 3. Apply a cleaning solution: Mix a mild detergent or coil cleaner with water according to the manufacturer’s instructions. Use a spray bottle to apply the solution evenly on the coils.
  • 4. Let it sit: Allow the cleaning solution to sit on the coils for a few minutes to loosen any stubborn dirt or grime.
  • 5. Rinse with water: Use a hose or a spray bottle filled with clean water to rinse off the cleaning solution and any remaining dirt. Ensure that the water pressure is not too high to avoid damaging the coils.
  • 6. Dry thoroughly: Once rinsed, let the coils air dry completely before restoring power to the appliance.
READ MORE  Incorporating aromatherapy in HVAC system cleaning

Regularly cleaning the condenser coils of your appliances not only improves their efficiency and performance but also helps in preventing costly repairs. By upholding these simple DIY methods, you can ensure that your condenser coils remain clean and your appliances continue to operate optimally for years to come.

diy-cleaning-tips-for-specific-hvac-system-parts
HeaterGuides.Com

Cleaning the Blower Motor

The blower motor is a crucial component of the HVAC system, responsible for circulating air throughout your home or office. Over time, dust and debris can accumulate on the blower motor, reducing its efficiency and potentially causing it to malfunction. Regular cleaning of the blower motor is essential to ensure optimal performance and extend its lifespan.

Function of Blower Motor in HVAC System

The blower motor plays a vital role in the HVAC system by pushing air through the ductwork and into different rooms. It creates the necessary airflow for heating, ventilation, and air conditioning, allowing for comfortable and controlled indoor temperatures. Without a properly functioning blower motor, the airflow would be inadequate, resulting in an inefficient HVAC system.

Step-by-Step Guide to Clean Blower Motor

Follow these steps to effectively clean your blower motor:

Step 1: Turn off the Power

Prior to cleaning the blower motor, it is crucial to turn off the power supply to avoid any accidents or injuries. Locate the electrical panel and switch off the circuit breaker that controls the HVAC system.

Step 2: Remove the Blower Motor Cover

Locate the blower motor, which is typically housed in the air handler unit. Remove the cover or access panel that protects the blower motor. This may require unscrewing or unclipping the cover.

Step 3: Clean the Blower Motor

Using a soft brush or a vacuum cleaner with a brush attachment, gently remove any visible dust or debris from the blower motor. Pay close attention to the blades and the surrounding area. Ensure that no loose wires or connections are disturbed during the cleaning process.

Step 4: Check the Fan Belt

In the course of cleaning the blower motor, it is also important to inspect the fan belt for any signs of wear or damage. If the fan belt appears frayed or loose, it may need to be replaced to ensure proper functioning of the blower motor.

Step 5: Reassemble and Test

Once the blower motor and fan belt are cleaned and inspected, reassemble the cover or access panel. Turn on the power supply to the HVAC system and test the blower motor to ensure that it is operating smoothly and quietly.

Step Description
1 Turn off the power
2 Remove the blower motor cover
3 Clean the blower motor
4 Check the fan belt
5 Reassemble and test
diy-cleaning-tips-for-specific-hvac-system-parts
HeaterGuides.Com

Cleaning the Ductwork

Keeping your ductwork clean is crucial for maintaining efficient HVAC performance and ensuring the quality of the air you breathe. In this section, we will navigate the importance of clean ductwork and provide you with some DIY techniques to keep your ducts in top shape.

1. Importance of Clean Ductwork for Efficient HVAC Performance

Clean ductwork plays a vital role in the overall efficiency of your HVAC system. When your ducts are clogged with dust, debris, and pollutants, it restricts the airflow, making your system work harder to maintain the desired temperature. This not only leads to increased energy consumption but also puts unnecessary strain on your HVAC unit, potentially reducing its lifespan.

READ MORE  System cleaning practices for older HVAC units

Moreover, dirty ducts can harbor allergens, mold spores, and other harmful psections that can negatively impact indoor air quality. This can lead to respiratory issues, allergies, and other health problems for you and your family. Regularly cleaning your ductwork helps remove these contaminants, improving the air you breathe and creating a healthier living environment.

2. DIY Techniques to Clean Ductwork

If you’re up for the challenge, you can clean your ductwork yourself using a few simple techniques. Here are some DIY methods to get you started:

a. Inspect and Vacuum

Start by inspecting your ducts for any visible signs of dirt, dust, or debris. Use a flashlight to carefully examine the interior surfaces. Once you’ve identified problem areas, use a vacuum cleaner with a long hose attachment to remove loose psections. Be thorough and make sure to reach all corners and crevices.

b. Remove and Clean Vent Covers

Remove the vent covers from your ducts and soak them in warm, soapy water. Use a brush to scrub away any grime or buildup. Rinse them thoroughly and allow them to dry completely before reattaching them.

c. Change Air Filters

Regularly changing your HVAC system’s air filters is an essential part of keeping your ductwork clean. Clogged filters can contribute to dust and debris buildup in your ducts. Follow the manufacturer’s instructions to replace your filters at recommended intervals.

d. Consider Professional Duct Cleaning

If you’re unsure about tackling duct cleaning yourself or if your ductwork requires more extensive cleaning, it may be worth hiring a professional duct cleaning service. They have the expertise and specialized equipment to thoroughly clean your ducts and ensure optimal performance.

Conclusion

DIY cleaning of specific HVAC system parts can be a cost-effective and efficient way to maintain your system’s performance. Regular cleaning of the air filter, evaporator coil, and condenser coil can improve indoor air quality, reduce energy consumption, and extend the lifespan of your HVAC system. Nonetheless, indispensable to follow safety precautions and manufacturer’s guidelines when performing DIY cleaning. If you are unsure or uncomfortable with DIY cleaning, it is best to seek professional HVAC maintenance services.

By abiding by these DIY cleaning tips, you can keep your HVAC system running smoothly and efficiently, and enjoy a comfortable and healthy indoor environment all year round.

Read Also:
1. Understanding the impact of mold on HVAC systems
2. Tips for maintaining cleanliness in ductwork

FAQ

Frequently Asked Questions:

1: How often should I clean my HVAC system?

It is recommended to clean your HVAC system at least once a year to maintain its efficiency and prevent potential issues.

2: Can I use regular household cleaners for cleaning HVAC parts?

No, it is not advisable to use regular household cleaners for cleaning HVAC parts. It is best to use specialized HVAC cleaning solutions to avoid damaging the system.

3: Is it necessary to hire a professional for HVAC cleaning?

Whilst it is possible to clean certain HVAC components yourself, hiring a professional for HVAC cleaning is highly recommended. They have the expertise and proper equipment to ensure a thorough and safe cleaning process.

4: What are the signs of a dirty HVAC system?

Some signs of a dirty HVAC system include reduced airflow, strange odors, increased energy bills, and frequent breakdowns. If you notice any of these signs, fundamental to clean your HVAC system.

5: Can DIY cleaning improve the lifespan of my HVAC system?

DIY cleaning can help in maintaining the HVAC system, but it is not a substitute for professional cleaning. Regular professional cleaning is necessary to ensure optimal performance and extend the lifespan of your HVAC system.

 
Joye
Joye

I am a mechanical engineer and love doing research on different home and outdoor heating options. When I am not working, I love spending time with my family and friends. I also enjoy blogging about my findings and helping others to find the best heating options for their needs.