To install an infrared heater, you’ll need tools like a drill, screwdriver, level, measuring tape, and appropriate mounting hardware.
Installing an infrared heater requires the right tools and knowledge to ensure safe, efficient operation. Whether you’re mounting a wall unit or setting up a freestanding model, proper installation is crucial for optimal performance and longevity.

Core Installation Tools
These fundamental tools form the backbone of any infrared heater installation project:
- Digital multimeter – For testing electrical connections and verifying voltage
- Voltage tester – Essential for safety checks before working with wiring
- Wire strippers – Needed for preparing electrical connections
- Screwdriver set – Both flathead and Phillips heads in various sizes
- Drill with bits – For mounting brackets and running wiring
- Level – Ensures proper alignment of wall-mounted units
- Adjustable wrench – For gas line connections if applicable
Specialized Equipment
Depending on your heater type, you may need:
| Heater Type | Additional Tools |
|---|---|
| Electric Infrared | Conduit bender, fish tape |
| Gas Infrared | Pipe wrench, leak detection solution |
| Portable Units | Heavy-duty extension cord gauge checker |

Safety Gear Requirements
Never compromise on safety when installing heating equipment:
- Insulated gloves
- Safety goggles
- Fire extinguisher (ABC rated)
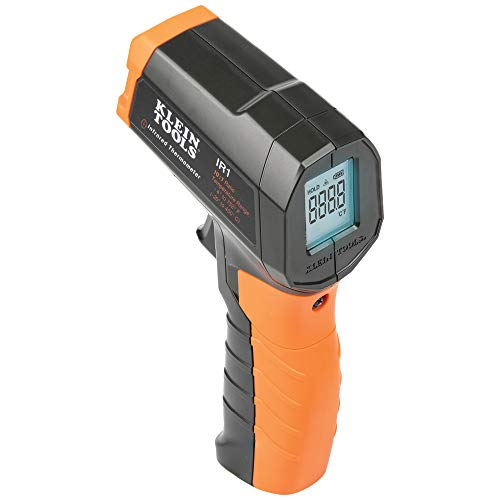
- Non-contact thermometer
- Carbon monoxide detector (for gas models)
For gas-powered infrared heaters, consider a professional gas line installation if you’re not experienced with gas connections.
Electrical Preparation
Circuit Verification
Before installation:
- Check your breaker panel for adequate capacity
- Verify wire gauge matches heater requirements
- Test existing outlets with a digital multimeter
Wiring Considerations
Most infrared heaters require:
- Dedicated 20-amp circuit for units over 1,500 watts
- Proper grounding
- GFCI protection in damp locations
For complex electrical work, consult our guide on electric heater installations or hire a licensed electrician.
Mounting Hardware
The right hardware ensures secure installation:
- Heavy-duty wall anchors (for drywall installations)
- Lag bolts (for stud mounting)
- Vibration-resistant washers
- Conduit clamps for wire management
Testing and Calibration Tools
After installation, verify proper operation with:
- Infrared thermometer to check heat distribution
- Ammeter to verify current draw
- Thermostat calibration tool (if applicable)
For troubleshooting tips, see the Department of Energy’s heater guide.
Maintenance Tools
Keep these on hand for ongoing care:
- Soft brush for cleaning reflectors
- Compressed air for dust removal
- Replacement bulb wrench (for quartz models)
- Dielectric grease for electrical connections
Proper tool selection and methodical installation will ensure your infrared heater provides safe, efficient warmth for years to come. Always consult manufacturer instructions and local codes before beginning any installation project.