The best installation method for a radiant heater involves professional assessment, ensuring proper placement, insulation, and adherence to local building codes for efficiency.
Radiant heaters provide superior comfort by delivering heat directly to surfaces and objects in a room. Choosing the right installation method can dramatically impact performance, energy efficiency, and long-term costs. This guide covers professional techniques for wall, ceiling, and floor installations.
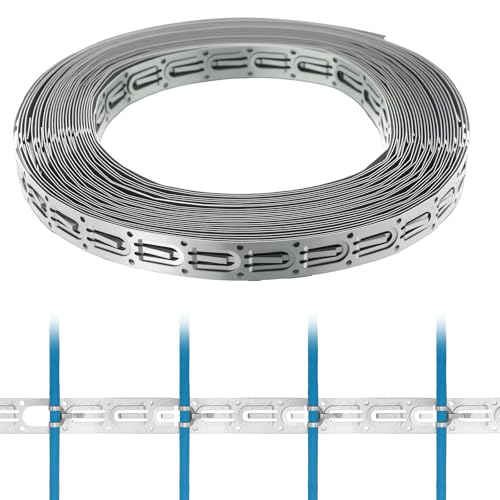
Kingdder
Kingdder 50ft Cable Guides for Electric Radiant…
Secure and Orderly Heating Layout: ensure a safe and organized radiant floor heating setup with our durable floor heating cable guides; Easily secure and align your cables for an efficient heating layout; Ideal for electric radiant floor heating, these guides simplify your installation process
See on Amazon
Types of Radiant Heating Systems
1. Hydronic (Liquid-Based) Systems
Hydronic systems circulate heated water through tubing installed in floors, walls, or ceilings. These are the most energy-efficient radiant heating option, with several installation approaches:
| Installation Type | Best For | Thermal Response |
|---|---|---|
| Concrete slab (“wet”) | New construction, basements | Slow (8-12 hour heat-up) |
| Thin-set over subfloor | Renovations, upper floors | Moderate (2-4 hours) |
| Aluminum diffuser plates | Wood frame construction | Fast (30-60 minutes) |
For optimal hydronic system performance, consider pairing with a high-quality water heater thermostat to precisely regulate temperatures.
2. Electric Radiant Systems
Electric mats or cables work well in specific situations:
- Small additions where extending hydronic systems isn’t practical
- Bathrooms with tile floors (quick warm-up for comfort)
- Homes with time-of-use electricity rates

Floor Installation Techniques
Wet Installation Method
The traditional approach embeds heating elements in concrete or gypsum:
- Install insulation layer with vapor barrier
- Place rebar or wire mesh for structural support
- Secure tubing/cables at 6-12 inch spacing
- Pour 2-4 inches of concrete
- Allow 28-day cure time before heating
Dry Installation Method
Faster and lighter alternatives include:
- Prefabricated panels with aluminum heat spreaders
- Staple-up installations between floor joists
- Underfloor systems with reflective barriers
According to U.S. Department of Energy, dry installations can reduce material costs by 30% while maintaining 85-90% of wet system efficiency.
Wall and Ceiling Mounting
Panel Selection
Aluminum radiant panels offer the fastest response time (5-15 minutes). Key considerations:
- Ceiling panels should be rated for at least 150°F
- Wall panels work best at 3-4 feet above floor level
- Space panels every 8-10 feet for even coverage
Installation Tips
- Mount panels directly to studs or joists
- Maintain 1-inch clearance from insulation
- Use thermal break spacers for wood framing
- Consider a built-in gas heater for whole-wall radiant systems
Floor Covering Compatibility
| Material | Heat Transfer | Recommended Max Temp |
|---|---|---|
| Ceramic Tile | Excellent | 120°F |
| Engineered Wood | Good | 85°F |
| Vinyl/Linoleum | Fair | 90°F |
| Carpet | Poor | 80°F |
For homes with mixed flooring, create separate heating zones with dedicated thermostats. This allows optimizing temperatures for each surface type.
Professional Installation vs. DIY
While some electric radiant systems are DIY-friendly, hydronic systems typically require professional installation. Complex factors include:
- Boiler sizing and piping layout
- Manifold placement and zone valves
- Pressure testing (minimum 50 psi for 24 hours)
- Integration with smart thermostat systems
For garage or workshop applications, consider a propane radiant heater as a supplemental heat source.
Maintenance Considerations
Proper installation minimizes future maintenance:
- Flush hydronic systems annually to prevent sediment buildup
- Check electric systems for damaged wiring every 3 years
- Monitor floor surfaces for cracks indicating system issues
- Keep ceiling/wall panels dust-free for maximum efficiency