How to Program a Heating Thermostat in 5 Simple Steps
On this page 6 sections
Say your house is 1,600 square feet, and the living room cools down by bedtime while the bedrooms overheat by morning. A simple 7-day schedule can fix that without touching the furnace panel.
The part that trips people up is the thermostat type. A 24V programmable wall thermostat is one thing, a line-voltage baseboard control is another, and a smart thermostat with app control has its own menu language.
How To Set My Heater Programme
To program your heating thermostat, you first check the thermostat type, set the clock and date, choose a heating schedule, enter your desired temperatures, then save and test the settings. This process usually takes about 10 to 20 minutes and is often something you can do yourself without rewiring.

What Program Heating Means
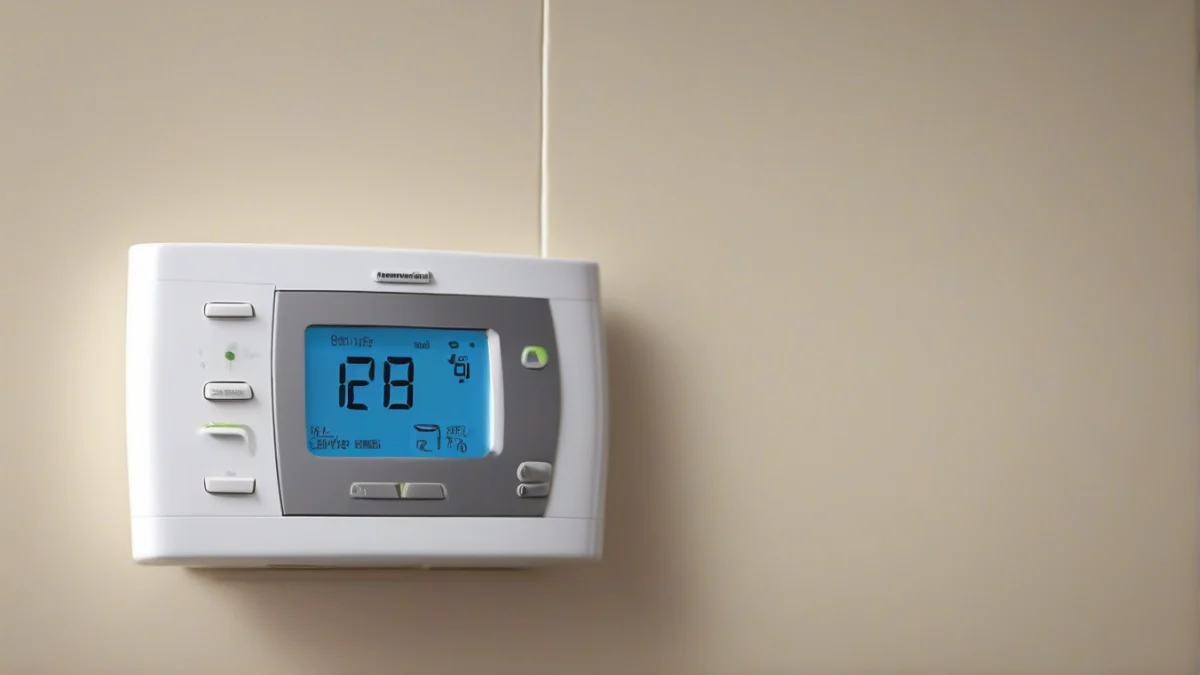
Program heating means setting your thermostat to change the room temperature automatically at specific times of day. You tell it when to warm up or cool down, so it adjusts without you lifting a finger. This lets you match the heat to your daily routine, like waking hours, bedtime, or when the house is empty.
Some people ask if programming controls the furnace temperature, like the air coming out of the vents. It does not. The thermostat schedule controls the room temperature by switching the furnace or heater on and off. The furnace outlet temperature is fixed by the equipment itself, not the schedule.
If you have electric baseboard heating, you need a thermostat designed for 110–240 V systems, called line voltage thermostats. Programmable thermostats for 24 V systems won’t work with baseboards. That’s a common compatibility issue.
Smart thermostats are programmable too, but they add features like remote control via apps and learning your patterns. Programming a smart thermostat usually means setting schedules through its app or touchscreen, which syncs with the device. The basics stay the same: choose times and temperatures, then save the program.
Most programmable thermostats offer these schedule types:
| Schedule Type | Description |
|---|---|
| 5-2 | One program for weekdays, a different one for weekends. |
| 5-1-1 | Separate programs for weekdays, Saturday, and Sunday. |
| 7-day | A unique program for each day of the week. |
Choosing between 5-2, 5-1-1, or 7-day depends on your weekly routine. If your weekends are pretty consistent, 5-2 works well. For more varied weekends, 5-1-1 or 7-day gives finer control.
Not every thermostat suits every heating system. Here’s a quick look:
| Heating System | Thermostat Type Needed |
|---|---|
| Baseboard (electric line voltage) | 110–240 V line voltage thermostat |
| Furnace (gas, oil, electric single-stage) | 24 V low voltage thermostat |
| Heat pump | 24 V heat pump compatible thermostat |
| Dual-fuel systems | Thermostat that handles heat pump and backup furnace |
If you need a replacement thermostat and your system is a 24 V heat pump or a conventional single-stage furnace, consider Product 1. It supports these systems and even monitors room humidity. However, it won’t work with 110–240 V electric baseboard heat, so check your system voltage before buying.
Mistakes That Damage Comfort Or Equipment

Programming a new thermostat sounds simple, but small errors can disrupt your comfort or even harm your heating system. Thermostat programming means setting your device to control temperatures automatically, but common mistakes spoil this.
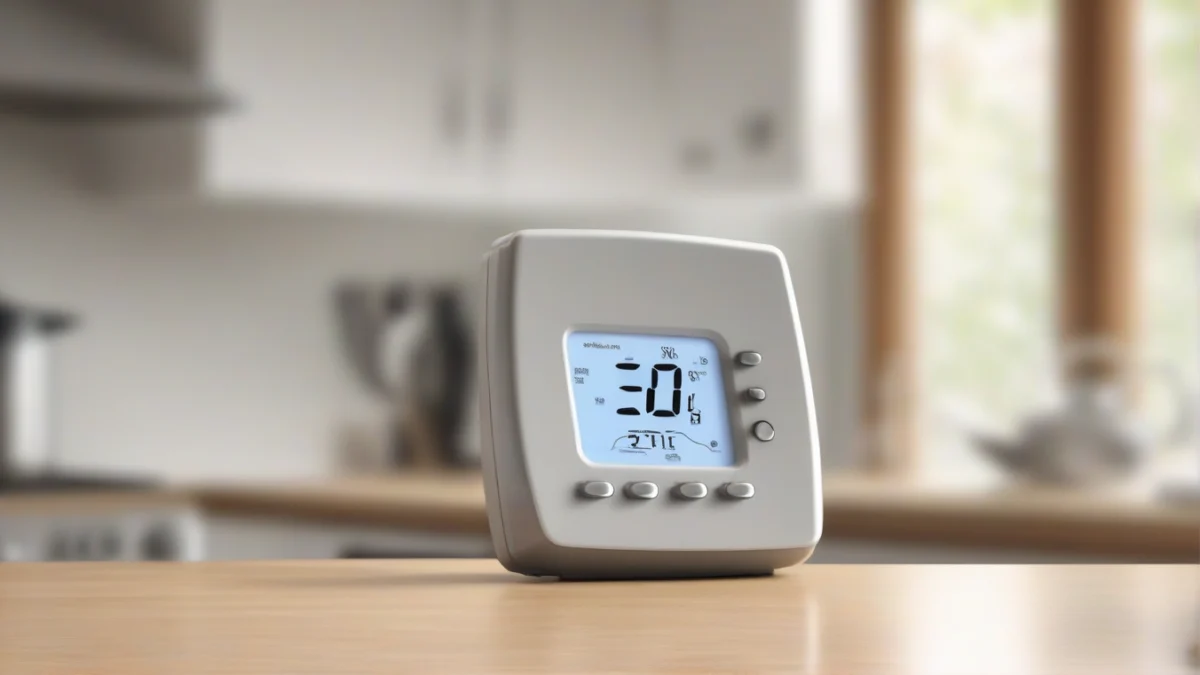
Wrong clock settings throw off your schedule, so the system might come on at odd hours or not when you want it. Double-check the AM/PM and date to avoid this. Placing the thermostat near a supply register or in direct sunlight tricks its sensor, leading to inaccurate temperature reads and poor heating cycles.
Confusing heat and cool modes disrupts the system’s operation. Your thermostat won’t call for heat if it’s stuck in cool mode, and vice versa. Battery neglect is another big cause of failure—dead batteries turn the display blank and stop programming from working.
Hydronic systems need extra care. If you notice leaks after adjusting the thermostat, stop immediately. Check valves and pipes for problems before reprogramming. A leak isn’t caused by programming itself but can show up if something was disturbed.
Look for these signs of wiring or sensor trouble: thermostat display flickers or blanks, heat doesn’t come on when expected, or the system short cycles (turns on and off frequently). These often mean a loose wire or sensor error, not a programming mistake.
 Winter Heating Bill CutterSee what every heater in your home really costs, heat the rooms you use, and cut the waste in 30 days.Cost-per-hour tables for every heaterThermostat schedule and draft-proofing planRunning-cost and bill calculator (Excel)
When You Need A Licensed Pro
Most thermostat programming involves just changing settings and is a straightforward DIY job. But work that changes wiring, gas piping, venting, or controls on gas, boiler, hydronic, or 240V systems usually requires a licensed pro and sometimes a permit.
Service America thermostat programming instructions on YouTube show how to set schedules and temperatures, but they don’t cover wiring or system upgrades. If your project involves running new wires or swapping control components, check your local code first.
Gas boilers, vented gas appliances, and some heat pumps have system-specific controls. If the thermostat behaves oddly—like failing to maintain temperature or cycling off too soon—a professional familiar with that system should handle the troubleshooting.
Before You Buy Or Call
Setting your heating program starts with knowing your system well. You can set the clock, choose the schedule type, enter the temperatures, then save and test the cycle, as explained earlier.
Before replacing your thermostat or calling a pro, check the details to avoid mismatch or extra costs.
You’ll find the model number on the thermostat’s backplate after removing it from the wall, usually printed near the wiring terminals or on a label inside the cover. Wiring labels there help match wires to your system’s connections.
Confirm the new thermostat matches your system type and voltage: 24V units won’t work properly with line-voltage baseboard heaters, and heat pumps need compatible controls. Getting this right prevents installation headaches and ensures your program works as planned.
If you’re unsure, take a clear photo of your current thermostat’s wiring and model number before you shop or book service. This simple step often saves a service call or returns later.
For detailed programming steps, see how to set your heater programme earlier in this guide, or check how to program a heating system for a quick 20-minute setup.