Replacing a water heater drain valve involves shutting off the water, draining the tank, and removing the old valve before installing a new one. It typically takes about 45 minutes and is a feasible DIY job if you follow safety precautions and have basic plumbing tools.
A faulty drain valve can cause leaks or prevent proper draining, making replacement necessary before winter or regular maintenance. This guide walks you through the entire process, from preparation to leak testing, with tips to avoid common pitfalls.
Most water heater drain valves are standard threaded and can be replaced with brass valves for durability. You’ll learn how to handle stuck valves, replace washers if needed, and ensure a leak-free installation.
Key takeaways
Always shut off the cold water supply and power or gas to the heater before starting.
Use pipe thread tape on the new valve’s threads to prevent leaks.
Open a hot water faucet during draining to speed the process and avoid vacuum lock.
Replacing the washer can fix leaks without removing the entire valve if the stem is accessible.
Choose a full port brass valve for better sediment flushing and longer service life.
How to Replace a Water Heater Drain Valve
Replacing a water heater drain valve starts by turning off the water supply and power or gas to the heater, then draining the tank with a garden hose attached. After removing the old valve with an adjustable wrench, you apply pipe tape to the new valve threads, install it securely, refill the tank, and check for leaks.
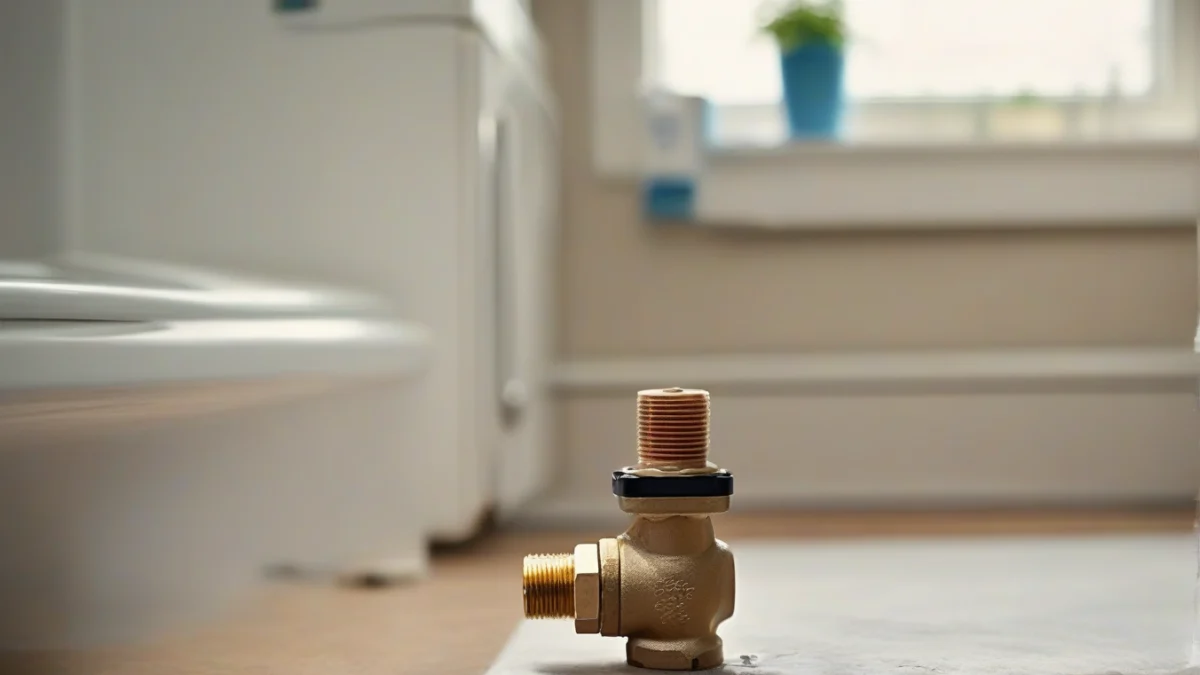
This drain valve is crucial for draining the water heater.
Begin by shutting off the cold water supply valve feeding your water heater. For electric models, switch off the breaker at your panel; for gas units, turn the gas control valve to ‘pilot’ or off. This prevents damage and injury during valve replacement.
Next, connect a garden hose to the drain valve at the bottom of the tank and route the other end to a safe drainage area. Open a hot water faucet somewhere in your home to allow air into the system, which speeds draining. Then open the drain valve and let the tank empty completely.
Once drained, use an adjustable wrench to carefully unscrew the old valve. If it’s stuck, apply gradual force to avoid damaging the tank’s threads. After removal, clean the threaded pipe end to ensure a good seal with the new valve.
Wrap the threads of the new drain valve with pipe tape, also known as Teflon tape, wrapping clockwise so it doesn’t unravel during installation. This tape helps prevent leaks by filling small gaps.
Screw in the new valve by hand first, then tighten it firmly with the wrench. Avoid overtightening to prevent stripping the threads or cracking the valve body. A full-port brass valve is a durable choice that improves flow and sediment flushing.
Best valve for easy replacement
2in Water Heater Drain Valve 3/4″ MIP X 3/4″ Male GHT Full Port Conne…
This 3/4″ full-port brass valve speeds up draining and fits most residential tanks, making installation smoother and reducing future clogging.
Close the drain valve, remove the garden hose, and turn on the cold water supply to refill the tank. Leave the hot water faucet open until water flows steadily to purge air from the lines. Finally, inspect around the new valve for any leaks while the tank refills and the heater powers back on.
Shut Down the Heater First
Turn off the breaker for an electric water heater or set a gas heater to its manufacturer’s shutdown setting before draining. Let the water cool, close the cold-water supply, and never cap or remove the T&P relief valve. Gas connections, 240 V wiring and venting belong to a licensed plumber or electrician.
Tools And Parts
Replacement drain valve that matches the tank connection
Adjustable wrench
Garden hose and bucket or a suitable drain
Pipe tape or sealant approved for potable water
Work gloves and towels
1
Shut off energy and water
Turn off the electric breaker or follow the gas heater’s shutdown instructions. Close the cold-water supply valve and open a nearby hot-water faucet to relieve pressure.
2
Drain below the valve
Attach a garden hose to the drain valve and direct it to a safe drain or container. Drain only until the water level falls below the valve, and test the water temperature before touching the fitting.
3
Remove the old valve
Close the drain valve, disconnect the hose, and place towels under the fitting. Turn the old valve counterclockwise with an adjustable wrench; stop if the tank connection twists or begins to deform.
4
Prepare and install the replacement
Clean the exposed threads, then apply potable-water-rated pipe tape or sealant if the replacement uses male pipe threads. Start the new valve by hand and tighten it with a wrench without forcing it.
5
Check for leaks
Close the hot-water faucet and open the cold-water supply slowly. Watch the new valve and its threads for several minutes; a drip means the connection needs to be shut down and resealed.
6
Restore operation
For an electric heater, fill the tank completely and run water from a hot faucet until air stops sputtering before turning the breaker back on. For a gas heater, follow the unit’s lighting and restart instructions.
Worked Example
Say the valve is near the bottom of the tank and the water remains hot after shutdown. Drain into a bucket until the flow stops and the level is below the valve, then wait for the fitting to cool before loosening it. Draining the whole tank first can add unnecessary time and water handling.
Myth
A closed drain valve means the tank is safe to open.
Fact
A tank can still be pressurized and hold scalding water after the drain valve is closed. Shut off the cold-water supply, open a hot faucet, and verify the water is cool before removing the valve.
Protect The New Threads
Start the replacement valve by hand so you can feel cross-threading. If it will not turn smoothly for several turns, remove it and realign it instead of tightening harder.
How to Troubleshoot and Fix a Stuck Water Heater Drain Valve
A stuck water heater drain valve is often caused by mineral buildup, corrosion, or sediment clogging the valve stem or seat.
Start by spraying a penetrating oil like WD-40 onto the valve stem threads and let it soak for 10 to 15 minutes to loosen rust and debris.
Use a pair of adjustable wrenches or channel-lock pliers to gently turn the valve handle back and forth, never forcing it hard to avoid breaking the valve body.
If the valve leaks but still turns, the issue might be a worn valve stem washer. You can replace the washer by removing the valve stem and installing a new rubber washer, which often stops leaks without replacing the entire valve.
However, if the valve won’t budge or shows signs of cracking, it’s safer to replace the entire valve to prevent leaks or valve failure later on.
Keep a garden hose nearby for draining the tank before attempting any valve repair or replacement. Opening a hot water faucet during draining helps air enter for faster flow.
Videos on replacing water heater drain valves on YouTube can provide helpful visual guidance. Searching for “replacing water heater drain valve video” or “replacing water heater drain valve YouTube video” will show step-by-step demonstrations.
For specific tasks like descaling an AO Smith GWT750A water heater or replacing a tank booster valve, consult your model’s manual or look for dedicated videos, as these steps can vary.
What Valve Types Are Best for Water Heater Drain Valves
Ball valves and gate valves are the two common types used as water heater drain valves, each with distinct differences.
Understanding valve types helps in choosing the right replacement.
Ball valves use a quarter-turn lever and provide a full port opening when open, allowing faster draining and better sediment flushing. Gate valves require multiple turns to open and close and can be slower.
Brass valves are preferred over plastic for durability and heat resistance, especially in hot water applications. Plastic valves are more prone to cracking and failure over time.
Full port valves have a larger internal diameter, which significantly speeds up draining by letting more water and sediment flow out quickly.
Thread compatibility is essential. Most drain valves use 3/4-inch male inlet pipe (MIP) threads, but check your heater’s threads to ensure a proper fit. Reverse-threaded valves are rare, so standard threads are usually correct.
Winterizing features like built-in shutoffs and frost-resistant designs are available on some valves to prevent freezing in unheated spaces, which is valuable for cottage or seasonal homes.
Best for fast draining and sediment remo
2.5in Water Heater Drain Valve 3/4″MIP X 3/4″Male GHT Full Port Conne…
This 3/4″ full-port brass ball valve offers a durable, leak-resistant design with a wide opening that speeds up flushing and is a solid replacement choice for most water heaters.
From HeaterGuides · our own guidePopping or rumbling? Page 6 is the step-by-step flush; page 12 explains every noise.Water Heater Owner's ToolkitFix the common faults yourself, keep it running for years, and know when a repair is money wasted.No-hot-water flowcharts, gas and electricFlush, anode, relief valve and descaling stepsRepair-or-replace calculator (Excel)$14.99$9.99Get it for $9.99See what's inside and watch the 2-minute video →18-page printable PDF + Excel calculator · instant download · 30-day refund
When to Get a Permit or Hire a Licensed Pro for Valve Replacement
Most local codes require a plumbing permit for replacing water heater drain valves, especially if you touch gas or electrical connections. Check with your city or county before starting, as violations can lead to fines or failed home inspections.
Gas and electric water heaters have different risks that often call for a professional. Electric models with 240 V heating elements, like a 40-gallon Bradford White, need the power shut off at the breaker and sometimes a licensed electrician to replace the heating element safely.
Gas heaters involve gas lines and venting. Improper vent installation or gas connection risks carbon monoxide leaks or fire. If your valve replacement involves removing or disturbing gas fittings or the flue, hire a licensed plumber or HVAC technician.
Replacing the anode rod in Rheem water heaters costs more than a simple valve swap. It involves draining and partially disassembling the tank and sometimes requires a pro, especially under warranty.
The average cost of replacing a Rheem water heater ranges from $800 to $1,500 installed, depending on size and labor. Valve replacement is far cheaper but still requires care to avoid leaks or damage.
Permits and professional help protect you from hazards like electric shock, gas leaks, and water damage. If you’re unsure about any step involving electrical or gas components, calling a pro is the safest choice.
For straightforward drain valve swaps where only the valve threads into the tank’s drain port, a homeowner with basic plumbing skills and tools can usually do the job without a permit. But disturbing wiring, gas lines, or venting always crosses into pro territory.
Can I replace just the washer in my water heater drain valve?
Yes, you can replace the washer inside the drain valve stem without swapping the entire valve. This is a good fix for minor leaks and saves time and money. Make sure to fully drain the tank and remove the valve stem carefully to avoid damage.
Are water heater drain valves reverse threaded?
Most water heater drain valves use standard right-hand threads, not reverse threads. Reverse-threaded valves are uncommon and usually not found on typical residential water heaters. Always check the valve’s threading before installation to match the tank’s fitting.
Is it safe to replace a plastic drain valve with a brass one?
Replacing a plastic drain valve with a brass valve is safe and often recommended for durability. Brass valves resist cracking and corrosion better than plastic. Just use pipe tape on the threads and avoid overtightening to prevent leaks or damage.
How can I prevent leaks after installing a new drain valve?
To avoid leaks, apply several wraps of pipe tape evenly around the valve threads before installation. Tighten the valve with an adjustable wrench snugly but don’t overtighten, which can crack the tank or valve. After refilling the tank, check carefully for drips around the valve and retighten if needed.
Can a video show me how to replace a water heater drain valve?
A video can help you identify the drain valve, but follow this sequence: shut off the water and energy source, connect a garden hose, drain the tank, remove the old valve, and check for leaks after refilling. Keep the hose end below the tank outlet, and never open the valve while the tank is hot or pressurized.
What should I check in a water heater drain valve replacement video?
Look for a demonstration that shuts off the breaker or gas, closes the cold-water supply, drains the tank fully, and uses the correct replacement valve. Skip any video that recommends bypassing the temperature-and-pressure valve or working on a live gas or electrical connection.
What is the safe order for replacing a water heater drain valve?
Turn off the water supply and power or gas first, let the water cool, attach a garden hose, and drain the tank before removing the valve. After installing the replacement, refill the tank and inspect the threads and valve outlet for leaks before restoring energy to the heater.
Does a Ruud water heater use a special drain valve?
Ruud drain-valve replacement follows the same shutoff, cooling, draining, removal, and leak-check sequence, but the replacement must match the tank’s drain-port threads and the listed part for that model. Check the rating plate and installation manual before buying; don’t assume a generic plastic valve fits.
Is replacing a Rheem anode rod the same as replacing the drain valve?
No. The anode rod is a separate tank-protection part, usually removed from the top of the heater, while the drain valve is at the bottom and empties the tank. Use the Rheem manual for the correct anode length and thread, and don’t loosen the anode while the tank is pressurized.
Is descaling an A. O. Smith GWT750A the same as replacing a booster or drain valve?
No. Descaling removes mineral buildup from the tank or water path; replacing the drain valve repairs the tank’s low outlet. Follow the model manual for any booster-valve procedure, and shut off water and energy before opening plumbing.
Can I replace a thermostat fuse on an SF 14 gas water heater with this drain-valve procedure?
No. A thermostat fuse is a gas-control safety component, not a drain valve, and it must be replaced with the exact approved part rather than bypassed. Have a licensed technician diagnose why the fuse opened before the heater is returned to service.
Does replacing a heating element on a 40-gallon Bradford White heater use this procedure?
No. An electric heating element is a separate 240-volt repair that requires the breaker to be locked off, the tank to be drained below the element, and the exact replacement part. Electrical work and any uncertain wiring should go to a licensed electrician.
Before you go · a welcome giftGet the Water Heater Owner's Toolkit for $4.99Fix the common faults yourself, keep it running for years, and know when a repair is money wasted. Normally $14.99; your welcome price saves $10.00. We'll email your link right now.or buy it now for $9.99 without the gift →One email with your link now. We never share your address.


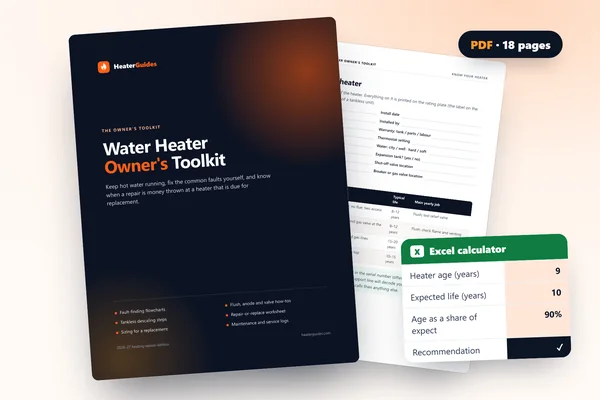 Water Heater Owner's ToolkitFix the common faults yourself, keep it running for years, and know when a repair is money wasted.No-hot-water flowcharts, gas and electricFlush, anode, relief valve and descaling stepsRepair-or-replace calculator (Excel)