

Proper propane heater installation requires following local codes, ensuring adequate ventilation, and consulting a professional for safety and efficiency.
Installing a propane heater requires careful planning and adherence to safety protocols. Whether you’re adding backup heat or primary heating, proper installation prevents hazards and ensures efficient operation.

IDEASURE
Universal Propane Heater Repair Kit FD4 Dump…
- Compatible with: Outdoor propane patio heaters, standing patio heaters, tower glass tube heaters, table propane heaters, Hampton b…
- Universal Repair Kit: Replaces common FD4 dump switch and thermocoupler assemblies. Designed for immediate gas shut-off when tilte…
- Easy to Install: Designed to solve the problem of the pilot light not staying lit. Simply connect the 2 leads together to replace…
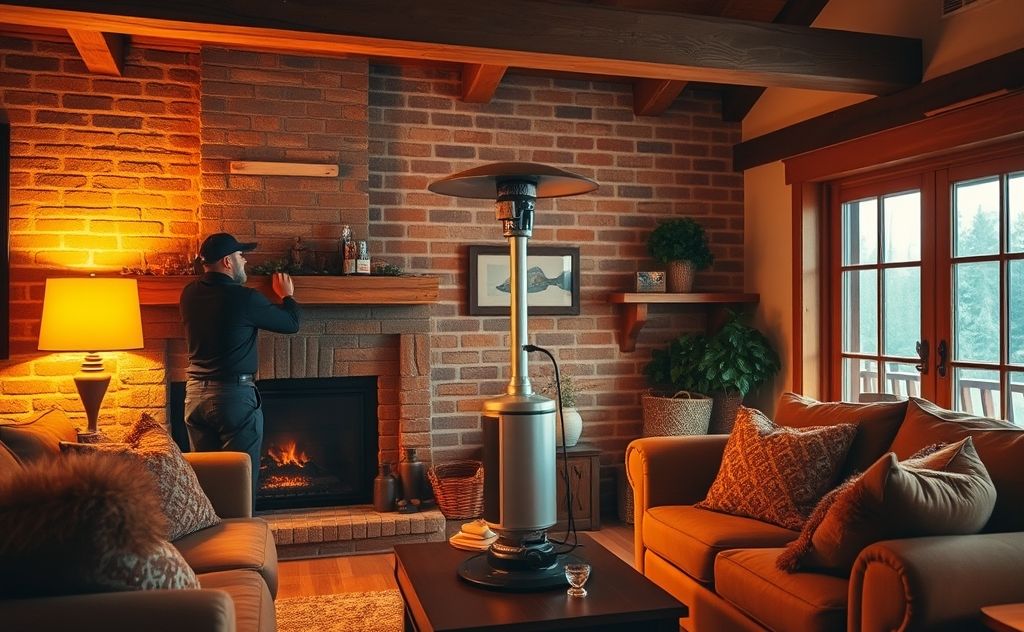
Choosing the Right Propane Tank Size
Propane heaters require properly sized tanks for safe operation. Common residential tank sizes include:
- 20-pound tanks (grill size)
- 40-pound tanks
- 100-pound tanks
- 250+ pound bulk tanks
For occasional backup heating, two 40-pound tanks work well. For whole-house heating, consider larger bulk tanks. Compare heating options before deciding on propane.
Tank Placement Requirements
Follow these guidelines for safe tank placement:
| Tank Size | Minimum Clearance |
|---|---|
| Under 125 gallons | 10 feet from buildings |
| 125-500 gallons | 25 feet from buildings |
| 500+ gallons | 50 feet from buildings |
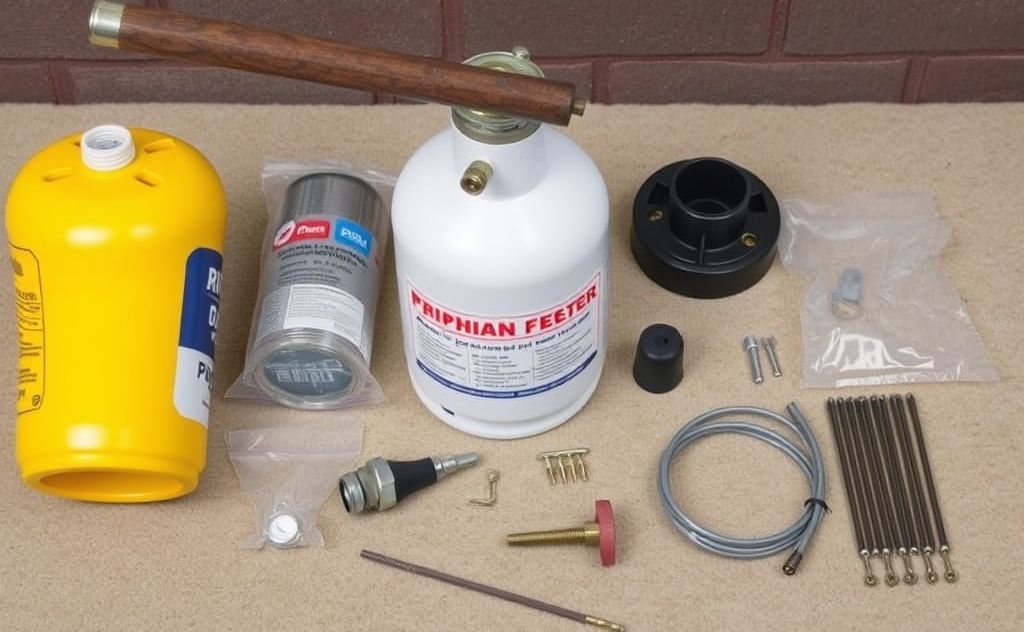
Essential Installation Components
Proper propane heater installation requires specific components:
Pressure Regulator
The regulator reduces tank pressure to safe levels. Match these specifications:
- 10 inches water column output pressure
- 11-14 inches water column input range
- Proper BTU rating for your heater
Gas Lines
Choose between these gas line options:
- Copper tubing with flare fittings (permanent installations)
- Pre-made rubber LP gas lines (temporary setups)
- Black iron pipe (most durable option)
Always use proper tools when working with gas lines.
Step-by-Step Installation Process
1. Mounting the Heater
Follow manufacturer clearance requirements:
- Minimum 36″ from combustible materials
- Proper wall or floor mounting
- Adequate ventilation space
2. Gas Line Connections
Key connection tips:
- Use orange gas-rated thread tape or RectorSeal 5
- Install shutoff valve near heater
- Use proper pipe fittings (black iron or brass)
- Consider dual-tank connection kits for redundancy
3. Testing for Leaks
Always perform leak tests:
- Apply soapy water to all connections
- Look for bubbles indicating leaks
- Never use open flame to check for leaks
- Install carbon monoxide detectors nearby
Safety Considerations
Propane safety is critical:
Transportation Rules
- Always transport tanks upright
- Secure tanks during transport
- Never transport in enclosed vehicle cabins
Ventilation Requirements
Proper ventilation prevents carbon monoxide buildup. According to NFPA guidelines, most propane heaters require:
- 1 square inch of ventilation per 1,000 BTUs
- Upper and lower ventilation openings
- Continuous airflow during operation
When to Call a Professional
Consider professional installation for:
- Whole-house heating systems
- Natural gas conversions
- Complex venting requirements
- Permit-required installations
For supplemental heating options, explore electric fireplace alternatives that may require less installation work.
Maintenance Tips
Keep your propane heater running safely:
- Inspect connections monthly
- Clean burner annually
- Check ventilation paths
- Replace filters as needed
- Monitor flame color (blue = good, yellow = problem)
Related pick: Check today's price on Amazon
Step-by-Step Installation Process
Installing a propane radiant heater follows similar steps to other propane heaters but with attention to the radiant elements. First, mount the heater ensuring at least 36 inches clearance from combustibles and proper ventilation. Connect the gas line using approved fittings and apply gas-rated thread tape to prevent leaks. Complete the installation by testing all connections with soapy water to check for bubbles, never an open flame. Radiant heaters often require specific mounting brackets or clearances noted in the manual, so follow those carefully to ensure safety and performance.
Essential Installation Components
Installing a propane fireplace involves unique venting and clearance requirements. Most propane fireplaces require a vent or direct vent system to safely exhaust combustion gases outside. Place the unit according to manufacturer guidelines, maintaining clearances to combustibles, typically 36 inches. Connect the propane supply with appropriate regulators and shutoff valves. Vent-free propane fireplaces have restrictions in some areas due to safety concerns; check local codes before installation. Proper installation ensures safe operation and prevents carbon monoxide buildup.
When to Call a Professional
Installing a propane tankless water heater is a complex job usually best left to professionals. These units require precise gas line sizing, proper venting, and electrical connections to meet code and operate safely. Improper installation can cause inefficient heating, gas leaks, or carbon monoxide risks. If you plan to install a propane tankless water heater, hire a licensed plumber or HVAC technician to ensure all safety standards and permits are met.

I am a mechanical engineer and love doing research on different home and outdoor heating options. When I am not working, I love spending time with my family and friends. I also enjoy blogging about my findings and helping others to find the best heating options for their needs.
Related guides

Smart Propane Tankless Heaters: Endless Hot Water on Demand
Ready for endless hot water? Control your Westinghouse smart propane tankless heater from anywhere—perfect temperature instantly.
Mr. Heater vs. Habitio Propane Heater Comparison
Compare Mr. Heater and Habitio propane heaters for warmth, safety, and efficiency. Find the best forced air or…
DEWALT vs Mr Heater Portable Propane Heater Comparison
Compare DEWALT and Mr Heater portable propane heaters for power, safety, and value. See which model is best…
