The installation process for convection panel heaters involves selecting an appropriate location, securely mounting the heater to the wall, connecting it to the electrical supply, and ensuring proper clearance for ventilation and safety before testing the unit for functionality.
Installing a convection panel heater is simpler than most heating systems, but proper setup ensures optimal performance and safety. This guide covers everything from mounting to maintenance.

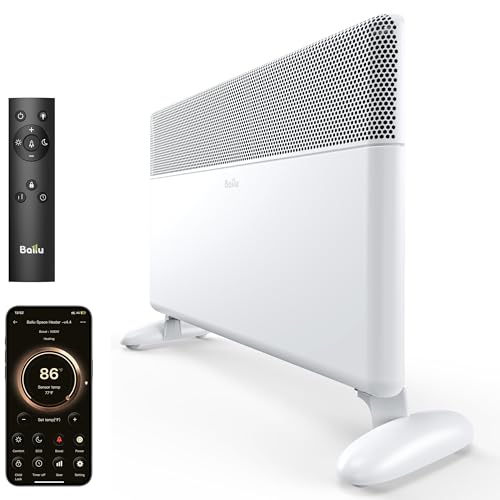
Tools and Materials Needed
- Convection panel heater unit
- Wall mounting brackets (usually included)
- Power drill with appropriate bits
- Level
- Stud finder
- Screws and wall anchors
- Measuring tape
- Pencil for marking

Choosing the Right Location
Wall Placement Considerations
Install your panel heater on an interior wall for best heat distribution. Avoid exterior walls which may have insulation gaps. Keep at least 12 inches clearance from furniture and curtains.
Height Recommendations
Mount 6-12 inches above the floor for optimal convection currents. This allows cool air to enter from below while warm air rises naturally.
Electrical Requirements
Most residential convection panels use standard 120V outlets. For larger units (1500W+), verify your circuit can handle the load. Consider dedicated circuits for multiple heaters.
Installation Process
Step 1: Mark Mounting Points
Use the template provided with your heater or hold the mounting bracket against the wall. Mark screw holes with a pencil. Use a level to ensure straight alignment.
Step 2: Secure Mounting Bracket
Drill pilot holes at marked points. If not hitting studs, use appropriate wall anchors. Secure the bracket firmly with screws.
Step 3: Hang the Heater
Lift the heater onto the mounted bracket. Most models simply hook into place. Ensure it’s securely seated with no wobbling.
Step 4: Connect Power
Plug into a nearby outlet. For hardwired models, follow manufacturer instructions and local electrical codes. Consider consulting an electrician for permanent installations.
Configuration and Operation
Initial Setup
After installation, run the heater at maximum temperature for 1-2 hours to burn off any manufacturing residues. This prevents odors during normal use.
Thermostat Programming
Set your desired temperature. Many modern models feature programmable thermostats for energy savings. Consider setting lower temperatures when the room is unoccupied.
Safety Features
Verify automatic shut-off functions work properly. Test tip-over protection (if equipped) by gently tilting the unit while powered on.
Maintenance Tips
Regular Cleaning
Dust the unit monthly with a soft cloth. Avoid liquid cleaners near electrical components. Keep air vents clear of obstructions.
Seasonal Checks
Before each heating season, inspect power cords for damage and ensure mounting remains secure. Listen for unusual noises during operation.
Long-Term Care
For hardwired units, have an electrician check connections every 3-5 years. Consider replacing older units after 8-10 years as efficiency declines.
Comparison to Other Heating Options
Unlike traditional convection systems, panel heaters provide focused warmth without ductwork. They’re more energy efficient than many oil-filled radiators in small spaces.
According to U.S. Department of Energy, radiant panels have quicker response times than most heating systems. The American Home Shield recommends professional installation for hardwired units to ensure safety.
Troubleshooting Common Issues
Heater Not Turning On
Check circuit breakers and GFCI outlets. Verify power cord connections. Some models have reset buttons that may need pressing.
Insufficient Heat Output
Ensure nothing blocks air circulation. Clean dust from heating elements. Verify thermostat settings and room insulation.
Unusual Noises
Popping sounds during initial use are normal as components expand. Persistent rattling may indicate loose mounting.
Energy Efficiency Tips
- Use in conjunction with ceiling fans to circulate warm air
- Install in frequently used rooms rather than whole-house heating
- Combine with programmable thermostat for automated temperature control
- Consider zone heating to reduce central system usage