Getting your home’s temperature just right feels like a constant battle. One room is a sauna, another an icebox, and your thermostat seems to live in its own little climate bubble. This isn’t just about comfort; it’s about control and efficiency.
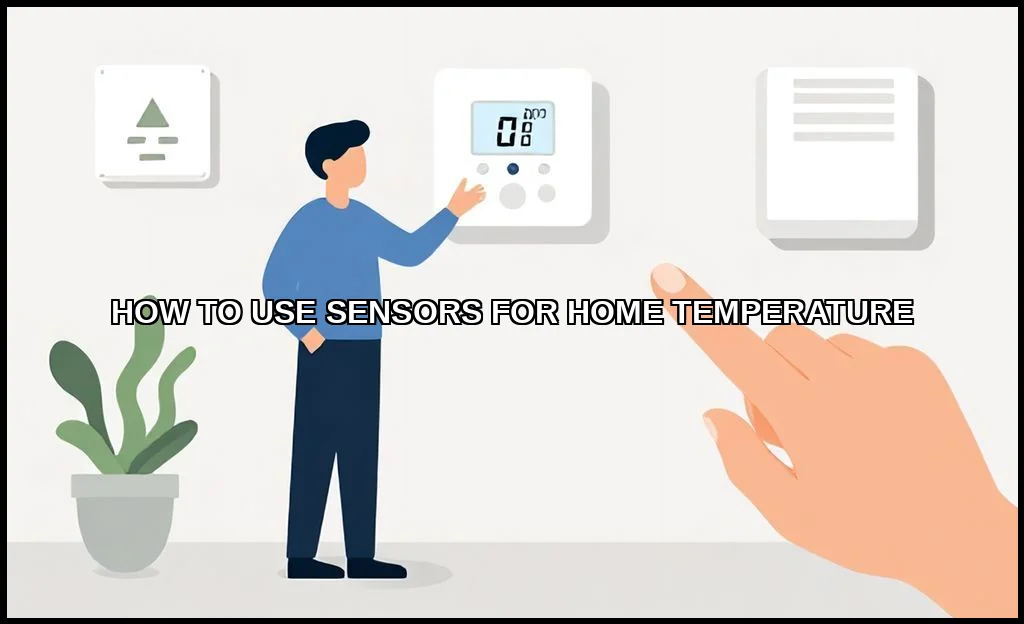
Modern home temperature sensors are the solution. These small, smart devices provide the data your heating and cooling systems desperately need. They move you from guessing to knowing, enabling precise HVAC control and smarter energy management. For a reliable, affordable starting point, many DIY enthusiasts begin with a simple, accurate device like the ThermoPro TP50 Digital hygrometer thermometer. It’s a great tool for initial climate monitoring before you dive into a full smart system.
Types of Home Temperature Sensors and How They Work
Not all sensors are created equal. Your choice depends on accuracy needs, installation complexity, and how you plan to use the data. The core technology often dictates its best use case.
Wired vs. Wireless Sensors
Wired sensors offer rock-solid reliability, as they’re physically connected to your HVAC system or control panel. Installation is more invasive, usually requiring professional help. They’re perfect for permanent, critical readings.
Wireless sensors, on the other hand, are the stars of modern home automation. They use Wi-Fi, Z-Wave/Zigbee, or Bluetooth to transmit data. You can place them anywhereon a wall, a shelf, or even move them room-to-room. This flexibility is key for solving hot/cold spot mysteries.
Common Sensor Technologies
- Thermistors: These are the most common. Their electrical resistance changes predictably with temperature, offering good accuracy for the cost. Found in most basic digital thermometers and many smart thermostat units.
- RTDs (Resistance Temperature Detectors): More precise and stable than thermistors, but also more expensive. Often used in industrial settings or high-end home climate systems.
- Thermocouples: Rugged and capable of measuring a wide range of temperatures. They’re less common for ambient indoor use but might be involved in monitoring specific appliance outputs, like what your water heater is doing.
Choosing the right type is the first step toward effective indoor climate monitoring.
Step-by-Step Installation and Optimal Placement Guide
Placement is everything. A sensor in the wrong spot gives you bad data, leading to poor decisions. You’re not just sticking a device on a wall; you’re choosing a data source for your entire smart home climate system.
Where to Place Temperature Sensors in Your House
Avoid obvious mistakes first. Never place a sensor in direct sunlight, near heat sources (vents, lamps, electronics), or in drafty areas like next to exterior doors. These locations reflect local conditions, not the room’s true ambient temperature.
For a representative reading, aim for:
- Interior walls, at about chest height (roughly 5 feet off the floor).
- Central locations within a room, away from furniture that might block airflow.
- High-traffic living areas (living room, main bedroom) rather than hallways.
- Problem rooms you already know are uncomfortable.
Think about temperature gradients and airflow patterns. A sensor near the ceiling will be warmer; one near the floor, cooler.
Installation Walkthrough
- Power Up: For wireless models, insert batteries or plug into a USB outlet. For wired, ensure power is off at the breaker before connecting.
- Pairing: Put your sensor into discovery mode. Open your smart hub or thermostat app and follow the prompts to add a new device. This is where protocols like Z-Wave/Zigbee come into play.
- Naming: Give your sensor a clear, logical name. “Upstairs Bedroom North” is better than “Sensor 2.”
- Calibration (if needed): Some sensors allow a slight offset adjustment. Compare with a known-accurate thermometer to verify.
Now you have a working temperature monitor. The real magic begins with integration.
Integrating Sensors with Smart Thermostats and Hubs
A standalone sensor is informative. A connected sensor is transformative. Integration turns raw data into automated action, creating a true DIY home temperature monitoring system.
Connecting to a Smart Thermostat
Modern smart thermostat models from Ecobee, Nest, and others support remote sensors. The process is typically seamless within the brand’s ecosystem. Once connected, you can tell your thermostat which sensor to use for its reading. For example, “Use the living room sensor during the day, and the bedroom sensor at night.” This solves the problem of a thermostat in a useless location.
Figuring out how to connect temperature sensor to smart thermostat is usually the easiest path. The manufacturer’s app guides you, and the automation rules are built-in.
Using a Central Smart Home Hub
For maximum flexibility, use a hub like Samsung SmartThings, Hubitat, or Home Assistant. These platforms can talk to sensors and thermostats from different brands, breaking down walled gardens. Your Z-Wave/Zigbee wireless sensor from one brand can control your HVAC via a thermostat from another. The hub becomes the brain, using data from any connected device to make decisions.
This approach is powerful for those building a comprehensive, vendor-agnostic smart home.
Creating Automation Rules and Temperature Scenes
This is where your system earns its keep. Automation replaces manual adjustment with intelligent, pre-programmed responses. You’re not just monitoring; you’re orchestrating.
Basic Automation Examples
Start simple. Create rules based on time, occupancy, or sensor readings.
- Time-Based: “At 10 PM, if the bedroom sensor reads below 68F, turn on the bedroom space heater.”
- Occupancy-Based: “If no motion is detected in the living room for 30 minutes, set the thermostat to ‘Away’ mode using the hallway sensor.”
- Sensor-Based: “If the sunroom sensor exceeds 80F, close the smart blinds and turn on the ceiling fan.”
Advanced Scenes and Logic
Combine multiple conditions for sophisticated control. A “Good Morning” scene might trigger when your bedside motion sensor detects movement after 6 AM. It could then check the bathroom sensor and warm the floor if it’s too cold. An “Eco Vacation” mode could use a single, centrally-placed sensor to maintain a bare-minimum temperature range, saving energy while preventing freeze damage.
The goal is to make your home automation system proactive, not reactive. It anticipates needs based on the data from your temperature control devices.
Measuring Energy Savings and Troubleshooting Common Issues
Did all this tech actually save you money? Proving it requires a bit of effort. And when things go wrong, you’ll need to know where to look.
Tracking Efficiency Gains
Your utility bill is the ultimate scorecard, but it’s a lagging indicator. For more immediate feedback:
- Use your thermostat’s or hub’s built-in energy reports. Many track runtime and estimated savings.
- Compare year-over-year usage from your utility provider, adjusting for weather differences (degree days).
- Monitor the runtime of auxiliary systems, like portable heaters, which should decrease as your main HVAC system works more efficiently.
According to an official source on energy savings, proper use of programmable settings can save you about 10% annually. Smart sensors take that concept further by making those programs dynamically accurate.
Solving Typical Problems
Even the best systems hiccup. Here’s a quick guide:
| Issue | Likely Cause | Solution |
|---|---|---|
| Sensor reading “Offline” | Weak battery, poor wireless signal, out of range. | Replace batteries, move hub/repeater, check for interference. |
| Inaccurate temperature readings | Poor placement (sun, draft, heat source). | Relocate sensor to a neutral, interior location. |
| Thermostat ignoring sensor | Wrong sensor selected in schedule or “Follow Me” disabled. | Review thermostat settings and automation rules. |
| Delayed response to temperature changes | Long polling interval set in hub software. | Shorten the sensor update frequency in your hub’s settings. |
Patience is key. Diagnose one variable at a time.
Implementing a sensor network transforms your home from a passive structure into a responsive environment. You shift from uniform, often wasteful, heating and cooling to targeted, intelligent climate monitoring. The initial setup requires thoughtchoosing the best temperature sensor for home automation for your needs, strategic placement, and careful programming. But the payoff is substantial: enhanced personal comfort, finer control over your environment, and tangible reductions in energy waste. Your home finally works for you, not the other way around.
