Setting up remote control for heating usually takes 1 to 3 hours for a smart thermostat or receiver kit, and it’s a DIY job only if your system is low-voltage and the maker allows it. If you’re moving a gas, 240 V, or vented heat source, stop and bring in a licensed pro.
Remote control can mean a Wi-Fi thermostat, a handheld receiver for a fireplace or stove, or a phone app tied to a central heating control. The right setup depends on the heater, the wiring, and whether the control only sends a signal or actually switches power.
The fastest path is to match the controller to the equipment before you touch any wires. A bad match wastes time, and with gas or line-voltage heat, it can also create a safety problem.
How To Set Up Remote Control For Heating
Remote control for heating requires either a smart thermostat, a wireless receiver kit, or a remote app linked to your existing system. How you set it up depends on whether you’re replacing the thermostat, adding a receiver to a gas valve, or using an app to connect to a compatible controller.
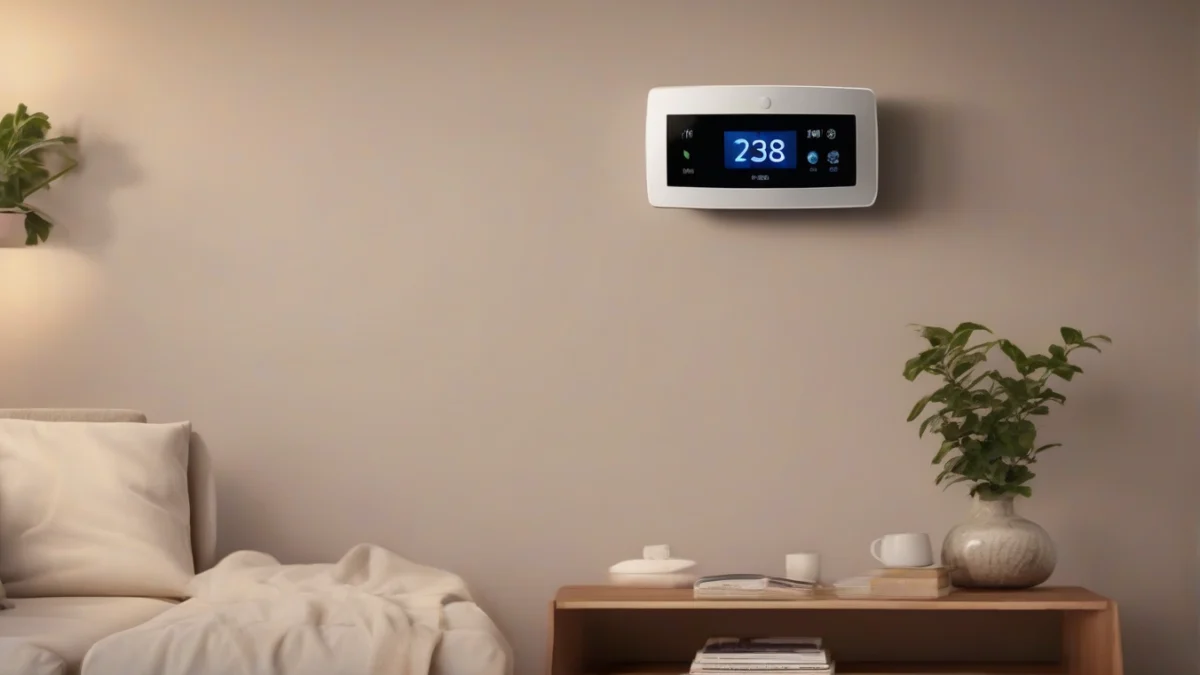
This smart thermostat is essential for remote heating control.
Plug-in electric heaters that come with their own remote are simpler: just use the included remote and a standard outlet; no wiring needed. But for central heating, most systems need a compatible thermostat or zone controller—not a universal handheld remote—to switch control away from the wall unit and enable remote management.
Safety First
Never start work on gas, 240 V wiring, or vented heating without shutting off power or gas, and confirming the system allows DIY changes. If you’re unsure, call a licensed pro. Mishandling can cause shocks, leaks, or carbon monoxide risks.
Tools and Parts Needed
Compatible remote control or smart thermostat
Batteries for the remote or receiver, if required
Screwdriver set
Labels for wiring
Smartphone with the app installed
Equipment manual or installation guide
1
Confirm Compatibility
Check that your heating system matches the remote or thermostat’s specifications. For example, a gas fireplace remote like product 1 works with millivolt valves or electric spark modules, but not all gas valves. Plug-in electric heaters usually come with their own remote and don’t need system wiring.
2
Shut Off Power or Gas
Turn off the circuit breaker or gas valve to the heating unit to avoid shocks or leaks during installation. Confirm power is off with a tester if you have one.
3
Wire or Pair the Receiver
Connect the receiver’s wires to the thermostat terminals or gas valve per the manual. For wireless kits, follow the pairing instructions between the remote and receiver.
4
Restore Power and Test
Turn power or gas back on. Test the remote control by switching the heater on and off and adjusting the temperature. Confirm the system responds as expected.
Tools And Parts You May Need
Only the pieces that actually belong in a remote-control setup
Millivolt Valve Control
Durablow TR1001 Gas Fireplace Remote Kit
This kit adds simple wireless on/off control to gas fireplaces using millivolt valves or electric spark ignition modules. It replaces wall switches and includes both transmitter and receiver for easy installation.
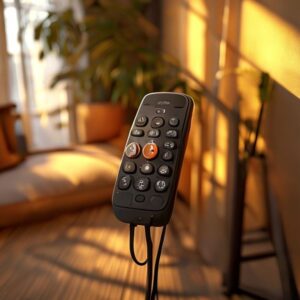
A remote for heating often does more than just turn your heater on or off, but how much control depends on the model. Many electric fireplaces let you adjust the temperature, fan speed, and timers through their remotes, but some only offer basic on/off switching.
On electric fireplace remotes, the “M” button usually stands for manual mode, allowing you to override automatic settings and adjust heat or flame manually. However, the exact meaning varies by brand, so the owner’s manual should always be your guide.
To control your home temperature from a remote, look for a smart thermostat or a receiver kit designed to replace your existing thermostat. These devices often connect wirelessly to an app or remote control, letting you set target temperatures, schedules, and sometimes zone-specific settings.
Receiver kits for gas fireplaces act as switches for the valve or ignition system; they don’t supply power to the heater. That means they only work with the specific millivolt valve or ignition module they are designed for.
Myth
Any remote will work with any heater
Fact
Compatibility depends on voltage, valve type, and control method. Using the wrong remote can damage your system or create safety hazards.
Low-voltage vs line-voltage
Low-voltage controls (around 24 V) handle thermostat signals safely, while line-voltage switches (120 or 240 V) directly control power to heaters. Mixing them up risks damage or fire.
12.5 A
What a 1,500 W heater draws
Knowing your heater’s amperage helps pick compatible switches and remotes.
In short
Some remotes switch only on/off. Others let you adjust temperature, fan speed, and timers. Always check compatibility with your heater’s voltage and control type before buying.
Mistakes That Cause Damage Or Leaks
A common mistake is wiring a receiver kit into the wrong voltage circuit. Using a low-voltage receiver on a line-voltage heater, or vice versa, can damage the controls or cause a fire.
Ensure correct wiring to avoid damage or leaks.
Don’t run line-voltage loads through a receiver meant for millivolt gas valve circuits. Those receivers handle only tiny currents and will fail or cause unsafe conditions if overloaded.
Loose wire splices and pinched thermostat wires are frequent failure points. Ensure all connections are tight and wires are free from damage. Also, avoid installing receiver boxes where temperatures exceed the manufacturer’s limits.
Batteries installed backward in remotes or receivers often cause them not to work and can damage the electronics. Double-check polarity before powering up.
Gas appliances require proper venting and clearance as specified in their manuals. A remote control won’t fix problems like insufficient combustion air or carbon monoxide buildup.
Label wires before removal
Mark thermostat wires before disconnecting so you can restore the original setup if needed.
Safety warning
Never attempt to install or modify remote controls on gas, 240 V, or vented heating appliances unless you are licensed or the manufacturer specifically allows it.
When A Permit Or Licensed Pro Is Required
Remote control of your central heating often sounds simple but crosses a line into professional work when it involves wiring or gas. For example, a licensed electrician must handle any hardwired 240 V connections or rewiring of line-voltage baseboards.
If you want to control a gas heater remotely and that means changing or installing a gas valve, you need a licensed plumber or HVAC tech. Venting changes also fall under pro work because incorrect venting can cause carbon monoxide risks.
Check Local Code
Many areas require permits for relocating thermostats, adding branch circuits, or modifying gas appliance controls. Always check local building and fire codes before starting. Vent-free gas heaters have additional restrictions in some states, so confirm your location’s rules before changing their controls.
If your heater’s manual says the receiver or smart thermostat must be installed by a qualified technician, that instruction overrides any DIY impulse. These rules exist because complex systems like boilers with zones or shared air handlers often integrate safety devices and pumps that can be disrupted by improper wiring.
For basic remote control, low-voltage thermostat replacements and wireless receiver kits can be DIY projects if the manual permits. But once your setup involves gas valves, 240 V wiring, or central system components, call in a pro to keep it safe and code compliant.
Central Heating Remote Control
You can remotely control your central heating via smart thermostats linked to your Wi-Fi or by installing receiver kits designed for your system’s voltage and fuel type. The trick is knowing when the complexity demands a licensed installer rather than a weekend project.
In short
DIY remote control suits low-voltage electric or plug-in kits only. Licensed pros and permits are mandatory for gas valves, 240 V wiring, vent changes, and central systems with boilers or zoned controls.
Fixing Pairing And Range Problems
Extending your remote heating control range depends on eliminating obstacles and confirming the correct setup. Dead batteries and wrong channel choices cause most pairing failures, so start there.
1
Replace batteries
Check and swap out batteries in both remote and receiver to ensure power.
2
Confirm channel or network
Verify the receiver and remote use the same channel, frequency, or Wi-Fi network (usually 2.4 GHz for smart thermostats).
3
Re-pair after power loss
If power was interrupted, you often need to pair the transmitter to the receiver again following the manual’s steps.
4
Improve receiver placement
Move the receiver away from metal panels and hot surfaces. Heat can damage electronics; metal blocks signals and shortens range.
Wi-Fi controls require a 2.4 GHz network; a 5 GHz network or weak signal won’t work. Bluetooth remotes need line-of-sight and short distance—usually under 30 feet. If the signal fades, check these limits first.
Improve Wi-Fi Range
Try moving your router closer to the receiver or adding a compatible extender, but only if your device manual allows it. Extenders that boost 2.4 GHz work best for heating controls.
App alerts and schedules only function once your smart heating device is online and paired. Focus on pairing the device first before troubleshooting automation features.
In short
Fix pairing by changing dead batteries, confirming channels, and re-pairing after outages. Keep receivers clear of metal and heat. Use 2.4 GHz Wi-Fi for smart controls and maintain short range for Bluetooth devices.
Frequently Asked Questions
How can I control my central heating remotely?
You can control central heating remotely by installing a smart thermostat connected to your Wi-Fi or using a wireless receiver kit paired with a dedicated remote or app. These devices let you adjust settings, set schedules, and monitor your system from anywhere. Check your heating system compatibility before buying.
How do I switch my heating control to remote away from the thermostat?
Switching control away from the thermostat usually means installing a wireless receiver kit that intercepts the thermostat’s signals or replacing the thermostat with a smart model. This setup requires proper wiring and pairing of the remote device to your system’s control board.
What do the M symbols mean on my electric fireplace remote control?
The M symbols typically represent memory or mode functions, allowing you to save preferred heat or flame settings or switch between preset modes. Consult your fireplace’s manual for exact meanings, as these can vary by brand and model.
How do I control temperature with a remote?
Temperature control via remote depends on the device type: smart thermostats adjust target temperature digitally, while some remotes send simple on/off or heat level commands. For precise temperature settings, a smart thermostat with app control or a multi-level receiver is best.
How do I extend my remote heating control range?
Extending range involves removing physical obstructions, relocating the receiver to a more open spot, or adding signal repeaters or range extenders compatible with your system. Using the recommended frequency band and checking battery health in remotes also helps maintain signal strength.
When do I need a licensed pro to set up a remote heating control?
Hire a licensed pro if your setup involves gas lines, 240 V wiring, or vented heating equipment. Also get professional help for any work requiring permits or local code compliance. Low-voltage thermostat swaps may be DIY if allowed by the manufacturer.