Skip to content

Expert home heating guides, reviews & repairs

Heater GuidesHeaterGuides
Water Heater

How To Safely Lift A Water Heater Into The Attic

You just bought a 50-gallon water heater for that attic installation, and now you’re staring at a 12-foot ladder, a narrow hatch, and a solid 200 pounds of steel and glass lining. The last thing you want is to drop it through the living room ceiling or throw your back out on the stairs. Most homeowners and even some handymen try to muscle it up with brute force, and that’s when things go sideways.

This article walks you through a pro-grade rigging plan that prioritizes structural safety and drywall protection over sheer strength. You’ll learn how to measure your access point, calculate the true weight of the unit, set up a simple pulley system on the ceiling joists, and use a two-person pivot technique that keeps your spine and your sheetrock intact. We’ll also cover what to do once the heater is in the attic, including plumbing hookups and drain pan placement, so you don’t have to make a second trip.

Storbuffs

Storbuffs Carrying Straps for Cylinder or Other…

  • Components: 1 pcs 2-inch adjustable four-grid carrying strap,2 pcs 2-inch shoulder straps,2 pcs 1-inch auxiliary straps,1 pcs wate…
  • Product Size:Can Fit The maximum circumference of the items being moved is 94 inches and the maximum diameter is 30 inches.
  • User-Friendly Design: Featuring a central grid strap system for two-person collaboration in heavy lifting. Each side comes with ad…

Before you start hauling, consider a pair of Storbuffs carrying straps for the actual lift. These adjustable two-person shoulder straps wrap around the tank and distribute the weight evenly, so you’re not gripping a slick metal cylinder with your fingertips. They handle up to 400 pounds, which covers even the biggest residential units, and they keep your hands free for balance on the ladder.

how to safely lift a water heater into the attic

Measure the Access Point and Tank Dimensions First

Most attic hatches are 22 by 30 inches or smaller. A standard 50-gallon water heater is about 20 inches in diameter and 60 inches tall, so it fits through the opening only if you tilt it diagonally. Measure your hatch width and length with a tape measure before you buy anything. If the opening is smaller than the tank’s diagonal, you’ll need to remove the hatch frame or cut the drywall, which is a whole other project.

Also measure the attic floor clearance. You need at least 6 feet of vertical space to stand the heater up once it’s inside. If your attic has low rafters or a scissor truss, you might need to lay the tank on its side and slide it, which changes your lifting strategy. Check the path from the hatch to the final location—any ductwork, wires, or plumbing lines in the way will make the job miserable.

Grab the tank’s dimensions from the manufacturer’s spec sheet. A 40-gallon unit is roughly 20 inches wide and 50 inches tall, while a 75-gallon runs about 24 inches wide and 70 inches tall. Write these numbers down and compare them to your access path. If you’re installing a gas water heater, remember the vent pipe needs to run through the roof, so the tank’s position relative to the chimney or roof penetration matters.

Calculate the True Weight (Water + Tank)

Nobody lifts a dry water heater. The weight that matters is the full installed weight—tank plus water. A 40-gallon tank weighs about 120 pounds empty, and water weighs 8.34 pounds per gallon. So a 40-gallon unit filled with water tips the scales at roughly 450 pounds. A 50-gallon runs around 550 pounds, and a 75-gallon can hit 800 pounds. That’s not a two-person job; that’s a rigging job.

Even if you plan to lift the tank empty and fill it after installation, you still need to move the empty unit up the ladder. An empty 50-gallon tank weighs 150 to 200 pounds depending on the model. That’s manageable with two strong people using proper straps, but it’s still heavy enough to cause injury if you don’t use a pulley or a mechanical advantage system.

Here’s a quick reference table for planning:

Tank Size (Gallons) Empty Weight (lbs) Full Weight (lbs) Typical Diameter (in) Typical Height (in)
40 120–140 450–480 20–22 50–55
50 150–180 550–580 20–22 58–62
75 200–250 800–850 24–26 68–72

Use these numbers to decide if you need a come-along or a block-and-tackle. If the full weight exceeds 400 pounds, don’t even think about lifting it by hand. A pulley system reduces the effort to a fraction of the weight, but you still need to control the load carefully.

Gather the Right Safety Gear and Tools

This job involves heavy weight, awkward angles, and heights. You need work gloves with a good grip, safety glasses to protect against dust and debris, and steel-toe boots in case the tank slips. A hard hat is a smart addition if you’re working under a low attic ceiling. Do not skip these—a dropped tank can crush a foot or send a shard of glass into your eye.

For the rigging, you’ll need a rope rated for at least 1,000 pounds, a pulley or block-and-tackle, and a sturdy anchor point. A 50-foot length of 3/8-inch braided nylon rope works well. You’ll also need a drill with a spade bit to make a hole in the ceiling joist for the pulley hook, or a ratchet strap to wrap around the joist. A come-along is a good alternative if you have one.

Don’t forget the straps. A pair of carrying straps for heavy tanks makes the two-person lift much safer because they distribute the load across your shoulders and back instead of your arms. They also prevent the tank from sliding out of your grip when you’re on the ladder.

Protect the Stairwell and Attic Flooring

Most people forget this step and end up with gouges in the drywall and scratches on the attic floor. Lay down a drop cloth or a piece of plywood over the stair treads and the landing. If you’re lifting through a hatch in a hallway ceiling, tape a piece of cardboard or a plywood sheet to the ceiling edge to prevent the tank from scraping the drywall as you pivot it through the opening.

In the attic, the floor is usually just plywood over ceiling joists. A 550-pound tank sliding across the floor can crush insulation and dent the sheathing. Lay down a sheet of 3/4-inch plywood as a runway from the hatch to the final location. This distributes the weight and prevents damage to the joists. If you’re working with a gas water heater, also place a piece of plywood under the unit to support the weight and provide a level surface for the drain pan.

Also check the ceiling joists themselves. A standard 2×6 joist on 16-inch centers can support a water heater’s weight if the load is distributed, but a point load from a pulley can exceed the joist’s capacity. Spread the load by using a 2×4 or 2×6 spreader board across several joists to anchor your pulley. That way, the force is distributed over multiple structural members.

Rig a Simple Pulley System (Block and Tackle)

A block-and-tackle with two or three pulleys can reduce the effort needed to lift a 200-pound tank to about 50 pounds. You can buy a replacement pulley kit at a hardware store, or use a come-along. The key is to anchor it securely to the ceiling joists, not to a single rafter or a piece of plywood.

Securing the Rope to the Ceiling Joist

Find a ceiling joist that runs perpendicular to the hatch opening. Use a stud finder to locate it, then drill a 1/2-inch hole through the joist at the center of the hatch. Thread your rope through the hole and tie a figure-eight knot on the top side, or use a heavy-duty eye bolt with a washer and nut. If you’re using a spreader board, screw it across at least three joists and attach the pulley to the board’s center.

Make sure the anchor point is directly above where the tank will be lifted. If it’s off-center, the tank will swing and hit the hatch edges. Test the anchor by pulling on the rope with your full body weight before you attach the tank. If anything creaks or moves, reinforce it.

Attaching the Strap to the Water Heater

Wrap the carrying strap around the tank horizontally, about one-third of the way down from the top. The Storbuffs straps have adjustable webbing on all four sides, so you can tighten it to fit the tank’s circumference. Make sure the straps are snug but not so tight that they dent the tank’s outer jacket. Then attach the pulley’s hook to the strap’s center ring using a carabiner.

If you’re lifting the tank vertically, the strap should be positioned so the tank hangs straight. If you’re lifting it horizontally (which is often easier through a hatch), wrap the strap at the tank’s center of gravity. For a horizontal lift, you’ll need two straps—one near each end—to keep the tank stable.

The Two-Person Lift and Pivot Technique

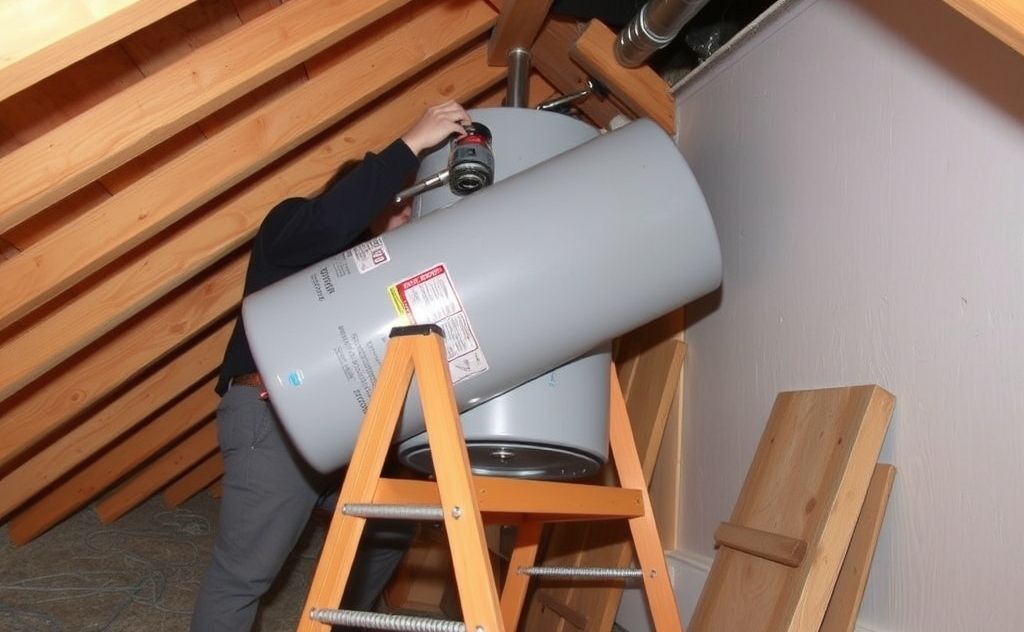
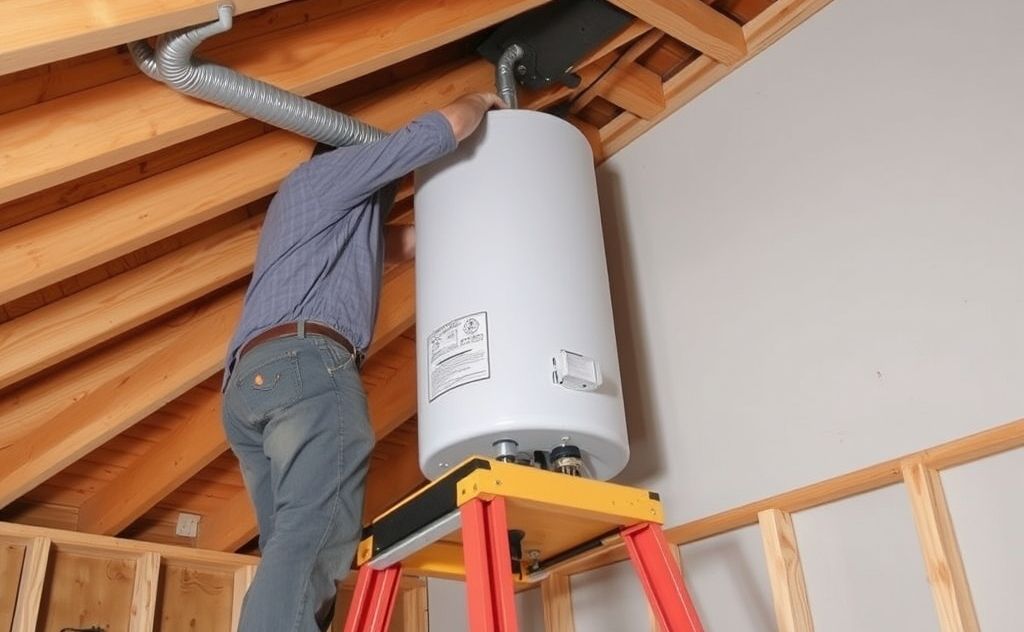
Here’s where most people mess up. They try to lift the tank straight up through the hatch, which requires them to stand directly under it and push overhead. That’s a recipe for shoulder injury and a cracked ceiling. Instead, use a two-person pivot: one person in the attic pulls the rope while the other person below guides the tank and pushes it upward.

Start with the tank lying on its side on the floor below the hatch. Attach the pulley strap to the tank’s center. The person in the attic pulls the rope to lift the tank off the floor, while the person below guides the tank’s bottom end upward. As the tank rises, the bottom person rotates it to a vertical position, using the hatch edge as a pivot point. This way, the tank never swings freely, and the weight is always supported by the rope.

Communicate clearly. The person in the attic should only pull the rope, never try to grab the tank. The person below should focus on guiding and pushing, not lifting. If the tank starts to swing, stop pulling and let it settle. Rushing this step is how you end up with a dented tank or a broken ladder.

Sliding the Heater Across the Attic Joists

Once the tank is through the hatch and standing in the attic, you still need to move it to its final spot. Slide it on the plywood runway you laid earlier. Use a piece of cardboard or a furniture slider under the tank’s base to reduce friction. Push the tank from the bottom, not the top, to avoid tipping it over.

If the attic floor has low clearance, you might need to lay the tank on its side and roll it. Use the carrying straps to lift one end, then slide a piece of plywood or a furniture dolly underneath. Roll the tank slowly, checking that no wires or pipes are in the way. If the tank is too heavy to slide, use a come-along anchored to a wall stud to pull it along the plywood.

Remember to check the path for any nails sticking up from the plywood or staples from the insulation. They can puncture the tank’s jacket or your gloves. Sweep the area before you start moving the tank.

Final Placement and Plumbing Hookup Checklist

Getting the tank into the attic is only half the job. Before you connect any pipes, set the tank in its final position and level it with shims. Install a condensation pan under the tank if your local building code requires it—most codes do for attic installations. The pan should be at least 2 inches larger than the tank’s diameter and drain to a safe location, usually through a pipe to the exterior.

Check the gas line if you’re installing a gas water heater. The gas line must be flexible and have a shut-off valve. A rigid pipe can break when the tank settles or vibrates. Use a flex connector rated for the BTU input of your heater. For electric units, make sure the wiring is properly grounded and the circuit breaker is sized correctly.

Also check the pressure relief valve. The valve should be installed with a discharge pipe that points downward and terminates near the floor. Don’t forget to install a drip pan under the unit if you’re in an area prone to flooding. And always check the manufacturer’s instructions for clearance to combustible materials if you have a gas unit.

Once everything is connected, turn on the water supply and check for leaks. Open a hot water faucet to purge the air from the lines. If you smell gas, shut off the supply and call a professional. If you’re doing this yourself, take a look at this drain pan lift guide for extra tips on getting the unit into the pan without straining.

Frequently Asked Questions

How much does a 50-gallon water heater weigh when full?

A 50-gallon water heater weighs about 150 pounds empty. When filled with water, it weighs roughly 550 pounds, since water is 8.34 pounds per gallon. That’s why you should never try to lift a full tank by hand.

Can I lift a water heater into the attic by myself?

Technically you can with a pulley system, but it’s not recommended. You need someone to guide the tank through the hatch and control the rope. A second person also helps prevent the tank from swinging and damaging the ceiling.

What’s the best way to anchor a pulley to the ceiling joist?

Use a spreader board across at least three joists and attach the pulley to the board’s center with a heavy-duty eye bolt. This distributes the load and prevents a single joist from failing. Never anchor to a single rafter or a piece of plywood.

Do I need a permit to install a water heater in the attic?

Most local building codes require a permit for water heater installation, especially for gas units. Check with your local building department. Some areas also require a licensed plumber for the gas line connection.

What should I do if the attic hatch is too small for the water heater?

Measure the diagonal of the tank. If it doesn’t fit, you have a few options: enlarge the hatch opening, remove the tank’s jacket insulation (not recommended), or use a smaller tank. Sometimes you can rotate the tank to fit, but only if the diagonal is smaller than the hatch’s diagonal.

What to Take Away From This Guide

  • Always measure your hatch and tank dimensions before buying or lifting.
  • Calculate the full weight of the tank (water plus tank) to decide if you need a pulley.
  • Use a block-and-tackle or come-along anchored to a spreader board across multiple joists.
  • Protect your drywall and attic floor with plywood and drop cloths.
  • Use a two-person pivot technique to guide the tank through the hatch.
  • Install a condensation pan and check gas line flexibility before final hookup.
  • Wear work gloves, safety glasses, and steel-toe boots—no exceptions.
Share
Written by Joye

I am a mechanical engineer and love doing research on different home and outdoor heating options. When I am not working, I love spending time with my family and friends. I also enjoy blogging about my findings and helping others to find the best heating options for their needs.

Keep reading

Related guides

Free newsletter

Heater deals and guides, worth opening

Price drops, new guides and safety recalls. One email, only when it matters.

No spam. Unsubscribe in one click. Privacy policy.