To install an infrared heater at home, choose a suitable location, mount it securely, connect it to a power source, and follow the manufacturer’s instructions for setup.
Installing an infrared heater at home is a straightforward process that can significantly improve your comfort while being energy efficient. Unlike traditional heating systems, infrared heaters directly warm objects and people through radiant heat, similar to sunlight. This guide covers everything from choosing the right location to final testing.

Choosing the Right Location
Selecting the proper location is crucial for optimal performance and safety. Consider these factors:
- Ceiling vs. Wall: Ceiling mounting provides even heat distribution, while wall mounting works well for targeted warmth.
- Room size: Larger rooms may require multiple units or higher wattage panels.
- Clearance: Maintain at least 20cm from floors and 30cm from furniture or curtains.
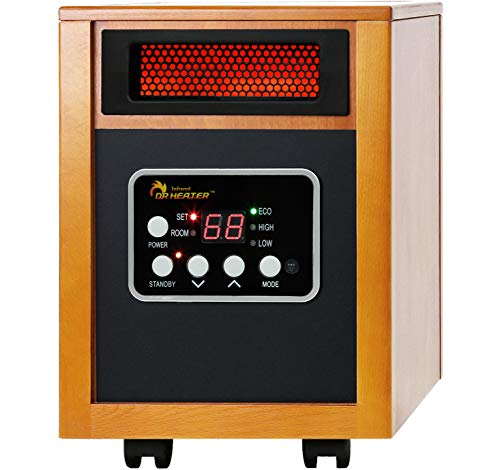
For best results in living areas, consider modern designed heaters that blend with your decor while providing efficient warmth.

Installation Process
1. Preparing the Mounting Surface
Before drilling:
- Turn off power at the circuit breaker
- Use a stud finder for wall mounting
- Mark drill holes with a pencil
- Ensure holes are parallel to walls for straight alignment
2. Mounting the Heater
Follow these steps for secure installation:
- Drill pilot holes using appropriate bits for your wall/ceiling material
- Insert wall plugs (use staggered plugs for plaster ceilings)
- Leave screws protruding about 1cm for bracket attachment
- Secure mounting brackets firmly
3. Electrical Connection
Electrical requirements vary by model:
| Heater Type | Power Requirement | Circuit Needed |
|---|---|---|
| Plug-in | 120V | Standard outlet |
| Hardwired | 240V | Dedicated circuit |
For hardwired units, consult a licensed electrician if you’re unfamiliar with electrical work. The best water heater thermostat controls can provide inspiration for temperature regulation systems.
Safety Considerations
Infrared heaters are generally safe when installed properly:
- Back insulation prevents excessive heat buildup
- Built-in brackets allow proper heat dissipation
- Automatic shut-off features prevent overheating
According to Energy.gov, radiant heating systems are more efficient than baseboard heating and often more efficient than forced-air systems because they eliminate duct losses.
Thermostat Installation
For optimal control:
- Install thermostats on interior walls (exterior walls give false readings)
- Wireless models offer flexible placement
- Smart thermostats allow remote control via apps
As noted by Herschel Infrared, combining infrared panels with smart controls lets you heat rooms exactly when needed, reducing energy waste.
Testing and Operation
After installation:
- Restore power at the breaker
- Test all functions (power, thermostat, safety features)
- Allow 24 hours for temperature sensors to calibrate
- Monitor performance during initial use
Infrared heaters provide immediate warmth, unlike traditional systems that heat air gradually. This direct heating method makes them particularly effective in spaces with high ceilings or poor insulation.