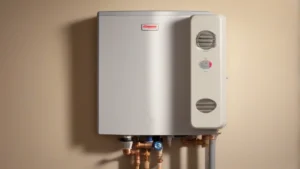
Step-by-Step Guide to Installing an Electric Tankless Water Heater
On this page 6 sections
Replacing or upgrading your thermostat can save energy and improve comfort, but incorrect installation risks system damage or inconsistent heating and cooling. This guide walks you through every step from tools to wiring, including what to do if your system lacks a C-wire or uses older wiring.
You’ll learn how to remove the old thermostat, handle wiring safely, install your new device, and connect smart models to WiFi—all without calling a pro unless your setup is unusually complex.
How to Install a Thermostat Yourself
Installing a thermostat yourself involves turning off power, removing the old unit, labeling wires, mounting the new backplate, and reconnecting wires correctly before restoring power and testing. Programmable and smart thermostats add steps like WiFi setup, but the basic process is manageable if you follow safety rules and wiring instructions.
Start by switching off power at the HVAC system breaker to protect yourself and avoid damaging equipment. Remove the old thermostat faceplate carefully to expose the wiring and mounting plate. Use masking tape or labels to mark each wire’s terminal to match later connections; taking a photo helps as a visual reference.
Check that your new thermostat is compatible with your heating and cooling system, paying special attention to whether it requires a C-wire for continuous power. If the existing wiring lacks a C-wire and your thermostat needs one, you may need an adapter kit or extra wiring.
After confirming compatibility, remove the old mounting plate. Secure the new thermostat’s backplate firmly to the wall, using a drill if needed, making sure it’s level. Connect each labeled wire to its matching terminal on the new thermostat base, following the manufacturer’s wiring diagram closely to avoid miswiring.

Attach the thermostat’s faceplate to the mounted base. Restore power at the breaker and test your system by adjusting the temperature to verify heating and cooling functions activate properly. For smart thermostats, follow the setup prompts on the screen or app to connect to your WiFi network and configure settings.
Tools and Parts Needed to Install a Thermostat
Before you start installation, gather a screwdriver, drill, voltage tester, and wire stripper to handle mounting and wiring tasks safely. A voltage tester confirms the power is off, avoiding shocks during work.
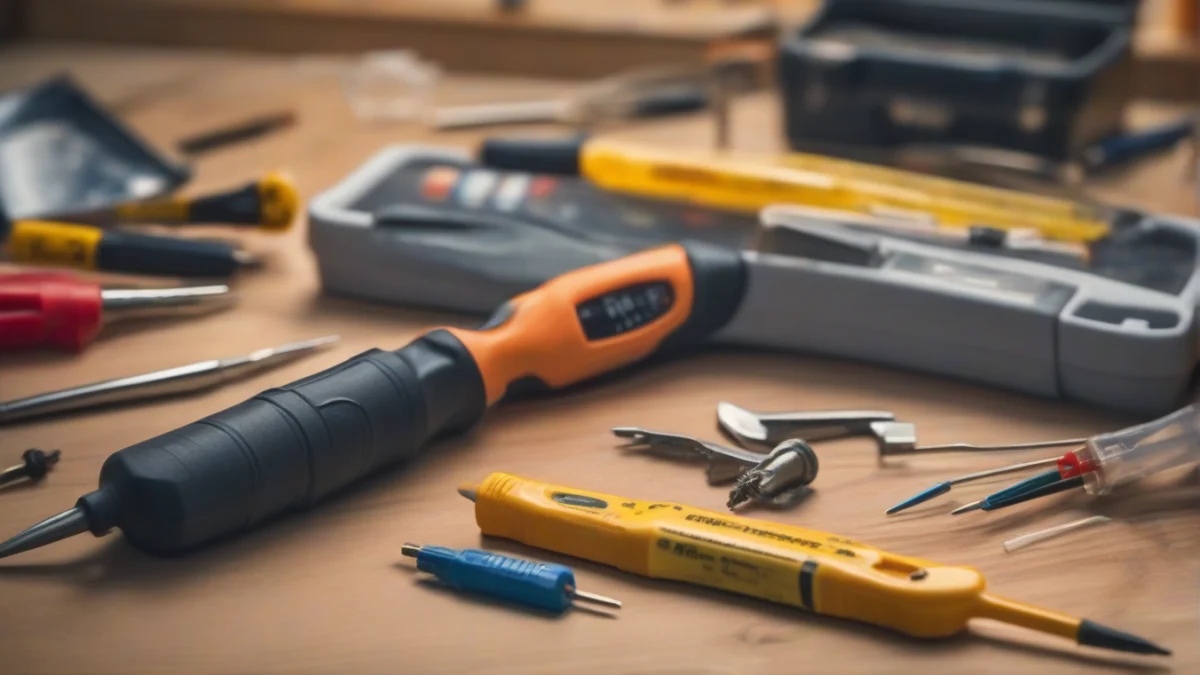
Labeling materials like masking tape or wire labels help you mark wires clearly for reattachment. Your thermostat kit typically includes a mounting plate, screws, and wire connectors needed for installation.
If your existing wiring lacks a C-wire and your thermostat needs one, consider a C-wire adapter kit, which bridges this gap without rewiring the whole system. For smart thermostats, have your WiFi credentials ready and download the corresponding app to complete setup once installed.
How to Handle Wiring Challenges and No C-Wire Situations
Many modern smart thermostats need a C-wire to supply continuous power. If your old thermostat didn’t have one, that’s usually the first wiring hurdle.

Start by turning off power at the HVAC system breaker, then remove the old thermostat faceplate. Before disconnecting any wires, take clear photos and label each wire with masking tape or stickers. That visual reference is invaluable when wiring the new unit.
The C-wire, or common wire, completes the 24-volt circuit and powers the thermostat’s electronics constantly. Without it, smart thermostats may lose WiFi connection or drain their batteries quickly. If your setup lacks a C-wire, look for a compatible C-wire adapter kit or power extender supplied by many thermostat brands. These devices repurpose existing wires to provide continuous power without running new cable.
Some older HVAC systems have wiring incompatible with modern thermostats. For example, heat pump systems or dual-fuel setups may require special wiring or different thermostat models. Tankless water heaters typically use separate line voltage wiring rather than low-voltage thermostat wires, so connect those according to the heater’s manual, not the thermostat’s.
Avoid mixing wires that control heating, cooling, fan, or auxiliary functions. Labeling helps prevent crossing these circuits, which can damage your system or cause erratic behavior. If your home has old wiring with brittle insulation or unusual colors, consider consulting an electrician before proceeding.
 Water Heater Owner's ToolkitFix the common faults yourself, keep it running for years, and know when a repair is money wasted.No-hot-water flowcharts, gas and electricFlush, anode, relief valve and descaling stepsRepair-or-replace calculator (Excel)
Optimal Thermostat Placement for Best Performance
Correct thermostat placement affects temperature accuracy and system efficiency. Avoid spots in direct sunlight, near drafty windows, doors that open frequently, or heat sources like lamps and appliances.
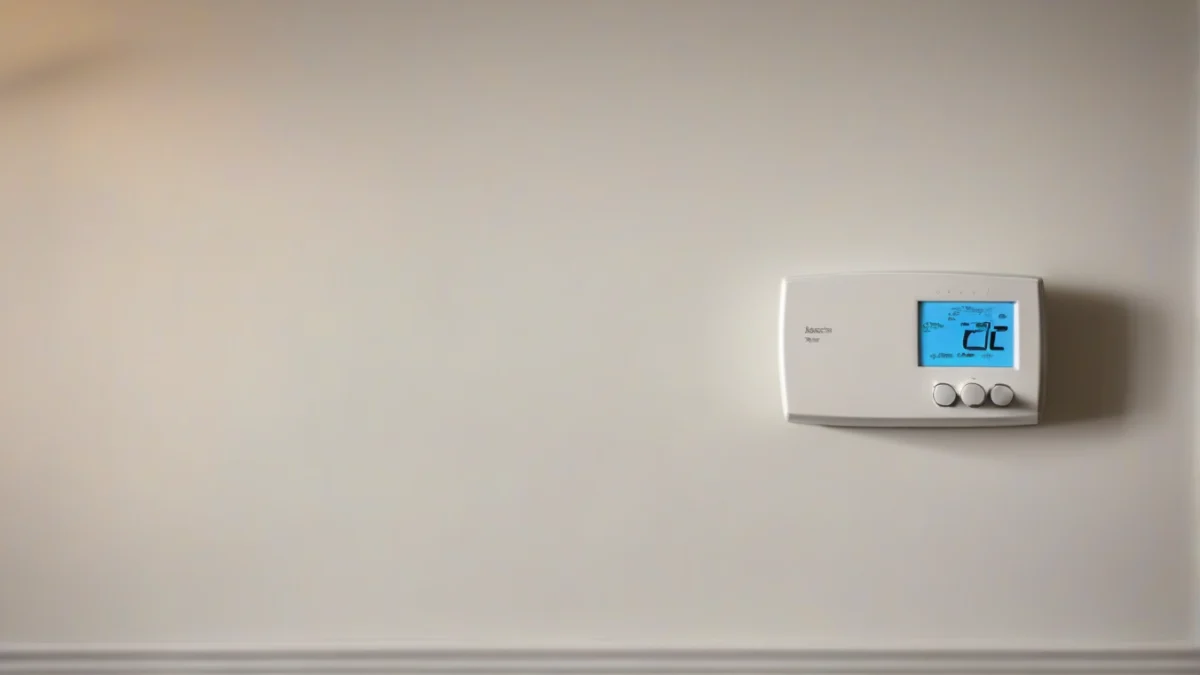
Mount the thermostat on an interior wall about five feet above the floor, where it measures ambient room temperature reliably. Too close to windows or vents, and it may read outside air or conditioned air from the ductwork instead of the room.
If your ideal mounting spot has wiring or structural limits, consider wireless thermostat sensors to gather temperature data from different rooms for better control.
Placing a smart thermostat poorly risks inaccurate readings, causing your HVAC system to run unnecessarily or fail to keep your home comfortable.
Smart thermostats often include features like geofencing or learning algorithms, but they can only optimize comfort if installed where temperature readings truly reflect your living space, not local hotspots.
For more on placement tips and model-specific advice, see our guide on smart thermostat placement.
When to Call a Professional and Permitting Requirements
If you’re not comfortable handling electrical wiring or working inside your breaker panel, it’s time to call a licensed electrician or HVAC technician. Low-voltage thermostat wiring can look simple, but mistakes risk damaging your HVAC system or tripping breakers.
Permits may be required if your thermostat installation involves new wiring runs or major HVAC upgrades, depending on local building codes. Check with your city or county permitting office before starting to avoid fines or having to redo work.
Avoid working on high-voltage circuits unless you have experience and proper tools. Thermostat wiring usually runs at 24 volts, but the breaker panel feeding the HVAC system carries 120 or 240 volts, which is dangerous and regulated.
Multi-stage or complex HVAC systems with zoning, multiple heat pumps, or advanced controls benefit from professional installation. They require wiring beyond the basic R, W, Y, G, and C wires and often need configuration that a technician will handle safely and correctly.
In short, if you hesitate about wiring, breaker access, or system complexity, hiring a professional prevents costly errors and safety hazards. Thermostat DIY stops when your confidence or knowledge runs out.