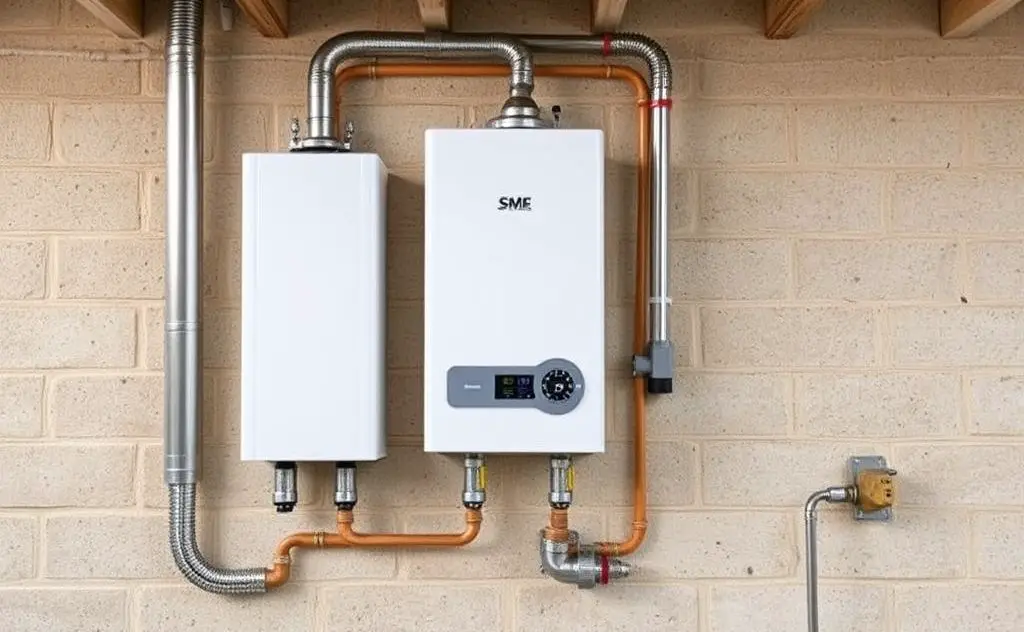
To install a tankless water heater, first turn off the water and power supply, then mount the unit, connect the water lines, and follow the manufacturer’s wiring instructions.
Installing a tankless water heater can save energy and space while providing endless hot water. This guide covers gas and electric models with expert tips for DIYers and when to call a pro.

Pre-Installation Considerations
Before purchasing a tankless water heater, evaluate these key factors:
Gas vs Electric Models
- Gas units require proper venting and larger gas lines (typically 1″ diameter)
- Electric models need 240V circuits and proper amperage
- Consider replacement part availability for your chosen model
Location Requirements
| Location | Clearance Needed |
|---|---|
| Garage | 12″ from ceiling |
| Basement | 6″ from walls |
| Utility Closet | 24″ front access |
Step-by-Step Installation Process
1. Remove Old Water Heater (If Applicable)
Turn off water supply and gas/electricity. Drain completely using a heat-rated hose. Disconnect all lines and properly dispose of the old unit.
2. Prepare Mounting Surface
Build a sturdy mounting frame with 2×4 lumber and 3/4″ plywood. According to Energy.gov, the frame should extend 4″ from the wall for proper airflow.
3. Install Venting (Gas Models Only)
Use manufacturer-approved vent materials. Most modern units require direct-vent systems – never vent through old chimney flues. The flush valve placement should remain accessible.
4. Connect Water Lines
- Install isolation valves on both hot and cold lines
- Use dielectric unions to prevent corrosion
- Consider adding a water softener if you have hard water
5. Connect Gas Line (Gas Models)
This step often requires a licensed professional. The gas line must be properly sized – most tankless units need 1″ diameter pipe for adequate flow.
6. Electrical Connections
- Electric models: Install dedicated 240V circuit
- Gas models: Standard 120V outlet for controls
- Follow local electrical codes precisely
7. Final Checks and Testing
After installation, test the system thoroughly:
- Check for gas leaks with soap solution
- Verify water flow at multiple fixtures
- Confirm temperature consistency
- Inspect venting for proper operation
Maintenance Tips
To extend your tankless water heater’s lifespan:
- Flush annually with vinegar solution
- Clean inlet water filter quarterly
- Inspect venting system twice yearly
- Check for error codes monthly
When to Call a Professional
Consider hiring a licensed plumber for:
- Gas line modifications
- Complex venting situations
- Electrical panel upgrades
- If you’re uncomfortable with any step
Proper installation ensures optimal performance and safety. Always follow manufacturer instructions and local building codes. For more information on specific models, check our Rinnai RL94 review.
