

Draining your RV water heater is essential maintenance before storage or when sediment buildup reduces hot water flow. It protects the tank from damage and keeps your water clean.
This guide walks you through the tools needed, safety precautions, detailed steps to drain and flush the tank, plus tips on winterizing and avoiding common mistakes.
How to Drain an RV Water Heater Like a Pro in 15 Minutes

Draining an RV water heater starts with turning off the propane supply and electrical power to avoid accidents. Then open the pressure relief valve and faucets to release built-up pressure before carefully removing the drain plug to empty the tank.
First, switch off your RV’s propane and unplug the water heater’s electrical connection. This ensures no gas or electricity flows while you work, preventing hazards. Next, open the pressure relief valve—usually located on top or side of the heater—to let steam and pressure escape safely. Open both the cold and hot water faucets in your RV to further reduce pressure and allow air in, helping the tank drain faster.
If you own an AO Smith or similar gas water heater, the steps are basically the same: turn off gas and power, open valves to release pressure, drain through the plug, flush sediment, and refill carefully. Some models may require removing the anode rod rather than a plastic plug to drain fully. Knowing your model’s specifics helps avoid surprises.
Draining your RV water heater regularly, especially before winter storage, prevents sediment buildup and freezing damage. It’s a 15-minute task that protects your heater and keeps hot water flowing safely.
Tools and Parts You Need Before Draining
The right tools make draining your RV water heater easier and safer. A socket wrench set with common sizes like 1/2-inch or 9/16-inch fits most drain plugs. A flathead screwdriver helps loosen stubborn anode rods if your model uses one for draining.
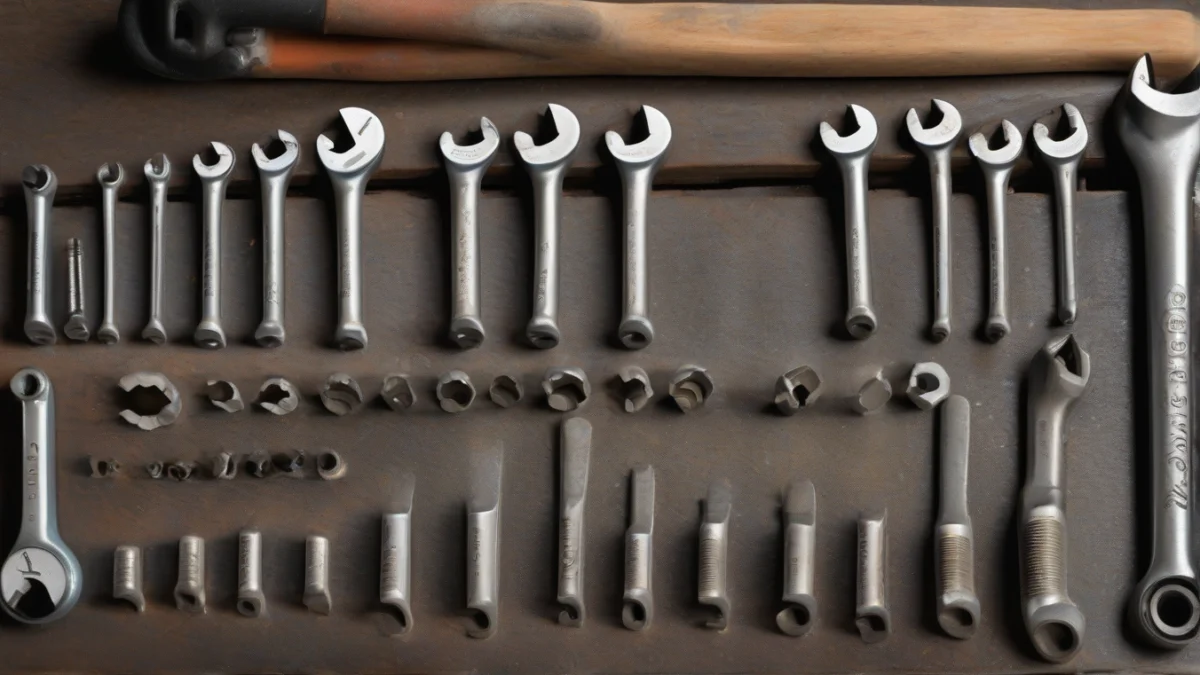
You’ll want a garden hose and a bucket to catch or divert draining water. This prevents spills and lets you direct water safely outside or into a gray water tank. When reinstalling the drain plug or anode rod, use PTFE thread seal tape to create a reliable watertight seal on the threads.
Always have replacement parts on hand. Drain plugs can wear or crack, and anode rods corrode over time. Keeping spares ready prevents delays and lets you fix small issues immediately. Gloves and safety glasses protect your hands and eyes from hot water, debris, and cleaning chemicals.
Replacing the water heater drain valve is straightforward with the right socket wrench and seal tape. You’ll unscrew the old valve, clean the threads, wrap new tape, and tighten the replacement snugly without overtightening. This ensures a leak-free connection that lasts.
Using proper tools reduces the chance of damage and makes the job quicker. Avoid pliers or adjustable wrenches that can slip and round off fittings. A socket wrench fits the drain plug securely for controlled removal and reinstallation.
Common Mistakes That Cause Damage or Leaks
Forcing a stuck drain plug risks cracking the tank boss, a weak point where the plug screws in. If the plug won’t turn, try soaking it with penetrating oil and gently tapping it with a rubber mallet. Wrench leverage helps, but pushing too hard damages the surrounding metal.
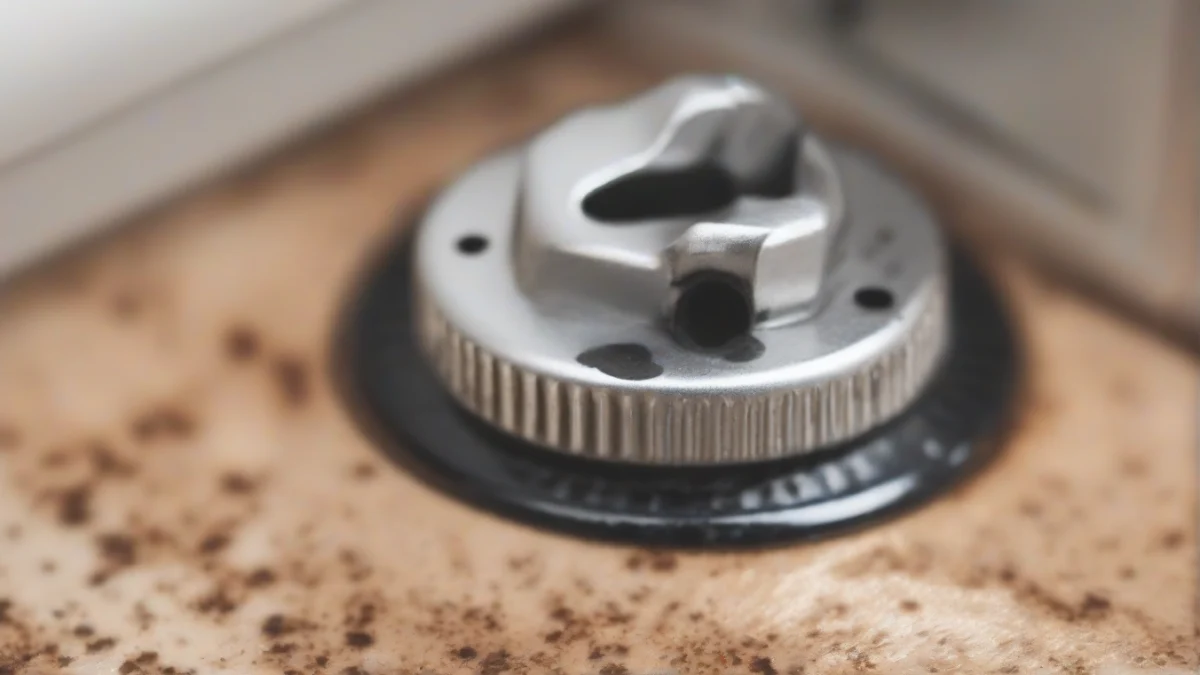
Opening the drain valve fully without relieving pressure first can cause the water to spray violently or drain very slowly. Always open the pressure relief valve and a hot water faucet to let air in and water out smoothly before opening the drain.
Over-tightening the drain plug damages the threads, making future removal difficult or impossible. Hand-tight plus a quarter turn with a wrench is enough. Use new thread seal tape if plugging drains or replacing the plug.
Not flushing sediment after draining lets mineral buildup settle back inside. This sediment blocks water flow and shortens heater life. After draining, flush the tank by running fresh water through the drain until it runs clear.
Failing to purge air from the tank before turning power or propane back on risks burning out the heating element. Air pockets cause hot spots that damage the element quickly.
If the drain valve or plug won’t open due to clogging, try loosening it slightly to let water pressure flush out debris. If that fails, remove the plug or valve assembly completely and clean the opening. Replacing the drain valve with a ball valve assembly makes future draining easier and less prone to clogging.
Replacing a hot water heater drain valve involves draining the tank first, removing the old valve with a wrench, applying thread seal tape to the new valve’s threads, and securely tightening it without over-torquing. Test for leaks after refilling.
Opening the drain valve fully means turning it to allow maximum water flow for a quick, complete drain. Partial opening slows draining and leaves sediment behind.
When to Call a Licensed Pro or Get Permits
Routine draining and flushing of your RV water heater is a DIY task you can handle safely. However, repairs involving gas lines or electrical components cross into licensed professional territory.
Replacing parts that affect venting or combustion—like flue collars, anodes, or burners—often requires permits and inspections from your local building authority. These rules keep your RV safe and compliant.
You might wonder, “Am I supposed to drain my water heater?” Yes, regular maintenance prolongs its lifespan and prevents damage. Flushing sediment every six months or at the start and end of the season is recommended.
Water heater drain maintenance—opening valves, draining, and flushing sediment—is straightforward enough for most RV owners. But when the job involves gas connections, wiring, or venting, calling a licensed pro is safer and often required by law.
If you’re unsure about the scope of your repair or local requirements, it pays to contact your RV dealer or a licensed technician before starting work.
For more on servicing water heaters safely and effectively, see how to drain a water heater step.
Winterizing Your RV Water Heater After Draining
Winterizing your RV water heater after draining is usually necessary if you store your vehicle where temperatures drop below freezing. Draining alone removes water, but to prevent freezing damage in pipes and valves, the rest of the plumbing system needs protection too.
Start by making sure the water heater tank is fully drained and dry. Leave the drain plug out so any residual moisture evaporates, reducing corrosion risk. This step also prevents trapping water that might freeze and crack the tank.
Close the water heater bypass valves next. These valves divert antifreeze away from the water heater tank, since most manufacturers advise against filling the tank with antifreeze. Instead, antifreeze should circulate only through the water lines.
Pumping antifreeze through the water lines protects valves, faucets, and pipes from freezing and bursting. Use non-toxic RV antifreeze, not automotive type, and follow the amount recommended by your RV’s manual. This process is critical since antifreeze in the lines prevents costly repairs when winter temperatures arrive.
Refilling the water heater tank in spring requires reinstalling the drain plug snugly with thread seal tape to avoid leaks. Fill the tank with fresh water and restore power and propane only after confirming no leaks.
Questions People Ask
How often should I drain and flush my RV water heater?
Can I drain the water heater without removing the drain plug?
What are signs of damage to look for during draining?
Are there differences in draining procedures by RV water heater brand?

HeaterGuides covers home heating, water heating and HVAC: how the equipment works, what it costs to run, and how to use it safely.
