You’re relaxing at home when you catch a whiff of something off. It’s faint, but it’s there. A sulfur-like odor, reminiscent of rotten eggs. That’s your first and most critical warning sign of a potential gas leak from your heater. Gas leaks are serious business, posing risks of fire, explosion, and carbon monoxide poisoning. Knowing how to respond and check your system isn’t just handy DIY knowledgeit’s a fundamental home safety skill.
This guide walks you through the entire process, from immediate emergency steps to detailed leak detection methods. We’ll cover the common spots where leaks occur, when you might handle a small issue yourself, and when you absolutely must call a pro. For those who want to be extra prepared, having a dedicated tool like the PT199 Natural Gas detector can provide peace of mind. It’s a specialized device many homeowners keep on hand for routine heater safety check routines.
Warning: Your Immediate Safety Protocol
If you strongly suspect a leak, stop reading and act. Right now. Your safety checklist is short and non-negotiable.
- Do not operate any electrical switches, appliances, or lights. A single spark can be catastrophic.
- Do not use any open flames or create any source of ignition. This includes lighting a match or even a cigarette.
- Evacuate everyone from the house immediately, including pets.
- If you can do so safely on your way out, turn off the main gas shutoff valve. It’s usually located at your gas meter.
- Once you are at a safe distance, call your gas company’s emergency line or 911. Do not re-enter the home until authorities say it’s safe.
This protocol is for a confirmed or strongly suspected major leak. For a faint, intermittent gas smell from furnace, you can proceed with caution to investigate.
Step-by-Step Guide: How to Check for a Gas Leak
Once immediate danger is ruled out, you can begin a systematic inspection. Always ensure good ventilation in the area before you start.
1. Trust Your Senses (The Initial Check)
The primary gas leak symptoms are olfactory. Utility companies add mercaptan to natural gas and propane to give it that distinctive rotten egg smell. Listen, too. A hissing or whistling sound near a gas line or the appliance itself is a major red flag. Pay attention to physical symptoms in your householdunexplained nausea, dizziness, or headaches can indicate carbon monoxide poisoning.
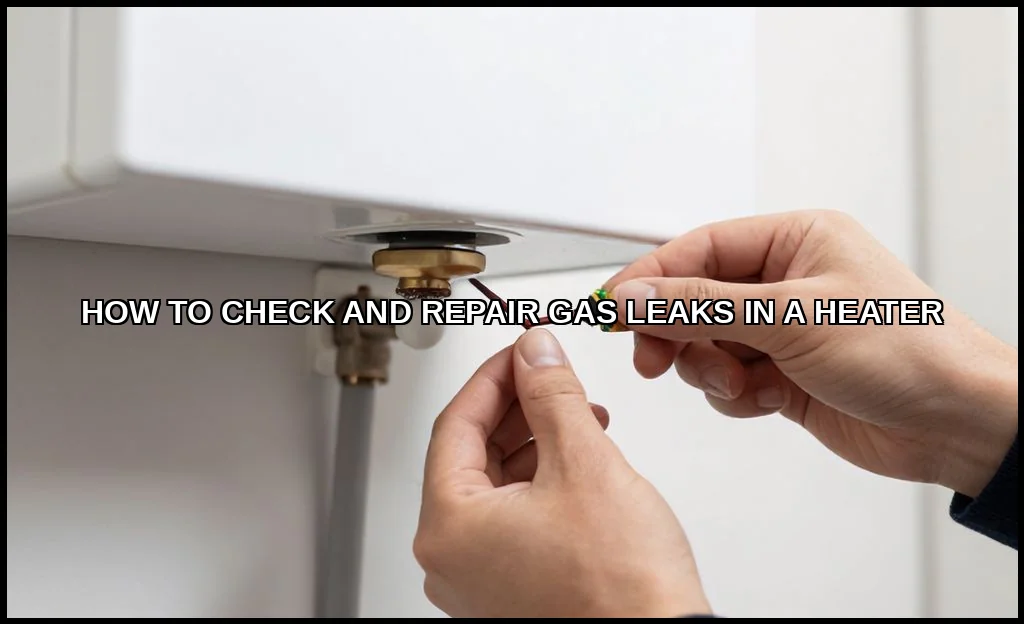
2. The Soap Bubble Test: A DIY Classic
This is the most accessible and effective method for pinpointing a leak. How to use soapy water to find a gas leak is simple. Mix a generous amount of dish soap with water in a spray bottle. With the heater and gas supply on, spray the solution liberally on all gas line connections, the valve assembly, and the union fittings. Look closely for the formation of small, growing bubbles. That’s a visual confirmation of escaping gas.
Remember, a gas line inspection should be thorough. Check every joint and connection you can safely access.
3. Employ Technology: Detectors and Monitors
Your senses and the soap test are great, but technology doesn’t get fatigued. A plug-in or battery-operated carbon monoxide detector is non-negotiable for any home with fuel-burning appliances. It alerts you to the silent, odorless threat. For direct leak detection, consider an electronic natural gas detector. These handheld devices can sniff out trace amounts of gas and are excellent for propane heater safety checks as well.
Common Sources of Gas Leaks in Heaters
Leaks don’t appear out of thin air. They occur at specific failure points. Knowing where to look halves your troubleshooting time.
- Gas Valve Connections: The point where the flexible gas line connects to the heater’s valve is a prime suspect. Vibration over time can loosen fittings.
- Thermocouple or Gas Control Valve: Internal components within the heater’s control system can develop micro-fractures or seal failures.
- Union Fittings & Pipe Joints: Any threaded connection in the gas supply line can corrode or work loose. This is true for both furnace gas leak and water heater leak scenarios.
- The Pilot Light Assembly: Older standing pilot systems have a small gas tube that can clog or crack, causing a leak right at the burner.
If you’re wondering about the reliability of your specific unit, it’s worth reading about what makes a good water heater from a construction and safety standpoint.
DIY Repair vs. Calling a Professional: The Critical Line
This is the million-dollar question: can I fix a small gas leak in my heater myself? The answer is nuanced and carries significant weight.
When a DIY Fix Might Be Appropriate
Only if the leak is exceptionally minor and located at an accessible external fitting. If the soap bubble test shows a very slow bubble formation at a threaded union, you may attempt to tighten the connection with a proper wrench. Use cautionover-tightening can strip threads and make the leak worse. This is a “one-try” fix. If tightening doesn’t stop it immediately, stop.
When You Must Call a Professional
In 95% of cases, this is the required path. You need a licensed HVAC technician for:
- Any leak originating from the appliance’s internal gas valve, thermocouple, or manifold.
- Leaks on the main gas line or any black iron pipe.
- If you have any doubt whatsoever about the source or severity.
- If the leak persists after your one cautious attempt to tighten a fitting.
This isn’t just about fixing a leak; it’s about ensuring the repair is tested, certified, and won’t fail later. Knowing who to call for a suspected gas leak in heater is keyalways choose a licensed, insured professional. For complex systems like tankless units, ensure they have specific brand expertise, which you can gauge by researching if Navien is a reliable brand for professional installation.
Preventative Maintenance to Avoid Future Leaks
The best repair is the one you never have to make. A proactive maintenance routine drastically reduces leak risks.
- Annual Professional Service: Schedule a yearly tune-up with an HVAC technician. They will perform a combustion analysis, check all gas pressures, and inspect connections with professional-grade detectors.
- Visual and Olfactory Checks: Make it a habit to sniff around your heater and water heater a few times a year, especially at the start of the heating season. What does a gas leak from a heater smell like? You want to be intimately familiar with that answer so you recognize it instantly.
- Monitor Your Detectors: Test your carbon monoxide detector monthly and replace batteries as needed. The entire unit should be replaced every 5-7 years. For comprehensive safety standards, the NFPA provides an excellent official source on CO safety.
- Keep the Area Clear: Ensure nothing is stored against or touching the gas lines or the heater itself. Vibration from objects can stress fittings.
Maintenance Schedule at a Glance
| Frequency | Task | Who Should Do It |
|---|---|---|
| Monthly | Test CO detector batteries | Homeowner |
| Seasonally | Visual & smell inspection around appliance | Homeowner |
| Annually | Full system inspection & combustion test | Licensed HVAC Technician |
| 5-7 Years | Replace entire CO detector unit | Homeowner |
Gas safety is one area where hesitation and guesswork have no place. Trust your nose, respect the power of the fuel, and know the limits of your own expertise. A faint smell warrants a careful check with soapy water. Anything more definitive, or any leak you can’t instantly resolve by tightening a single fitting, means the phone comes out. You call the pro. That call isn’t an admission of defeat; it’s the smartest, safest home maintenance decision you can make. Your safety, and your family’s, is always worth the service fee.

