A bad heater control module usually shows up as dead controls, wrong vent selection, or a blower that won’t obey the knob. The first thing to check is power, fuses, and the climate control connector, because a loose feed or ground can mimic a failed module.
Most people blame the module too early and replace a part that only looked guilty. That mistake can waste a few hundred dollars and leave the real fault — a blown fuse, corroded connector, bad blower motor resistor, or weak ground — sitting in plain sight.
Start with the easy checks, then work toward the module itself. The symptoms can overlap with blend door, blower, and sensor problems, so the trick is to separate command problems from airflow problems.
What to remember
Check HVAC fuses, grounds, and connector pins before you buy a module.
If the panel lights up but the blower, vents, or temperature stay wrong, the module or its inputs may be failing.
A blower that runs on its own points to a control fault or shorted relay path, not a comfort issue.
Scan HVAC codes if your vehicle stores them; the code often tells you which circuit stopped answering.
If the module needs programming after replacement, plan on shop-level work or a dealer visit.
7 Signs Your Heater Control Module Is Failing
A failing heater control module can leave the controls dead, hold the fan or temperature at one setting, send air through the wrong vents, or keep the blower running after you switch the vehicle off. To test a heater and AC control module, check the fuse, battery voltage, panel response, blower operation, connector condition, and stored HVAC codes before condemning the module.
The common cause is simpler: a blown fuse, weak ground, low battery, or loose climate-control connector can mimic a bad heater controller module. The module is the better suspect when several unrelated functions fail together and power, ground, wiring, and actuator circuits check out.
The Seven Signs
No response from the controls: buttons and knobs do nothing, the display stays dark, or the panel won’t change modes.
The fan speed is stuck: the blower runs on one speed or ignores every fan setting.
The temperature is stuck: the system stays hot, cold, or somewhere in between despite moving the temperature control.
Air comes from the wrong vents: the panel calls for the floor, dash, or defroster, but the airflow stays elsewhere.
The blower stays on: the fan continues after the key is removed, which can drain the battery overnight.
The temperature changes erratically: cabin heat swings without a matching control input, though a blend-door actuator can cause the same symptom.
HVAC warning codes appear: a scan tool reports communication, control-panel, actuator, or module faults. A code points the test; it doesn’t automatically order the replacement part.
Before You Touch Anything
Switch the vehicle off and keep fingers, clothing, and tools away from the blower wheel. Disconnect the battery only when the service information calls for it, because some vehicles need power for testing and airbag circuits are nearby. Don’t probe a connector with a random metal tool.
60-Second Check
Check the HVAC fuse and look for a loose or heat-damaged fuse socket.
Check battery voltage if the battery seems weak, the engine cranks slowly, or several electronics are acting strangely.
Turn the HVAC panel through fan, temperature, mode, and recirculation settings; note exactly what responds.
Listen for the blower and confirm whether it works on every speed or only one.
Look at the climate-control connector for looseness, bent terminals, moisture, or green corrosion.
Scan for HVAC codes if your scan tool can access the body or climate-control module.
Myth
Low coolant or a bad engine thermostat proves the heater control module has failed.
Fact
Low coolant and a thermostat problem can cause weak or wrongly timed heat, but they usually don’t make the control panel dead, change fan speeds, or select the wrong vents. Those symptoms point toward electrical controls, wiring, the blower resistor, or an actuator.
Worked Example
Say the fan knob on a 2008 Ford Taurus does nothing, but the HVAC display and temperature buttons still respond. The blower resistor or the control head may be at fault, depending on which speeds work and whether the control signal reaches the blower circuit; a dead fan knob alone doesn’t prove the main module failed.
1
Separate one fault from many
If only the blower is affected, check the blower fuse, resistor, motor, and control head before blaming the module. Several dead functions make a shared power, ground, connector, or module problem more plausible.
2
Compare commands with results
Command dash, floor, and defrost airflow, then change fan speed and temperature. A panel that responds while one actuator refuses to move points away from a completely dead controller.
3
Check the power path
Use the wiring diagram for your vehicle to verify the module’s power and ground under the required conditions. A good fuse cannot compensate for a missing ground.
4
Read the codes with the vehicle details
For a 2008 Ford Taurus, use the exact engine and climate-control configuration when looking up connector pins and codes. Similar-looking panels can use different circuits.
If the symptoms involve the wider cabin controls rather than the heater panel alone, compare them with these signs your climate control module is failing before buying a replacement.
Where The Trouble Usually Starts
Start with the cheap electrical faults, because a fuse, loose connector, or bad ground can look exactly like a failed heater control module. For a 2007 GT with a speed-control knob that does nothing, the blower resistor or power transistor is a stronger first suspect if some speeds work and others do not; if every speed is dead, check the fuse and connector first. On a 2009 Town and Country with the heater control inoperative, look for a dead display, missing backlight, or no response after checking the HVAC fuse and ground. A W204 C180 climate-control fault often shows as stuck fan speed, wrong vent mode, or a control panel that loses communication, but a scan tool can separate a communication fault from a bad panel.
Inspect the heater control module for electrical faults.
1
Check the fuse
With the ignition off, inspect the HVAC or climate-control fuse using the vehicle’s fuse chart. A blown fuse confirms an overcurrent problem, not a bad module by itself; replace it only with the same rating, and stop if the replacement blows again.
2
Inspect the connector
Look behind the control panel and at the blower-control connector for a plug that is partly backed out, overheated plastic, green corrosion, or a pushed-back terminal. A control that works when the panel or harness is moved points toward this connection.
3
Verify the ground
A loose ground can leave the display dark, make the blower act erratically, or create several unrelated electrical symptoms. Check the ground eyelet and cable for looseness or corrosion, then use a meter to check for a clean ground path rather than trusting a visual inspection alone.
4
Check the resistor or power transistor
A fan that works only on high, or has one or two missing speeds, usually points to the blower resistor or electronic power transistor. A fan stuck on high points more strongly to a failed transistor or its control circuit than to the cabin temperature sensor.
5
Consider the control head or module
The module moves up the list when its power and ground are good, the connector is sound, and a scan tool shows lost communication or internal control faults. Dead buttons, a blank display, or several functions failing together also fit, but they don’t prove the module is bad.
6
Check sensors and actuators
Wrong temperature or air direction with working buttons can come from a temperature sensor, blend-door actuator, mode actuator, or a jammed door. Listen for clicking behind the dash and use a scan tool’s live data or actuator test if the vehicle supports it.
Odd electrical symptoms
Flashing backup lights, flickering lamps, or another strange body-electrical symptom doesn’t make the heater module magical. Shared power feeds, a weak ground, or a damaged harness can affect both systems, so inspect the battery, body grounds, and related connectors before condemning the climate control.
How To Test The Module Without Guessing
To test a heater and AC control module, including the controller in a 2008 Ford Taurus, verify its power and ground first, then scan HVAC data and check whether its outputs follow your commands. The search phrase “247828 module heater test” doesn’t identify a universal test procedure; if 247828 is a part number, use the vehicle’s wiring diagram and the module’s pinout rather than guessing at terminals.
1
Verify power and ground
Turn the key to the required position and check the HVAC fuses, module connector, and ground circuit with a meter or test light. A fuse that looks intact can still have no power on its feed side. Check for loose pins, water entry, or a ground that changes when the harness is moved.
2
Scan the HVAC system
Use a scan tool with body and HVAC access, not only a basic OBD-II reader. A basic reader may report engine faults while missing climate-control codes and live data. Record the codes before clearing anything.
3
Command each function
Set several blower speeds, move from cool to warm, and select floor, panel, and defrost. Watch the scan tool’s requested or commanded values if available. Listen for blend-door and mode-door movement, and confirm the blower actually changes speed.
4
Check the outputs
Test the module’s output at the connector or at the controlled component, following the wiring diagram. Inputs that change but produce no output point toward the module or its output circuit. If the panel stays dead while power and ground are present, the module becomes a stronger suspect.
Replacement May Need Coding
Some HVAC modules communicate with the vehicle’s body electronics and need programming, configuration, or calibration after replacement. A used module can be electrically sound yet still fail to operate correctly until the vehicle accepts its settings.
Record Before Replacing Anything
HVAC fuse power on both sides
Module power and ground under load
Stored HVAC and body-control codes
Commanded blower, temperature, and mode values
Output voltage or control signal at the affected component
Fix The Actual Fault
Repair the power, ground, connector, or controlled component before replacing the heater controller module; many “bad module” complaints are caused by a circuit the module is correctly trying to operate. Testing the heater and AC control module first keeps a cheap wiring fault from turning into an unnecessary dash removal.
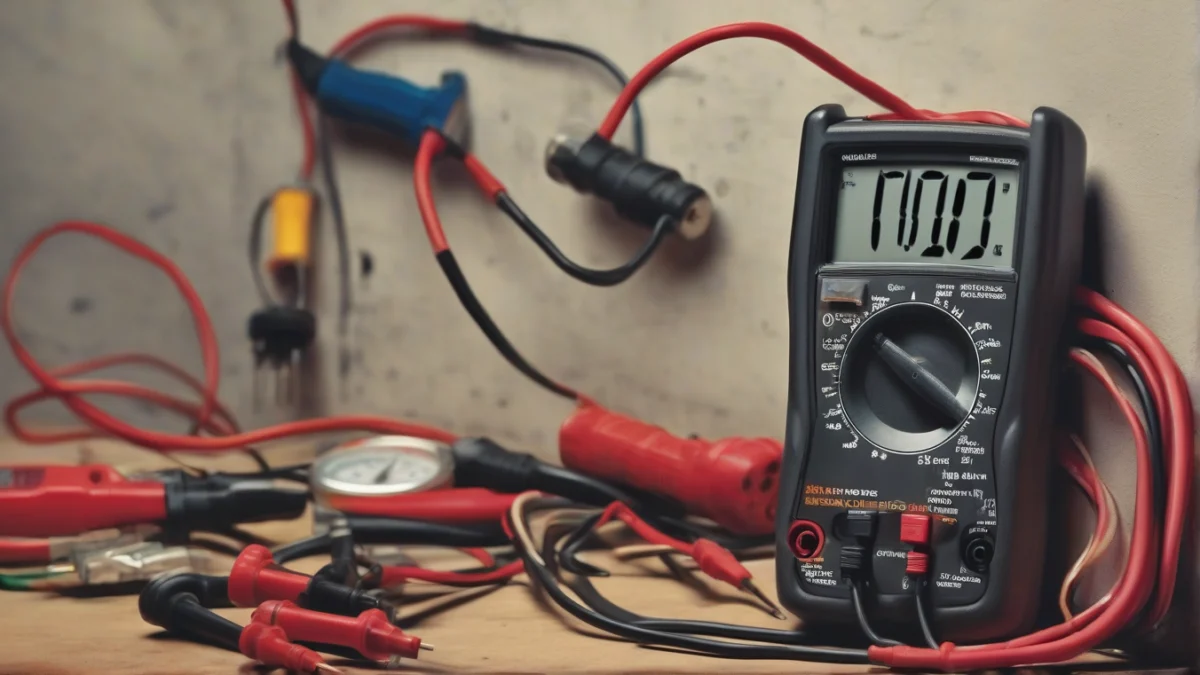
Use a multimeter to check for power and ground issues.
1
Repair the feed and ground
Replace a blown fuse only after finding why it opened. Clean a loose ground connection, tighten the terminal, and repair damaged wire with the correct automotive-grade splice. If the fuse blows again, stop there; a shorted blower motor, actuator, or wiring branch may be overloading the circuit.
2
Restore the connector
Disconnect the battery as the service information directs, then inspect the HVAC connector for green corrosion, pushed-back terminals, moisture, or darkened plastic. Clean light oxidation with electrical-contact cleaner and correct the terminal tension. Replace a connector that has heat damage rather than relying on a temporary squeeze.
3
Test the blower control
A blower resistor or power transistor can fail while the control module still sends the correct command. If some fan speeds work and others don’t, or the blower stays on one speed, test that control component and the blower motor circuit before condemning the module.
4
Choose repair or replacement
Board-level repair makes sense only when the failure is identifiable and a qualified repair service supports that module. A burnt board, repeated intermittent failure, unavailable repair support, or required programming usually makes a complete replacement the more dependable choice.
Know When To Hand It Off
Use a licensed automotive technician or dealer when the module needs coding, the dashboard must come apart, or wiring shows melted insulation or heat damage. Disconnecting a battery may also affect radio settings, window operation, or other vehicle systems, so follow the vehicle’s service procedure.
After repair, clear the stored HVAC codes only after recording them, run any required actuator calibration, and test every blower speed, temperature setting, and air outlet. Defrost airflow deserves a final check because a mode-door fault can leave the windshield without the airflow you expect.
When To Stop Diagnosing Yourself
Call a licensed technician or qualified auto electrician when the fault reaches the dashboard wiring, safety systems, or module programming. Airbag-adjacent dash removal, repeated blown fuses, melted connectors, and a dead system with no verified power or ground are poor places to keep guessing with a test light.
Three Model-Specific Clues
For “nissan armada climate control unit temperature module failing how to tell,” look for a fan that works while temperature or mode commands stay fixed, along with an intermittent display or buttons; those clues still need power, ground, and actuator checks. On a W204 C180, a blank or flickering climate display, ignored blower commands, or temperature and vent settings that won’t change point toward the control module or its communication circuit. With a 09 Town and Country heater control inop, check the fuse, panel connector, blower resistor or speed controller, and the control head before condemning the module. A fully dead panel after its feeds and ground test good is the point to involve a professional.
Replacement usually beats board repair when the circuit board is burnt, connector cleaning only helps for a short time, or the module requires coding you can’t perform at home. A shop can confirm the part number, transfer vehicle configuration, and program the replacement; installing a similar-looking controller may leave the blower, temperature doors, or communication network inoperative.
Fault found
Sensible repair choice
Failed relay, fuse holder, or blower resistor
Repair or replace the small failed part after finding the cause
Loose connector with clean terminals
Repair the terminal fit and protect the connection
Burnt integrated control board
Replace the complete module
Module needs coding or configuration
Have a shop supply and program the unit
The cheap part is worth fixing when it is genuinely the failed part.
Stop For Heat Damage
A brown, melted, or loose connector is evidence of excess resistance or current. Don’t install another fuse or module and hope it holds; the connector, wire, blower motor, or power feed may need repair first. Repeated fuse failure can damage the harness and deserves a proper current and short-circuit diagnosis.
A climate-control specialist can also separate a failed controller from a stuck blend-door actuator or blower control module; how to tell if your climate control module is failing covers that distinction before you authorize a replacement.
Questions People Ask
How do you test the heater and AC control module?
Begin by checking the module’s fuse, battery feed, ignition feed, and ground with a wiring diagram and a multimeter. Then inspect the connector for pushed-back terminals, corrosion, or heat damage and scan the HVAC system for codes and live data. A module that has proper power and ground but sends no response to valid control inputs is more suspect than one connected to a failed blower motor or actuator.
Why doesn’t my heater speed control knob work on a 2007 GT?
On a 2007 GT, the knob may be fine while the blower resistor, blower-control module, wiring, or blower motor has failed. If only some fan speeds work, the resistor or its connector deserves attention; if every speed is dead, check the fuse, relay, power feed, ground, and motor before blaming the control head. The exact test depends on the vehicle’s wiring and whether it uses a manual resistor or electronic speed control.
Can a heater control module cause the backup lights to flash?
Usually, a heater control module doesn’t switch the backup lights directly. Flashing backup lights point more strongly to a shared ground, power-supply problem, body-control module fault, wiring damage, or communication-bus issue. Stop driving if other exterior lights, warning lamps, or shifting-related systems are also acting up, and have the vehicle scanned rather than replacing the HVAC module first.
How can you tell if a climate control module is failing in a Nissan Armada?
For a Nissan Armada, compare the selected temperature, blower speed, and vent mode with what the system actually does, then scan the HVAC module for stored codes and data. Confirm its power, ground, and connector condition before condemning it; a stuck blend-door actuator or failed blower-control component can create the same symptoms. Model year matters, so use the correct wiring diagram and scan-tool procedure for your Armada.