Draining your AO Smith water heater involves turning off the power or gas supply, shutting off the cold water inlet, connecting a hose to the drain valve, opening the valve to let the water flow out, and flushing the tank with cold water before closing everything up and restoring power.
Draining your AO Smith water heater is essential for removing sediment buildup and maintaining efficiency. This guide provides detailed instructions to safely complete the process while avoiding common mistakes.
Why Draining Your Water Heater Matters
Sediment accumulation reduces heating efficiency by up to 30% according to the U.S. Department of Energy. Regular flushing prevents:
- Reduced hot water capacity
- Increased energy costs
- Premature tank failure
- Discolored or smelly water

How Often to Drain Your AO Smith Water Heater
Most AO Smith models require annual flushing. Increase frequency if you notice:
| Sign | Recommended Action |
|---|---|
| Popping/rumbling noises | Drain immediately |
| Rust-colored water | Drain and inspect anode rod |
| Reduced hot water output | Drain and check for sediment |
Tools You’ll Need
- Garden hose (minimum 5/8″ diameter)
- Adjustable wrench
- Flathead screwdriver
- Bucket (5-gallon minimum)
- Work gloves
- Safety goggles
Step-by-Step Draining Process
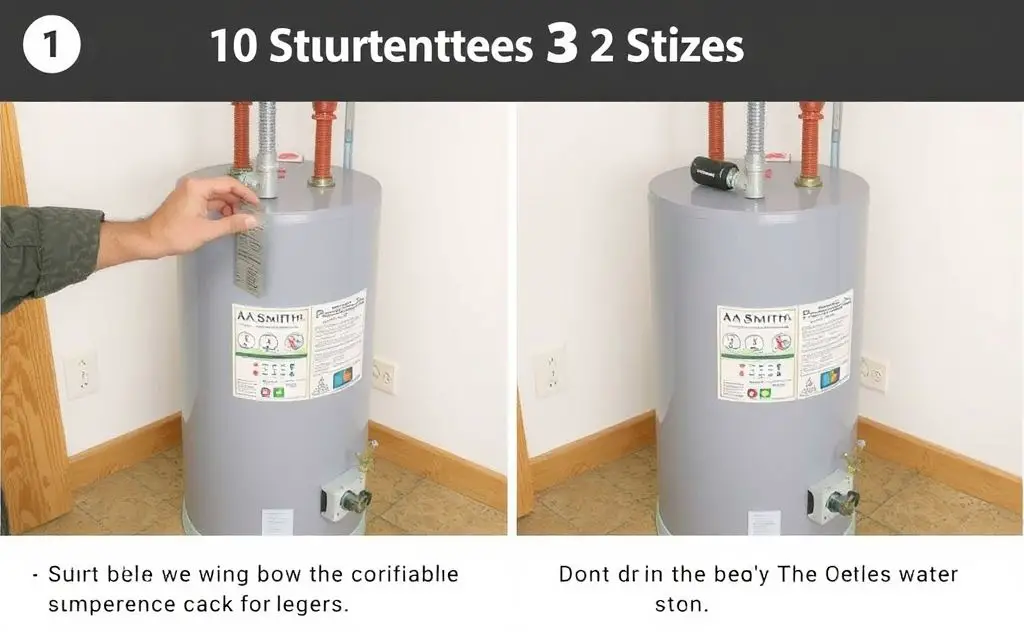
1. Turn Off Power Supply
For electric models:
- Locate your circuit breaker panel
- Switch off the 30-amp double-pole breaker labeled “water heater”
For gas models:
- Turn the thermostat dial to “Pilot”
- Turn the gas supply valve to “Off”
2. Shut Off Water Supply
Locate the cold water inlet valve above your heater. Turn clockwise until fully closed. If you’re replacing the unit, consider installing a tankless water heater for better efficiency.
3. Prepare Drainage Area
Connect your hose to the drain valve at the tank base. Route to:
- Floor drain
- Utility sink
- Outdoor area (check local regulations)
4. Open Hot Water Faucet
Select a faucet on the highest floor of your home. This breaks vacuum and allows faster draining.
5. Open Drain Valve
Use a flathead screwdriver for quarter-turn valves or turn the handle counterclockwise. If sediment clogs the valve:
- Close valve partially
- Briefly reopen cold water supply
- Repeat until flow clears
6. Complete Drainage
Allow tank to empty completely (30-60 minutes for 40-50 gallon models). For thorough cleaning:
- Refill tank halfway
- Drain again
- Repeat until water runs clear
7. Refill and Restart
Close drain valve and reopen cold water supply. Wait until water flows steadily from the open faucet before restoring power. Electric models may take 2+ hours to reheat.
Troubleshooting Common Issues
Leaking Drain Valve
If valve leaks after closing:
- Tighten valve gently
- Replace washer if needed
- Consider installing a flush kit for future maintenance
No Water Flow
Possible causes:
- Clogged drain valve – try the flush method above
- Frozen pipes – check basement temperature
- Faulty pressure relief valve – test according to AO Smith guidelines
Maintenance Tips Between Drains
- Test pressure relief valve monthly
- Inspect anode rod every 3 years
- Consider a water softener if hardness exceeds 7 grains/gallon
- Monitor for error codes like E1 errors
