

Conducting DIY inspections for heat pump systems involves checking filters, ducts, and electrical connections to ensure optimal performance and efficiency.
Performing your own heat pump inspection can prevent costly breakdowns and extend system life. This guide covers essential checks you can do without professional help.

BSIDE
BSIDE Thermal Camera, 240x240 Resolution with 15…
- [240 x 240 Resolution]: Thermal imaging camera features 240 x 240 resolution, which could help you detect potential problems early…
- [15 Thermal Palettes]: Handheld thermal camera has 15 thermal palettes for choice: white hot, black hot, fusion 1, rainbow, fusion…
- [Full-Viewing TFT LCD]: Infrared camera equipped with 2.4 inch 320 x 240 full-viewing color screen, which provides you with best r…
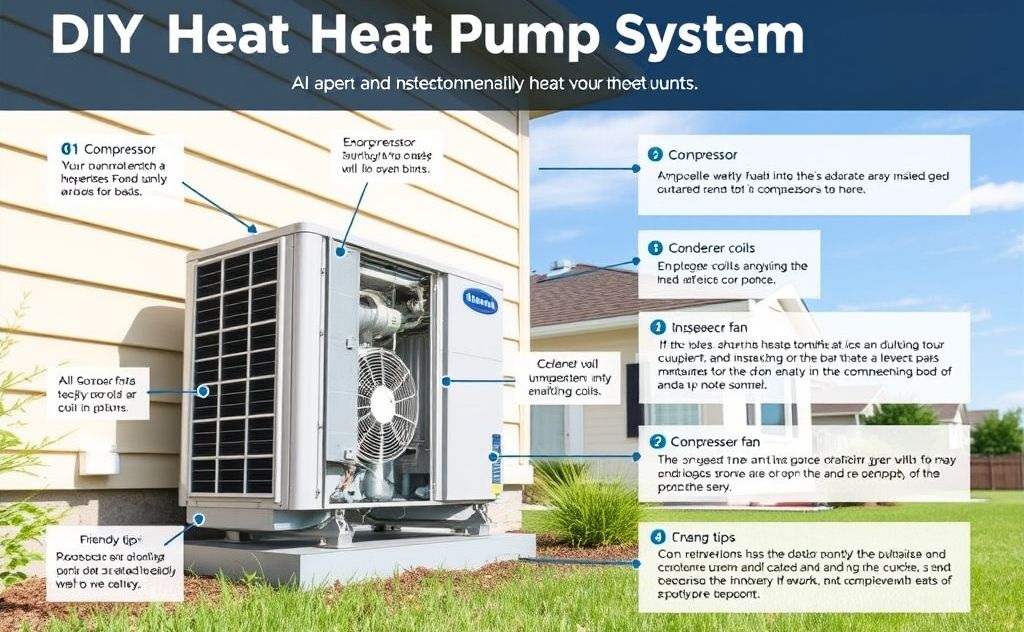
Thermostat Function Check
Start with the thermostat – your heat pump’s control center. Set it 5 degrees higher than room temperature to activate heating mode. Wait for the system to respond.
Smart Thermostat Benefits
Consider upgrading to a smart thermostat if yours is outdated. These devices optimize performance and can save 10-15% on energy bills.
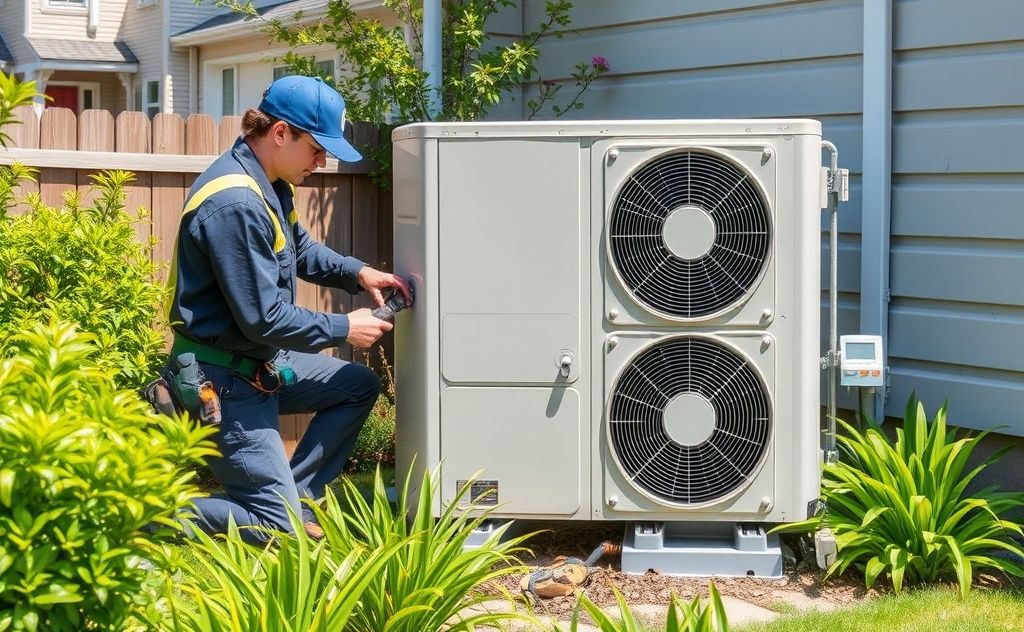
Outdoor Unit Maintenance
The condenser unit outside requires regular attention for proper heat exchange.
Cleaning the Fins
Turn off power before servicing. Remove debris with a soft brush, then rinse fins gently with a garden hose. Never use pressure washers – they can damage delicate aluminum fins.
Straightening Bent Fins
Use a fin comb (available at hardware stores) to carefully straighten any bent fins. This improves airflow by up to 30%.
Indoor Unit Inspection
The air handler contains critical components that need regular attention.
Filter Replacement
Check filters monthly. Replace every 1-3 months depending on usage and filter type. Restricted airflow from dirty filters causes 85% of heat pump failures.
Drain Pan Cleaning
Mix 1 cup bleach with 1 gallon water to clean the condensate pan. This prevents algae growth that can clog the drain line.
Refrigerant Line Check
Inspect the insulated refrigerant lines running between indoor and outdoor units.
- Look for damaged insulation – replace if cracked or missing
- Check for oil stains indicating refrigerant leaks
- Ensure lines aren’t rubbing against surfaces
Electrical Component Inspection
Safety first – turn off power at the breaker before checking these components.
| Component | What to Check |
|---|---|
| Contactors | Pitting or burning on contacts |
| Capacitors | Bulging or leaking |
| Wiring | Frayed insulation or loose connections |
System Performance Check
After completing inspections, test system operation:
- Turn power back on
- Set thermostat to heating mode
- Wait 5 minutes for system to start
- Check airflow at registers – should feel warm
- Listen for unusual noises
According to Energy.gov, proper maintenance can improve heat pump efficiency by up to 25%.
When to Call a Professional
While many checks are DIY-friendly, some tasks require certified technicians:
- Refrigerant level checks and recharge
- Electrical repairs
- Compressor issues
- Ductwork inspection and sealing
The Air Conditioning, Heating and Refrigeration Institute recommends professional maintenance at least once per year.
Regular DIY inspections combined with annual professional service will keep your heat pump running efficiently for its full 15-year lifespan.
Related pick: Check today's price on Amazon

I am a mechanical engineer and love doing research on different home and outdoor heating options. When I am not working, I love spending time with my family and friends. I also enjoy blogging about my findings and helping others to find the best heating options for their needs.
Related guides

DIY HVAC Inspection: Boost Energy Efficiency in 7 Steps
Conduct a DIY inspection for HVAC energy efficiency by checking filters, sealing ducts, and ensuring proper insulation to…
Why HVAC Inspections Are Essential for Home Comfort
Scheduling HVAC inspections is crucial for ensuring system efficiency, extending equipment lifespan, and preventing costly repairs through early…
7 Critical Signs You Need an HVAC Professional Now
Recognize the signs of HVAC issues, such as unusual noises, inconsistent temperatures, or poor airflow, and call a…
