

Inspecting HVAC insulation effectiveness involves checking for air leaks, measuring thermal resistance, and ensuring proper installation to maximize energy efficiency.
Proper HVAC insulation inspection can save up to 40% on energy costs while preventing costly system damage. This guide reveals professional techniques to assess insulation effectiveness, identify problems, and implement solutions.

HABOTEST
HABOTEST HT821A Thermal Imager, 240x240 Infrared Resolution,…
- Professional & Accurate Measurement: Upgrade to professional-grade accuracy with the HABOTEST HT821A thermal imaging camera. Featu…
- Enhanced Thermal Clarity & Custom Views: See temperature differences with stunning clarity thanks to enhanced infrared effects and…
- Wide Temperature Range & Real-Time Analysis: Handle demanding jobs with confidence using a wide measurement range from -4°F to 102…
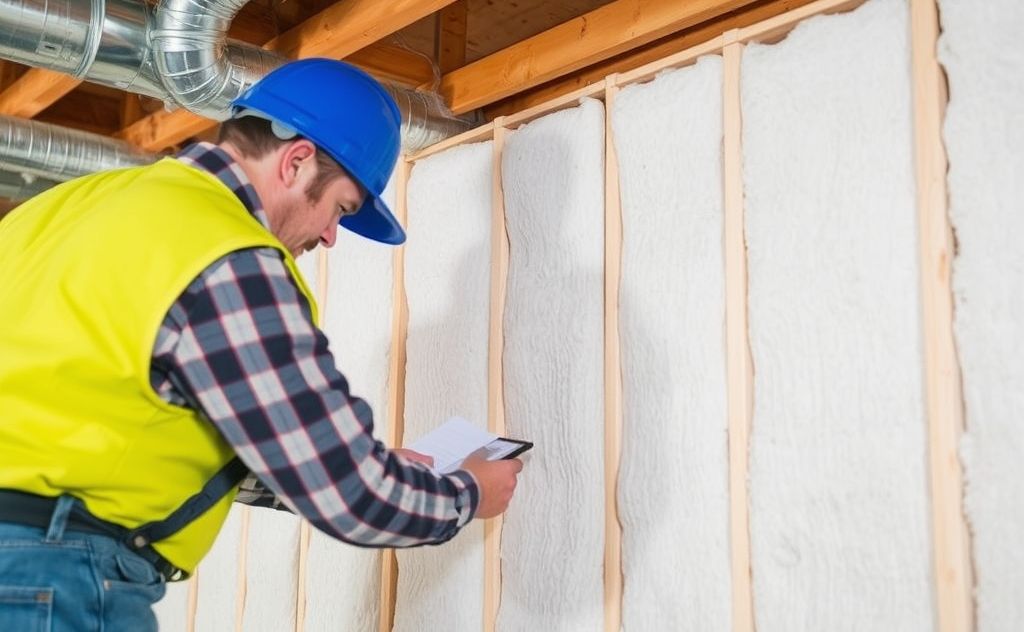
Why HVAC Insulation Matters
HVAC insulation serves two critical functions: preventing condensation and maintaining thermal efficiency. Poor insulation leads to:
- 970 BTU efficiency loss per pound of condensation
- 30% higher energy consumption in commercial buildings
- Reduced HVAC system lifespan from overwork
Condensation Prevention
Insulation keeps refrigerant lines above dew point temperature. Uninsulated suction lines in humid environments can drip 1-2 gallons daily, causing:
- Ceiling stains and water damage
- Mold growth in attics and wall cavities
- Corrosion on HVAC components
Thermal Efficiency
Properly insulated lines maintain refrigerant temperature. Each 1°F gain in suction line temperature reduces cooling capacity by 1%. Common problem areas include:
| Location | Temperature Impact | Efficiency Loss |
|---|---|---|
| Attic runs | +15-30°F | 15-30% capacity loss |
| South wall exposures | +10-20°F | 10-20% capacity loss |
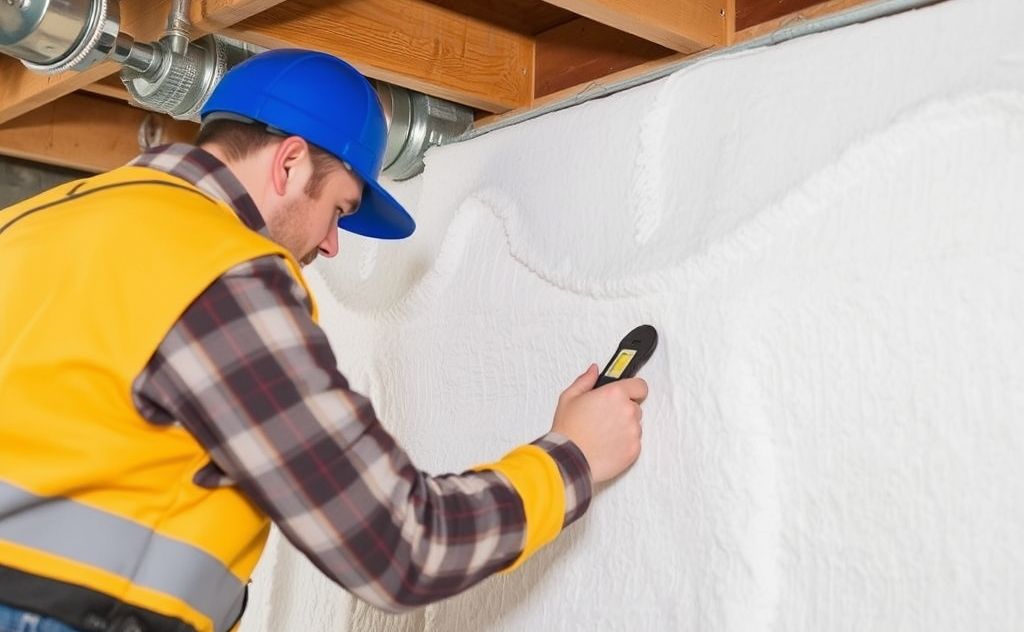
How to Inspect HVAC Insulation
Follow this professional inspection protocol to evaluate insulation effectiveness:
Visual Inspection
Check for these common issues:
- Gaps at fittings and joints
- UV degradation on outdoor sections
- Compression damage from straps
- Missing sections (common at condenser connections)
Use a thermal imaging camera to identify hidden moisture and temperature variations.
Moisture Testing
Perform these checks:
- Feel for dampness in insulation
- Look for water stains below lines
- Check for corrosion on copper lines
Temperature Differential Check
Measure temperature differences using an infrared thermometer:
- Compare evaporator outlet to condenser inlet
- Check for >2°F variation along insulated runs
- Monitor during peak cooling periods
Insulation Repair and Replacement
Address insulation issues with these professional solutions:
Material Selection
Choose appropriate insulation types:
| Material | Best For | R-Value |
|---|---|---|
| Armaflex | Outdoor/indoor lines | 3.7 per inch |
| Rubatex | High humidity areas | 3.5 per inch |
| Fiberglass | Attic applications | 4.0 per inch |
Installation Best Practices
Follow these techniques for lasting results:
- Use UV-resistant tape for outdoor sections
- Seal all joints with mastic or specialty tape
- Maintain minimum 1/2″ thickness for refrigerant lines
- Support lines without compressing insulation
For complex repairs, consider professional HVAC tools to ensure proper installation.
Commercial vs Residential Considerations
Commercial systems have unique insulation requirements:
Code Requirements
ASHRAE 90.1 mandates:
- Minimum R-4.2 for refrigerant lines
- Vapor barriers in humid climates
- Fire-rated materials in plenums
Energy Impact
Large commercial systems show greater losses:
- 100′ uninsulated line = 15-25% capacity loss
- Chilled water systems require double insulation
- Steam lines need high-temperature materials
According to Department of Energy studies, proper commercial insulation pays back in 2-3 years through energy savings.
When to Call a Professional
Seek HVAC technician assistance for:
- Insulation in confined spaces
- High-pressure refrigerant lines
- Systems with recurring condensation issues
- When specialized HVAC tools are required