Installing a heat pump typically costs between $3,500 and $7,500 and takes one to three days. It’s not a DIY job due to electrical and refrigerant handling risks.
Many believe installing a heat pump is a simple DIY project, but that’s only half true. While some minor prep like line set covering can be DIY, the full install requires licensed professionals due to complex electrical and refrigerant work.
This guide breaks down the cost components, tools, permits, common mistakes, and the step-by-step process to prepare you for a smooth heat pump installation.
The essentials
Expect to spend $3,500 to $7,500 for a professional heat pump installation including labor and parts.
Permits and licensed HVAC or electrical pros are required for most installations due to refrigerant and wiring regulations.
Common mistakes include poor line set insulation, incorrect refrigerant charge, and inadequate electrical connections, which cause leaks or damage.
Tools needed include a refrigerant gauge set, vacuum pump, line set cover, and proper electrical testers.
DIY is limited to protective covers and site prep; the actual installation requires specialized skills and certification.
Cost of Installing a Heat Pump
The cost of installing a heat pump is usually $3,500 to $7,500 installed, and most jobs take one to three days; equipment, labor, electrical work and site access determine where your quote lands. A heat pump installation isn’t a safe DIY project because refrigerant recovery, brazing or flaring, electrical connections and commissioning require specialized tools and training.
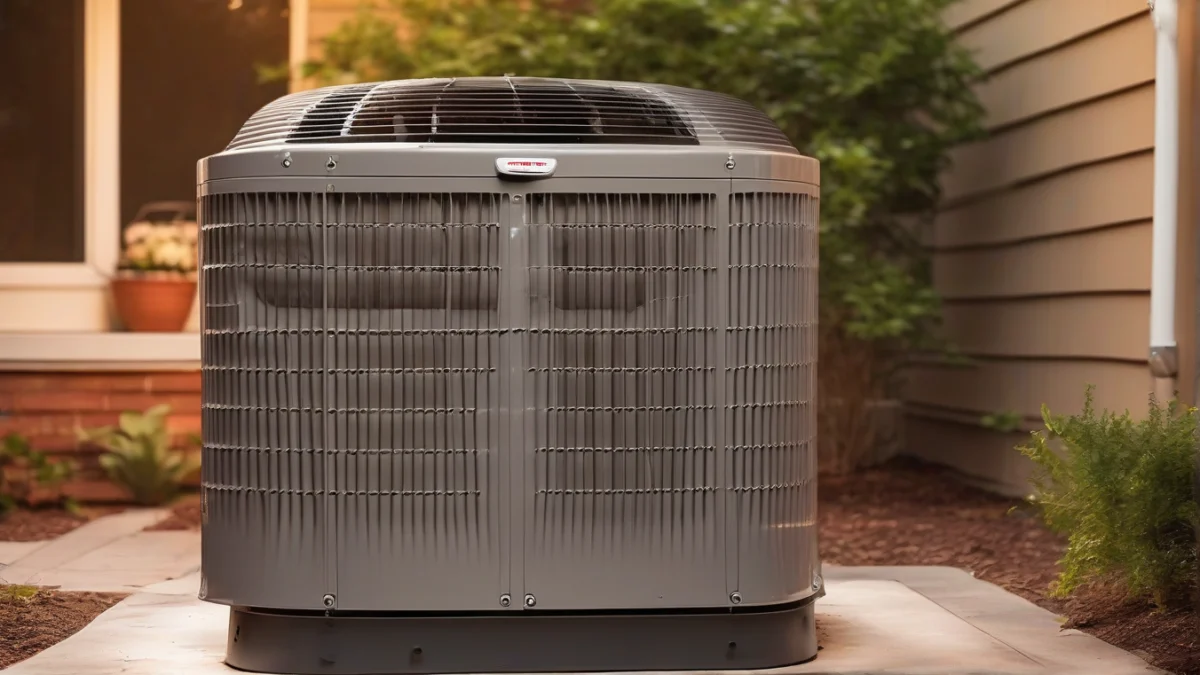
This heat pump unit represents the investment discussed in installation costs.
Equipment and labor make up most of the bill, so ask for both figures separately rather than accepting one unexplained total. A basic single-zone mini-split with an easy wall penetration tends toward the lower end, while a larger system, multiple indoor heads or a ducted replacement can push the price higher.
What Changes The Quote
System size: A larger heating and cooling load generally means a larger outdoor unit, more refrigerant capacity and heavier electrical requirements.
Installation location: A short, accessible line run costs less than a high wall, long route, roof location or difficult outdoor-unit placement. Conduit, brackets, a pad or weather protection may add parts and labor.
Existing ductwork: Reusable, correctly sized ducts can reduce the work. Leaky, damaged or undersized ducts may need sealing, repair or replacement before the heat pump performs properly.
Electrical capacity: The installer may need a disconnect, new circuit, breaker or panel work. A licensed electrician should handle required 240-volt wiring and panel changes.
Drainage and controls: Condensate piping, a condensate pump, thermostat changes and additional indoor heads add work that a bare equipment quote may leave out.
The phrase how much does a heater install cost covers very different jobs. Gas, electric resistance, radiant and heat-pump systems use different equipment and code requirements; gas heater installation costs are a separate comparison. Likewise, the cost to install hydronic heating usually includes a boiler or heat source, water piping, pumps, controls and emitters, so don’t compare that quote with a heat-pump swap as if the scopes match.
Plan on one to three days for a straightforward installation, with extra time for duct changes, new electrical work, multiple indoor units or inspection delays. Before accepting a quote, confirm the equipment model, heating capacity, line-set length, electrical scope, condensate plan, permits and startup testing are included.
Why DIY Usually Fails
A heat pump circuit can cause a severe shock, and an incorrectly charged or leaking refrigerant circuit can damage the compressor and harm the environment. Indoor and outdoor units also need proper sizing and airflow checks, so hire a qualified HVAC professional for the installation and commissioning.
Tools and Parts for Heat Pump Installation
Essential items to prepare before installation starts
Protects line sets
SMOQIO Mini Split Line Cover, 3″ 10Ft
Use this cover after the heat pump’s line set is routed to shield copper pipes from weather, UV rays, corrosive elements and rodents. Its two-piece design also leaves access for future service, but it doesn’t replace proper refrigerant-line installation or leak testing.
You need a set of basic tools and specific parts for heat pump installation. Tools include a drill, pipe cutter, adjustable wrenches, a vacuum pump, and a refrigerant gauge set. Parts typically are the heat pump unit, refrigerant lines, electrical wiring, mounting brackets, and insulation materials.
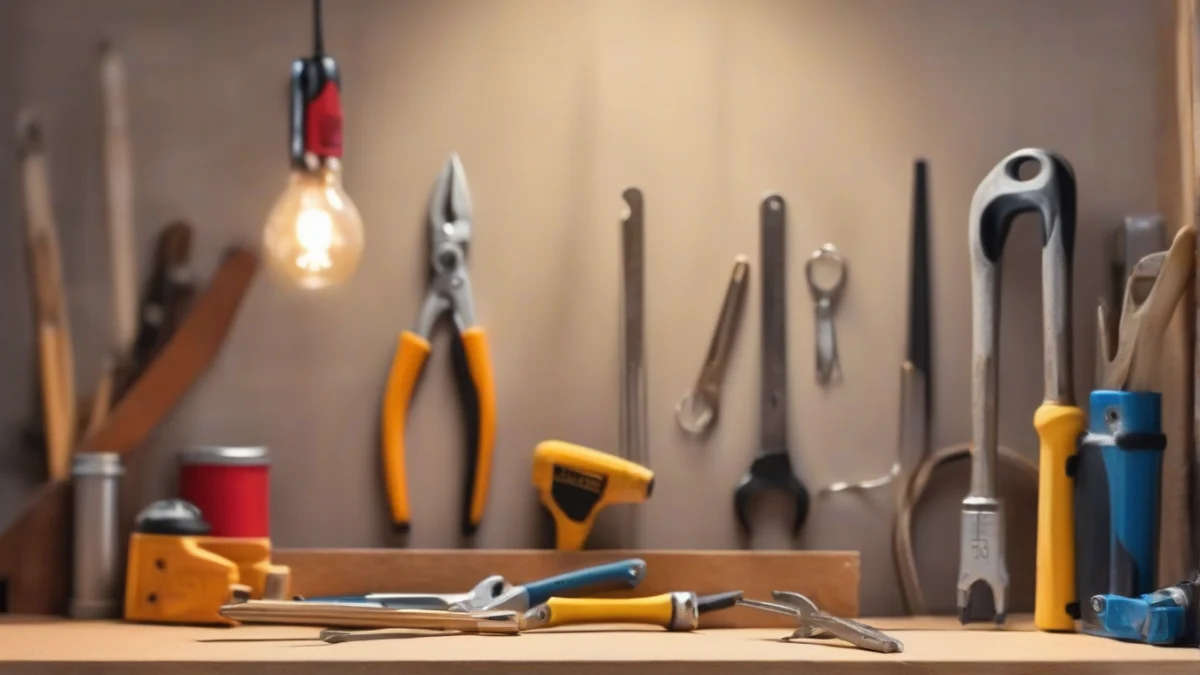
These tools are essential for a successful heat pump installation.
Refrigerant And Tubing Tools
Manifold gauges, a vacuum pump and a micron gauge for evacuating and checking the refrigerant circuit.
A recovery machine and approved recovery cylinder when refrigerant must be removed from an existing system.
A flaring tool and torque wrench for flare connections on compatible mini-split line sets; larger brazed systems may require brazing equipment and nitrogen procedures.
An electronic leak detector or approved leak-check method for finding refrigerant leaks before startup.
Electrical And Installation Parts
A multimeter and clamp meter for checking voltage, continuity and operating current; a non-contact tester is useful for an initial check but doesn’t replace a meter.
The correctly rated disconnect, breaker, cable, conduit, grounding parts and weatherproof fittings required by the equipment instructions and local code.
Insulated copper line-set sections, closed-cell insulation, drain tubing, communication cable where specified, an equipment pad or wall brackets and fasteners suited to the mounting surface.
Line-set covers to shield the pipes from weather, sunlight, impact and rodents while giving the exterior a cleaner finish.
Safety gear includes insulated gloves suitable for the task, eye protection, hearing protection when using power tools, sturdy footwear and fall protection when the installation requires roof or ladder work. Refrigerant handling and electrical work belong with trained, licensed professionals where local rules require them.
Useful for protecting the line set
SMOQIO Mini Split Line Set Cover 3″ 10Ft
Product 1 suits an exposed mini-split line route: its two-piece PVC and ABS cover sections conceal and protect the pipes, and the 3-inch, 10-foot size should be matched to your measured line quantity before ordering.
Check the line-set route, pipe bundle diameter and number of bends first. A cover that is too narrow won’t protect the insulation, while extra length still needs secure fastening and weather-tight connections.
Common Mistakes That Cause Damage or Leaks
Common heat pump installation mistakes include inadequate line-set protection, poor sealing of refrigerant connections, and incorrect electrical wiring. These errors can cause refrigerant leaks, reduce efficiency, and risk damage to the unit.
Improper Line-Set Insulation Or Protection
Incorrect Refrigerant Charge Or Handling
Poor Electrical Connections
Skipping The Manufacturer’s Instructions
From HeaterGuides · our own guideHeat pump or not? Page 6 is the decision guide; the Excel sheet works out the payback.Heating System Upgrade PlannerChoose between a heat pump, a furnace, a boiler or a hybrid with your own numbers, and hire the right installer.Every system compared side by side25 questions for contractors, red flagsRunning-cost, payback and quote calculator (Excel)$14.99$9.99Get it for $9.99See what's inside and watch the 2-minute video →16-page printable PDF + Excel calculator · instant download · 30-day refund
Permits and Licensed Professionals Required for Installation
Installing a heat pump usually requires permits and must be done by a licensed HVAC professional. This ensures compliance with local codes, proper refrigerant handling, and safe electrical connections. Check your local building department for specific requirements.
Who Should Handle The Work
Why DIY Installation Is Risky
Problems With Unpermitted Work
Steps Involved in Installing a Heat Pump
Step-by-step heat pump installation starts with measuring the site and ends with pressure, electrical and heating tests; how to install a heat pump safely depends on the model’s clearances, line length, wiring requirements and manufacturer instructions. Refrigerant connections and line-voltage wiring belong to qualified professionals.
1
Evaluate the site
Measure the rooms the system will serve, check the proposed indoor and outdoor locations, and map the shortest practical route between them. Confirm outdoor-unit airflow clearances, a solid and level base, access to the electrical panel, a condensate drain route and a wall penetration that can be sealed against water and pests. The installer should also confirm that the selected capacity matches the heating load rather than choosing by floor area alone.
2
Mount the indoor unit
For a ductless wall unit, mark the mounting plate level and fasten it to framing or suitable anchors. Leave the clearances required by the manual around the air inlet and outlet. Plan the drain, refrigerant lines and control cable before drilling; a perfectly level plate won’t rescue a drain route that runs uphill.
3
Set the outdoor unit
Place the condenser on a listed pad, wall bracket or other approved support that can carry its weight and keep it level. Leave the specified space around the coil and fan, keep snow, leaves and roof runoff away from the unit, and avoid a location where defrost water can freeze across a walkway. Secure the unit without blocking its service panels.
4
Run and protect the line set
Feed the insulated refrigerant lines, condensate drain and communication cable through the wall sleeve without crushing or sharply bending them. Keep the drain sloping continuously toward its outlet, seal the penetration after the lines are positioned, and protect exposed insulation from sunlight, impact and rodents. Line-set length and elevation must stay within the model’s limits.
5
Connect the refrigerant circuit
The installer should inspect the tubing ends, make the specified flare or manufacturer-approved connection, and torque it to the required value. A pressure test and vacuum test check for leaks and moisture before the service valves are opened; adding refrigerant by guesswork is how a new system becomes an expensive cold-weather mystery.
6
Complete the electrical work
Run the correctly sized circuit and equipment grounding conductor from the panel to the required disconnect and outdoor unit, following the nameplate and local code. Keep low-voltage communication wiring separated as the instructions require, tighten terminals to specification and replace the panel covers before energizing the system.
7
Test every operating mode
With power on, test heating, cooling, fan operation, temperature controls and remote functions. Check indoor airflow, condensate drainage, outdoor fan operation, abnormal noise, line temperatures and the control display. The final handoff should include the breaker and disconnect locations, filter access, drain outlet and the maintenance schedule in the manual.
Useful for exposed line sets
SMOQIO Mini Split Line Set Cover 3″ 10Ft
Product 1 can cover an exposed mini-split line route after the connections and tests are complete; measure the bundled lines first, since its listed 3-inch, 10-foot size won’t fit every installation.
Never open refrigerant valves, alter the breaker or run the heat pump with unfinished electrical, drain or refrigerant work. A licensed installer should verify the pressure test, vacuum, charge, grounding and final operation.
More Questions, Answered
How much does it cost to install a heat pump in a typical home?
A typical whole-home heat pump installation runs about $3,500 to $7,500, but a difficult line-set route, new electrical circuit or ductwork changes can push the total higher. Ask for separate prices for the equipment, labor, electrical work, permits and disposal so a low quote doesn’t hide necessary extras.
Can I install a heat pump myself safely?
A homeowner can prepare the site and compare quotes, but the installation itself should be handled by licensed HVAC and electrical professionals. Refrigerant recovery, pressure testing, evacuation and line connections require specialized equipment, and an incorrect charge can damage the compressor or leave the system inefficient.
What permits are needed for heat pump installation?
Most installations need an HVAC or mechanical permit, and electrical work may require a separate electrical permit. A new outdoor pad, wall penetration, condensate drain or service-panel change can add building or plumbing review, so confirm the permit list with your local building department before work begins.
What tools do professionals use to install heat pumps?
Professionals use refrigerant recovery equipment, a vacuum pump, pressure gauges, a micron gauge and a nitrogen setup for pressure testing and line cleanup. Electrical meters, torque tools and tubing equipment help them verify connections instead of relying on a system that merely starts.
How long does a heat pump installation usually take?
A straightforward replacement often takes one day, while a new system with electrical changes, ductwork or a long line set can take two or three days. Delays usually come from permit inspections, difficult access or waiting for parts rather than from the outdoor unit itself.
What mistakes should I avoid during heat pump installation?
Don’t let the line set sit unprotected, skip the pressure and vacuum tests, or accept a final start-up without checking airflow and electrical readings. Keep the outdoor unit clear of snow and debris after installation, because restricted airflow can reduce heating output and increase compressor strain.
Do I need to replace my electrical panel for a heat pump?
Not necessarily; the answer depends on the heat pump’s required circuit, the panel’s available capacity and what else runs in the home. Electric backup heat can require more capacity than the heat-pump compressor, so an electrician should calculate the load before anyone recommends a panel replacement.
Before you go · a welcome giftGet the Heating System Upgrade Planner for $4.99Choose between a heat pump, a furnace, a boiler or a hybrid with your own numbers, and hire the right installer. Normally $14.99; your welcome price saves $10.00. We'll email your link right now.or buy it now for $9.99 without the gift →One email with your link now. We never share your address.


 Heating System Upgrade PlannerChoose between a heat pump, a furnace, a boiler or a hybrid with your own numbers, and hire the right installer.Every system compared side by side25 questions for contractors, red flagsRunning-cost, payback and quote calculator (Excel)