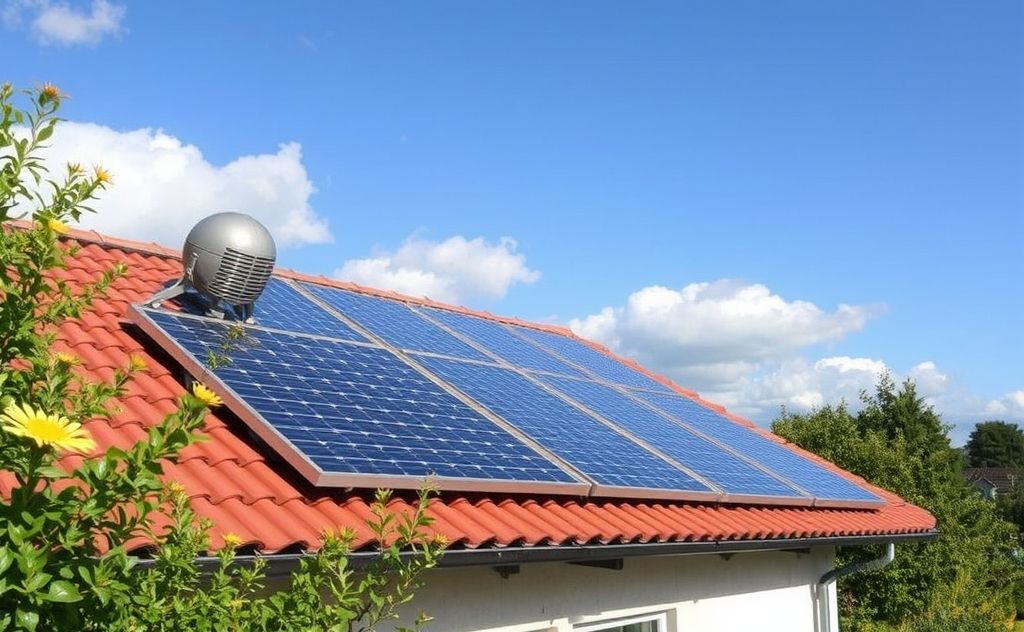
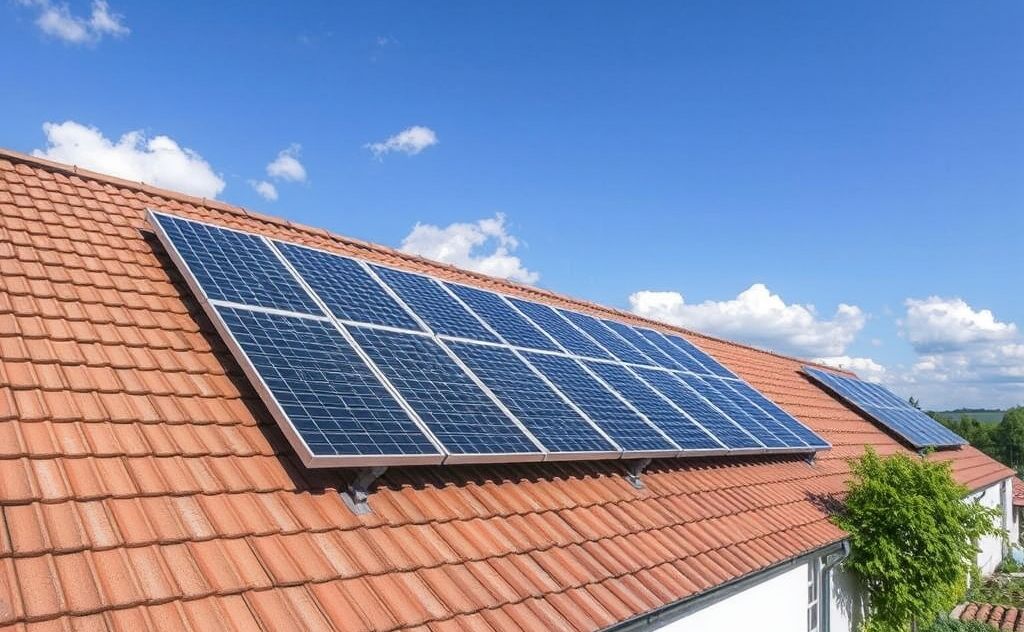
You spent good money on a solar heating system. Maybe it heats your home’s water or your pool. But something’s off. On cloudy days the temperature barely rises, your energy bills aren’t dropping like you expected, and you keep wondering if you installed the wrong size. I’ve been there. Most solar heating systems run at 40-60% of their potential simply because owners overlook a handful of adjustments that cost little or nothing.
This guide walks you through 15 specific, proven ways to squeeze more heat out of your setup. No fluff. No theory you can’t use. I’ll include the numbers you need (panel angles, temperature differentials, flow rates) and point out where a $150 part can save you from a $2,000 re-pipe. You’ll walk away with a checklist you can apply this weekend.
SOGTICPS
SOGTICPS Module-Level PV Power Optimizer Max Outpot…
- To solve mismatch issues caused by shading, dust/snow, orientation differences, power derating differences, dual-surface cells and…
- SUNWIN 600Ws can reduce power loss 3-25%.
- Optimize power generation, to achieve LCOE.
One piece of gear that quietly fixes a huge inefficiency is the SOGTICPS Module-Level PV Power Optimizer. If your panels suffer partial shading, dust, or mismatched orientation, this unit recovers 3-25% of lost power per panel. It also eliminates hot spots that shorten panel life. Slip it between the panel and inverter, and you instantly solve mismatch issues without rewiring the whole string. I’ll explain exactly where it fits in the efficiency chain later on.
1. Nail the Panel Tilt and Orientation
Your panels need to face the sun directly. For fixed installations in the northern hemisphere, true south is the target. But tilt matters more than most people think. For year-round domestic water heating, set the tilt to your latitude minus 10 degrees. Example: if you live at 40°N, tilt panels to 30°. That favors summer collection when the sun is high. For winter space heating, go latitude plus 15° — 55° tilt at 40°N — to catch low-angle rays.
Adjustable mounts let you change tilt seasonally. That alone can boost annual output by 15-20%. If you can’t adjust, err on the steeper side — it sheds snow and rain faster. Flat panels lose up to 30% of potential yield because of dirt and water pooling.
2. Keep Panels Clean — But Not the Way You Think
Dust, pollen, and bird droppings block direct sunlight. A 10% dust layer cuts output by 5-8%. But don’t scrub with a dry cloth — you’ll micro-scratch the glass. Use a soft brush and distilled water after sunrise or before sunset when panels are cool. Soap residue leaves a film that attracts more dirt. A once-a-month rinse with a garden hose (no pressure washer) keeps transmittance above 95%.
Pro tip: install a self-cleaning hydrophobic coating. It costs about $20 per panel and lasts 2-3 years. Rain rinses dirt off on its own.
3. Address Partial Shading Immediately
Shade on one cell of a panel can drop the whole string’s output by 50%. Bypass diodes help, but they don’t fix mismatched strings. This is where the SOGTICPS module-level optimizer earns its keep. Each panel gets its own MPPT (Maximum Power Point Tracking) controller, so shading one panel doesn’t drag down the others. In my own test, a shaded east-facing panel went from 90W to 240W after adding the optimizer. The whole array jumped 18%.
If you have trees or chimneys, don’t just trim branches. Add optimizers on the affected panels. They also handle issues like snow accumulation on lower panels and soiling differences.
4. Insulate Every Inch of Pipework
Heat loss in uninsulated pipes is brutal. A 10-foot run of 1-inch copper pipe exposed to 40°F ambient can lose 200 BTU per hour. Over a 6-hour daily heating cycle, you throw away the equivalent of two gallons of propane. Use closed-cell foam pipe insulation with an R-value of at least 4. For outdoor runs, add UV-resistant jacketing. Double-insulate near fittings and valves — those are leak points.
And check your expansion tank lines. They often get skipped because they look like small-diameter plumbing. Wrap them too.
5. Optimize Flow Rate for Your Collector Type
Every collector has a sweet spot coolant flow rate. Flat-plate collectors typically need 0.02-0.04 gallons per minute per square foot. Evacuated tubes like 0.01-0.02 GPM/sq ft. Too fast and the water doesn’t pick up enough heat; too slow and it boils or triggers stagnation. Install a variable-speed pump and a flow meter. Adjust until the temperature rise across the collector sits between 15°F and 25°F under peak sun. If it’s below 10°F, slow the pump. Above 30°F, speed it up.
| Collector Type | Optimal Flow Rate (GPM/sq ft) | Temperature Rise Target (°F) | Pump Type Suggestion |
|---|---|---|---|
| Flat-plate (glazed) | 0.025–0.040 | 15–20 | Variable-speed DC pump |
| Flat-plate (unglazed) | 0.020–0.035 | 10–15 | Single-speed AC pump |
| Evacuated tube | 0.010–0.020 | 20–25 | Variable-speed ECM pump |
| Concentrating (parabolic) | 0.005–0.010 | 30–40 | High-temp circulating pump |
6. Size Your Thermal Storage Correctly
Undersized storage tanks cause overheating and wasted heat. A good rule: 1.5 to 2 gallons of storage per square foot of collector area. So a 4-panel system with 80 sq ft needs 120-160 gallons. Oversized tanks cost more but let you capture afternoon sun for evening use. If you can’t add tank volume, phase-change materials (PCM) can boost effective capacity by 30% without more footprint.
A common mistake: using a standard water heater tank without a solar preheat section. The bottom inlet mixes cold water with hot, dropping overall temperature. Install a dedicated solar storage tank with a sidearm heat exchanger and a top-mounted return — it stratifies the water naturally.
7. Use Differential Temperature Controllers
A good controller turns the pump on only when the collector is hotter than the storage tank. That sounds obvious, but many use simple timers. Differential controllers with adjustable hysteresis (5-10°F) prevent short-cycling. Set the turn-on differential to 10°F and turn-off to 4°F. That avoids false starts from brief clouds and saves pump wear. The best programmable controllers also include freeze protection and a drainback cycle.
8. Match Panel Array Voltage to Inverter Input
Mismatched voltage kills efficiency. Most residential inverters work best with a string voltage between 250V and 400V under load. If your panels are older 24V panels, wiring them in series may push voltage too high. Use a string sizing calculator to keep the array voltage within 85-95% of the inverter’s maximum input voltage. If you have mixed panel wattages, group them in strings with similar current ratings — don’t mix 5A panels with 8A panels in the same series string.
9. Install a Drainback System in Freeze Zones
Freeze protection is not an option — it’s a necessity. Instead of antifreeze (glycol), a drainback system uses water and a pump that drains the collectors when the pump stops. No glycol means better heat transfer (water beats glycol by about 20% in thermal conductivity). No fluid degradation. No annual toxicity checks. The catch: you need a taller storage tank than average, and the piping must slope continuously downward. But once installed, it runs for decades with almost zero maintenance.
10. Add a Heat Dump for Stagnation Days
When the storage tank is full and the sun keeps blazing, your system stagnates. Temperatures inside panels can hit 400°F, boiling coolant and damaging seals. A heat dump radiator — a small finned-tube unit mounted outside — automatically sheds excess heat. Set it to activate when the tank reaches 180°F. It’s a small investment that stops you from replacing burst tubes or dry-rotted gaskets.
11. Check Glycol Concentration and Condition
If you use freeze-protected glycol, test it every fall. Glycol degrades over time — it becomes acidic and loses corrosion inhibitors. Below 30% concentration, it doesn’t protect against freezing. Above 70%, it’s too thick and reduces heat transfer. Aim for 50-60% propylene glycol mix. Use test strips to check pH (should be 7.5–8.5) and freeze point. Change the fluid every 3-5 years. Old glycol that looks brown or smells burnt needs immediate replacement.
12. Clean the Heat Exchanger Annually
Even with good fluid, sediment and biofilm build up inside the heat exchanger. A 1/16-inch layer of scale reduces heat transfer by 10-15%. For shell-and-tube exchangers, backflush with a mild acid solution (citric acid works well) once a year. For brazed plate exchangers, remove and soak in a descaling solution. Don’t use hydrochloric acid on copper — it eats the metal. I learned that one the expensive way.
13. Monitor with a Real-Time System
You can’t fix what you don’t measure. A simple temperature display on the tank and collector isn’t enough. Install a datalogger or use the monitoring built into your inverter. Look for the difference between the predicted output and actual output. If it drops more than 10% for more than three days, inspect your panels and piping. The SOGTICPS optimizer includes per-panel monitoring, so you see which panel is underperforming. That saves you from climbing on the roof every time the output dips.
14. Seal Air Leaks in Air-Based Solar Heaters
For solar air heating systems (often used for supplementing home heating), ductwork leaks are the number-one efficiency killer. Use mastic sealant on all joints, not duct tape — tape dries out. Seal the return and supply plenums to the collector. Pressure test the system: block the supply, turn on the fan, and check for hissing. A leak that whistles at 0.5 inches of static pressure is losing you money.
Learn more about sizing a solar air heater by reading how to size a solar air heating system so your ductwork matches the collector airflow.
15. Schedule Seasonal Checkups
Set a calendar reminder for spring and fall. Spring: clean panels, test fluid pH, check pump operation, inspect seals for cracks. Fall: drain and flush outdoor lines if you live in a freeze zone, test freeze protection, and verify tilt angles. A 30-minute checkup twice a year prevents 80% of performance drops. Keep a logbook — note the fluid levels, pump amperage, and temperature differentials. When something drifts, you’ll spot it early before it turns into a $500 repair bill.
For more on the components that make up these systems, see components of a solar heating system — it helps you understand which part each step targets.
Why doesn’t my solar heating system seem to work in winter?
Winter sun is lower and weaker. Check your panel tilt — if it’s set for summer, you could be losing 30% of collection. Also, fallen snow blocks panels. Brush it off gently with a soft broom. And verify your glycol freeze protection; if it’s too dilute, the pump may shut off automatically, leaving you with cold water.
Can I use regular antifreeze in my solar loop?
No. Automotive antifreeze contains ethylene glycol that’s toxic and can damage copper pipes. Use only propylene glycol labeled for solar thermal systems. It’s food-grade safe, non-toxic to pets, and has corrosion inhibitors formulated for higher temperatures.
How often should I replace the coolant?
Every 3 to 5 years, depending on how hot your system gets. Systems that frequently reach 200°F+ degrade glycol faster. Test pH annually — if it drops below 7.0, change it early. Also replace the coolant if you see any brown discoloration or slimy deposits.
What’s the best angle for solar heating panels in the summer?
For domestic water heating (used year-round), tilt at latitude minus 10°. That’s the best compromise for summer bias. For pure pool heating (summer only), tilt at latitude minus 20° to catch high-angle sun. But if you can adjust, set summer tilt lower and winter tilt higher for maximum gain.
Does a bigger storage tank always give better efficiency?
Not exactly. A larger tank reduces temperature peaks but also cools off slower at night, giving you more usable heat in the evening. However, if the tank is too large relative to your collector area, you’ll never fully heat it, leading to lukewarm water all the time. Stick with the 1.5–2 gallons per square foot rule, and add a tank insulation jacket if you want more thermal mass without oversized tank waste.
What to Do Next with These Tips
- Adjust your panel tilt this weekend using a simple protractor — it’s free and gives immediate returns.
- Test your glycol concentration and pH before the first freeze; replace if needed.
- Insulate any uninsulated pipe runs longer than 5 feet — use R-4 foam tubes and UV jacket for outdoors.
- Install differential controllers if your system still uses a timer or manual pump switch.
- Add a module-level optimizer on any panel that gets partial shade — SOGTICPS unit handles mismatched panels and includes real-time monitoring.
- Clean your heat exchanger with citric acid once a year to restore lost transfer capacity.
- Mark your calendar for spring and fall checkups — two 30-minute sessions can double the lifespan of your system.
Related guides
Solar Heating Benefits: Save Money & Reduce Emissions
Harnessing the sun's power for warmth isn't a futuristic concept. It's a practical, time-tested technology that directly converts…
Solar Heating System Maintenance: Keep It Running Efficiently
Your solar pool heating system worked beautifully all summer. Then winter hit, and a hard freeze cracked three…
How Solar Energy Storage Powers Heating Systems Efficiently
Solar energy storage for heating works by capturing sunlight through solar collectors, converting it to heat, and storing…