How to Fix an Electric Fireplace That Won’t Heat: A Practical Diagnostic Guide
Joye
Updated September 30, 2026 13 min read
Short answer
The most common cause of an electric fireplace not heating is a tripped thermal cutoff switch or a faulty heating element. Start by checking the power and thermostat settings, then test the heating element and reset the thermal cutoff if needed.
Imagine your living room on a chilly evening: the flame effect of your electric fireplace dances, but the room stays cold. Your 1,500 W heater should warm a 150 sq ft room comfortably, yet it’s blowing cold air. This guide walks you through the exact checks and fixes to get heat flowing again, without paying a technician first.
How to Fix an Electric Fireplace That Won’t Heat
For an electric fireplace not blowing heat, check the power, thermostat, timer and remote first, then test the heating element and thermal cutoff with the unit unplugged. Most electric fireplace repair is limited to a reset, clearing blocked airflow or replacing a failed part; burnt wiring, a damaged cord or repeated overheating calls for a professional.
Before Opening the Fireplace
Unplug the fireplace and turn off its circuit breaker before removing a panel. Never bypass the thermal cutoff switch, work on a live circuit or keep using the unit after a burning smell, melted insulation, crackling or a hot power cord appears.
Tools And Checks
The owner’s manual and the correct model number
A flashlight and screwdriver that fits the cabinet screws
A digital multimeter with a continuity setting
A clean, dry cloth or soft brush for the air vents
The circuit breaker, wall outlet and fireplace power cord
1
Confirm Power And Controls
Plug the fireplace directly into a working wall outlet; don’t use an extension cord or power strip. Check the circuit breaker and any unit fuse, then select Heat on the control panel and remote, raise the thermostat above room temperature, cancel the timer and replace weak remote batteries. If the display is dead, solve the power problem before opening the cabinet.
2
Perform A Hard Reset
Switch the fireplace off, unplug it for at least five minutes, then restore power and select Heat again. That reset can clear a control fault, but it won’t repair a failed heating element or a thermal cutoff that keeps tripping.
3
Check Airflow And The Blower
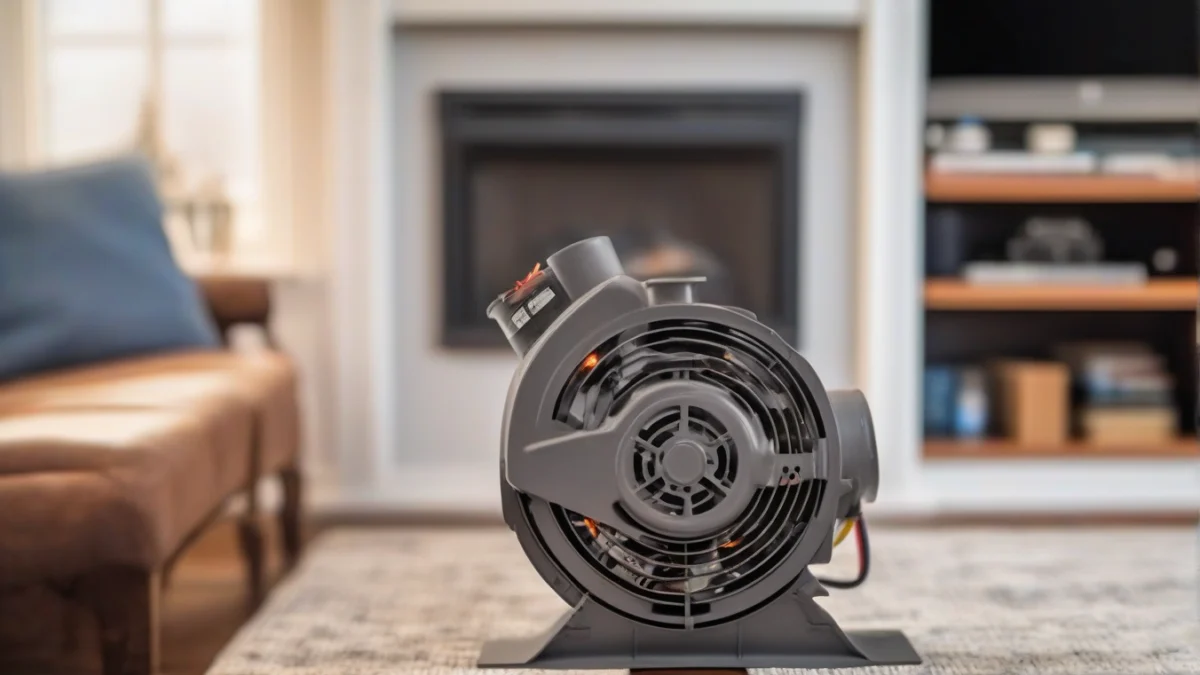
With power disconnected, inspect the intake and outlet vents for dust, pet hair or furniture blocking the air path. After restoring power, listen for the blower fan: a steady airflow means the fan motor is running, while silence, a hum without airflow or a scraping sound points to a blower or motor fault. Don’t reach through the grille while the unit is powered.
4
Test The Heating Element
Unplug the fireplace, remove only the access panel described by the manual and disconnect the element wires without pulling on the terminals. Set the multimeter to continuity or resistance, touch one probe to each element terminal and check the reading. No continuity or an open-circuit reading means the element has failed; a normal reading does not prove the control board or wiring is good, so inspect both before ordering a replacement.
5
Reset The Thermal Cutoff
The thermal cutoff switch shuts off heater power when internal temperature rises too far, then may reset after the unit cools. Let the fireplace cool fully, clean its vents and look for a manual reset button if the manual identifies one; press it only with power disconnected. A cutoff that trips again usually signals blocked airflow, a failing fan, dust buildup or another fault. Replace the switch with the exact listed part—never bridge it with wire.
6
Inspect Wiring And Connections
Look for loose push-on terminals, darkened copper, melted plastic, cracked insulation or a scorched circuit board. Tighten or reseat only a visibly loose connection if the manual permits it; burnt connections and damaged wiring need a qualified repair rather than a hopeful twist of electrical tape.
Myth
The LED flame display works, so the heater must be working.
Fact
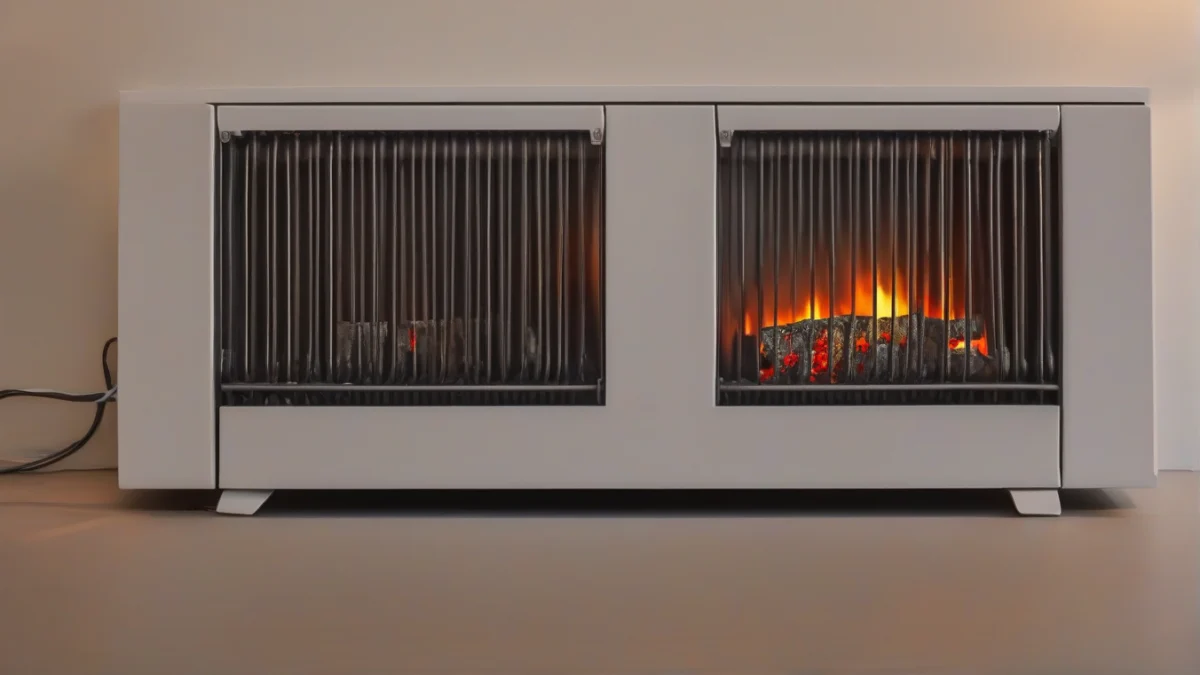
The flame effect can run independently from the heating element and blower, so flames with no warm air are a useful clue, not proof of heat. Check the Heat setting and heater circuit separately.
Overnight Use
An electric fireplace may be suitable for overnight use only if the manufacturer allows it and the cord, vents, controls and safety features are in good condition. Turn off the timer if you don’t want an unexpected shutdown, and don’t leave a unit running unattended if its manual says otherwise.
If these checks leave you with a dead heater, a repeated cutoff trip or visible electrical damage, stop the electric fireplace repair and use a qualified technician; the right next step depends on the model’s wiring and replacement-part instructions. For help deciding who should handle the fault, see who can fix your electric fireplace.
Parts and Tools That Help Fix Electric Fireplaces
Multimeters, replacement heating elements, and thermal cutoff switches for DIY repair
Whole-unit replacement
COSTWAY 26-Inch Fireplace Insert
Choose this when the heating element, thermal cutoff, or control board in your current unit isn’t worth chasing. It offers 750W and 1500W heat settings, overheat protection, and remote or front-panel controls for indoor use.
To test the heating element in an electric fireplace, unplug the unit, reach the element through the service panel, and measure its resistance with a multimeter; a good element shows a finite ohm reading, while an open circuit usually means it has failed. The heating element in a space heater works the same way: electricity passes through resistance wire, which turns electrical energy into heat.
Testing the heating element is crucial for troubleshooting.
Unplug Before Opening
Turn the fireplace off, unplug it from the wall, and wait for the element to cool before removing a panel. Never measure resistance on a live circuit, and don’t bypass a fuse, thermal cutoff, or damaged wire. If the cord, terminals, or circuit board shows scorching, stop and arrange professional repair.
1
Expose the element
Use the owner’s manual to find the rear or bottom service panel, then remove only the screws needed to reach the heating assembly. Photograph the wire connections before disconnecting anything. The element may be a ceramic assembly, a resistance-wire coil, or a sealed cartridge.
2
Isolate the element
Pull off at least one wire connector from the element terminals so the meter won’t read through the rest of the fireplace. Set the multimeter to the lowest ohms setting, touch one probe to each terminal, and note the result.
3
Compare the reading
A finite reading generally indicates an intact element; OL, infinity, or no change from the display indicates an open element. A near-zero reading suggests a shorted element. Neither result alone proves the part is safe, so inspect for melted insulation, cracked ceramic, or a burned terminal.
4
Check the expected resistance
Use R = V² ÷ W as a rough check against the unit’s label. At 120 volts, a 1,500-watt element calculates to about 9.6 ohms, while a 750-watt element calculates to about 19.2 ohms. A fireplace with more than one element may have separate readings, so follow its wiring diagram.
5
Install the replacement
Order the exact part number or a manufacturer-approved equivalent for the model. Match voltage, wattage, terminal style, physical shape, mounting holes, and any temperature rating printed on the old part or listed in the manual. Transfer the wires to the same terminals, secure the element without touching it to plastic or sheet metal, and replace every guard before testing.
Continuity Isn’t the Whole Test
A continuity beep only says the circuit isn’t completely open. Resistance that differs sharply from the calculated value, loose terminals, or heat-damaged insulation can still cause weak or intermittent heating.
Before Restoring Power
The replacement matches the model and electrical ratings
Every connector is tight and routed away from hot surfaces
The element guard and service panel are back in place
No loose screws, broken ceramic, or scorched wiring remains
A thermal cutoff switch is overheating protection that interrupts power to the heating element when the fireplace gets too hot; to reset it, switch the unit off, unplug it for at least five minutes, let it cool, and use the manual reset button only if the model has one. An auto-reset cutoff closes again after its temperature falls, so it has no button to press.
Never Bypass It
Don’t bridge the cutoff with wire or install a higher-temperature part. The switch is there to stop an overheated element from damaging the cabinet or starting a fire. If the fireplace trips again soon after cooling, leave it unplugged until the cause is found.
1
Find the switch
With the fireplace unplugged and cool, remove the access panel according to the manual. Look near the heating element, air outlet, or blower housing for a small round or rectangular device wired in series with the element. Some models use a one-time thermal fuse instead; it can’t be reset.
2
Try the correct reset
For a manual-reset switch, press its reset button once after the unit has cooled. An auto-reset switch needs only the cool-down and unplugging period. Reassemble the panel before plugging the fireplace back in.
3
Test continuity
Disconnect one switch wire, set the multimeter to continuity or low ohms, and place a probe on each terminal while the switch is cool. A resettable switch should show continuity when closed. An open reading means it hasn’t reset, has failed, or is still above its trip temperature.
4
Replace a failed switch
Use the exact replacement specified for the model, including its temperature, voltage, current, terminal, and mounting details. Fit it in the same position, reconnect the wires, and keep the sensor firmly against the component or bracket where the manufacturer placed it.
Look for the Trigger
Dust buildup is blocking the intake or outlet
The blower fan or its wiring isn’t moving air
A loose connector or scorched terminal is present
The switch trips again after a short cool-down
A cutoff that trips repeatedly is giving you a symptom, not a repair diagnosis. Leave the fireplace unplugged if you smell burning insulation, see melted wiring, or find a damaged circuit board; repeated resets can hide a fault that needs a licensed technician.
When to Check the Fan Motor and Airflow
A fan motor failure is a likely cause when an electric fireplace turns on but isn’t blowing heat, because the heating element can warm up while the blower fan fails to move that warmth into the room. A flame display doesn’t prove the heater or fan is working; the flame effect can run on its own.
Check the fan motor to ensure proper airflow.
1
Check the airflow
Turn the fireplace off and unplug it. Inspect the intake and outlet air vents with a flashlight, removing dust, pet hair and anything blocking the grille. Don’t poke tools through the vent: the heating element and wiring sit behind it.
2
Inspect the blower fan
With the unit unplugged, look for loose fan blades, debris rubbing the housing or a blade that won’t turn freely by hand. A scraping sound, intermittent startup or weak airflow points toward the blower assembly.
3
Test the motor
Disconnect the motor leads only after photographing their positions, then use a multimeter to test resistance across the motor terminals. An open reading, a reading that changes wildly as the shaft turns, or a motor that hums without turning indicates a failed motor; compare the result with the service manual’s specification.
4
Check operation safely
Reassemble any covers before restoring power. Run the fireplace briefly and watch for steady airflow and unusual noise from a safe distance. Never reach through a grille or handle exposed wiring while the unit is energized.
5
Replace the failed part
Use the exact motor listed for your model. If the blower uses a separate capacitor, replace it with the same type and rating shown on the original part or service manual; a mismatched capacitor can overheat the motor.
Keep Air Moving
Clean the intake and outlet vents at the start of each heating season and whenever airflow drops. Dust buildup can make the fireplace overheat and trigger its thermal cutoff, so a dirty vent can imitate a bad heating element.
When to Call a Licensed Technician or Replace the Unit
Search for electric fireplace repair near me when you find an electrical burning smell, melted plastic, scorched wiring, sparks or a cord that becomes hot; those signs call for a licensed electrician, not another reset. Electric fireplace repairs involving loose internal wiring, a damaged control board or a fault that trips the breaker repeatedly can expose you to shock or fire risk.
Stop Using It
Unplug the fireplace and leave the circuit off if you see charring, smoke, cracked insulation or heat damage. Don’t bypass a fuse, thermal cutoff switch or other safety control, and don’t keep testing a unit that smells electrically hot.
Before Booking Service
Record the brand, model number, error message and what the fireplace does when heat is selected.
Check the warranty before opening the cabinet; internal repairs or non-approved parts can affect coverage.
Tell the technician whether the flame display works, the blower runs and the circuit breaker trips.
Ask for a written repair estimate that separates diagnosis, labor and parts.
Repair makes sense when the fault is a replaceable fan, switch or heating element and the cabinet, wiring and controls remain sound. Replacement is the better call when the control board or multiple major parts have failed, safe replacement parts are unavailable, or the estimate approaches the cost of a comparable new unit. Keep the fireplace off overnight until the fault is resolved and the manufacturer’s instructions say unattended operation is allowed.
More Questions, Answered
Can I safely test the heating element myself?
Yes, if you unplug the fireplace first and keep the unit disconnected while you work. A multimeter can perform a continuity or resistance test through the service panel; never test the element with live power connected. Stop if you find loose wiring, scorched insulation or a damaged terminal, since those faults call for a qualified technician.
Why does my electric fireplace flame work but no heat come out?
The LED flame display can work independently of the heater, so visible flames don’t prove that the heating element is operating. A thermostat setting, timer, thermal cutoff, failed element or blower fan can leave the display running while the heat stays off. Check those controls and listen for the fan before opening the unit.
How do I reset the thermal cutoff switch on my electric fireplace?
Turn the fireplace off, unplug it for at least five minutes and let the heating area cool completely. Clear dust from the air vents, then reconnect the unit and follow the manufacturer’s reset instructions if your model has a manual thermal cutoff reset. If the cutoff trips again, stop using the fireplace rather than bypassing the switch; repeated trips point to an airflow or overheating fault.
How often should I clean and maintain my electric fireplace?
Inspect and clean the fireplace at least once each heating season, and check it sooner if dust gathers around the air vents. Unplug the unit before vacuuming or brushing the vents, inspect the cord for cracks or heat damage, and keep furniture and curtains clear. A dusty intake can restrict airflow enough to trip the thermal cutoff.
Is it safe to leave an electric fireplace running overnight?
Only do so if the manufacturer specifically says your model is designed for overnight operation and its safety controls are working. Never leave it running while sleeping if the manual prohibits that use, and don’t use it at all if the cord becomes hot, the housing smells electrical or the unit trips repeatedly. A timer helps limit runtime, but it doesn’t make damaged wiring safe.
Share
Written byJoye
HeaterGuides covers home heating, water heating and HVAC: how the equipment works, what it costs to run, and how to use it safely.
Free newsletter
Heater deals and guides, worth opening
Price drops, new guides and safety recalls. One email, only when it matters.