How to Connect a Remote Control to Your Heating System in 1 to 3 Hours
On this page 7 sections
- How to Connect a Remote Control to Your Heating System in 1 to 3 Hours
- Check The System Type Before You Buy Parts
- Wire The Receiver Or Thermostat The Right Way
- Pair The Remote, Set Range, And Fix Connection Problems
- Avoid Leaks, Shorts, And Code Problems
- What To Do Next For Your System
- Frequently Asked Questions
Most homes use a 24V thermostat circuit, but some baseboard, boiler, and floor-heating systems use line voltage instead. That split decides whether you can add a wireless thermostat, a receiver, or need a licensed pro.
A wireless thermostat still has a wired receiver at the equipment. The radio signal is the easy part; the terminals, zone valve, transformer, and control board are where the job succeeds or fails.
How to Connect a Remote Control to Your Heating System in 1 to 3 Hours
Connecting a remote control to your heating system usually means installing a wireless thermostat with a receiver wired into your system’s control board or zone valves. This isn’t a simple plug-and-play remote; the receiver must connect to your heating system’s control wiring to actually adjust the temperature.
The remote control itself communicates wirelessly by radio frequency with the receiver unit, which is the wired link to your heating system. You switch your heating control away from the wall thermostat by wiring the receiver to take over the thermostat’s role on the heating control circuit.
First, identify your heating system type: is it 24-volt low voltage, line voltage baseboard, multistage, heat pump, boiler with zone valves, or something else? This determines the type of remote control and receiver that will work. Trying to install a remote designed for low voltage on a line voltage system, or vice versa, can damage equipment or simply fail to control anything.
Expect to spend 1 to 3 hours on this installation if you are comfortable handling low-voltage wiring. If your system uses line voltage, 240 volts, or involves gas or boiler wiring beyond simple thermostat control, call a licensed electrician or HVAC technician. The wiring complexity and safety risks increase significantly.

Check The System Type Before You Buy Parts

Your heating system type decides what kind of remote control or smart thermostat you can use and how to wire it. There are three main types: 24V low-voltage systems, line-voltage baseboard or floor heating, and millivolt gas appliances. Each requires different controls and wiring approaches.
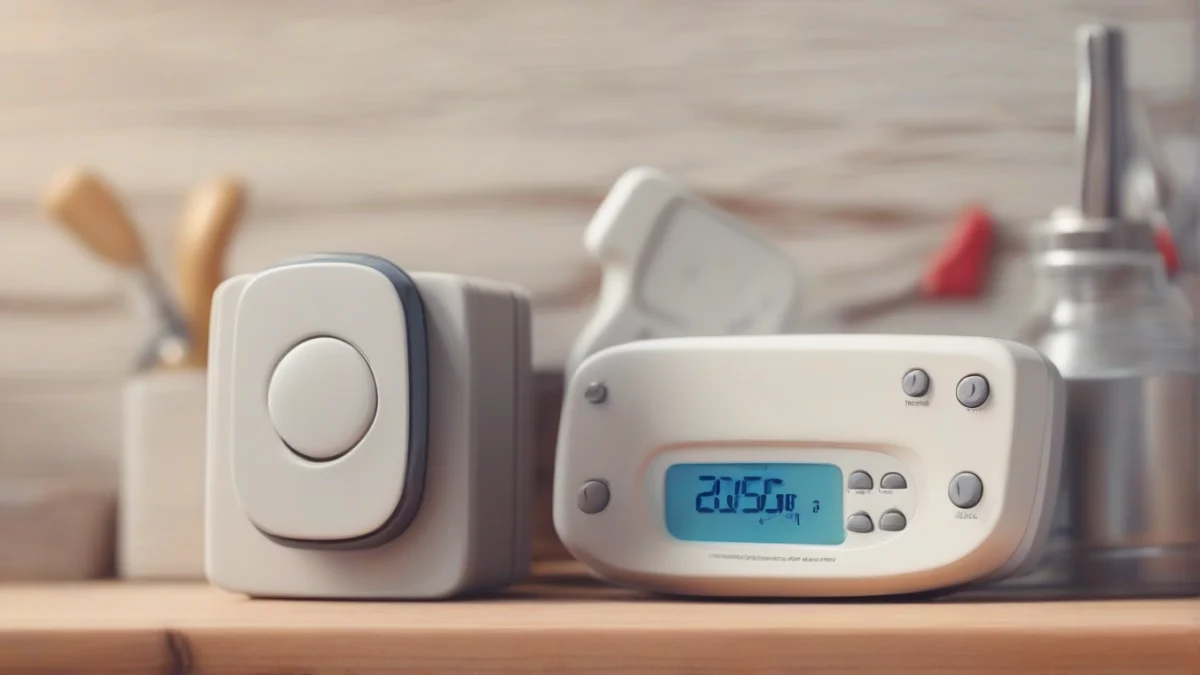
Most modern central heating systems, including gas, oil, and heat pumps, use 24-volt low-voltage control wiring. These systems often need a C-wire (common wire) to power smart thermostats. Some smart thermostats like the Nest Learning Thermostat don’t need a C-wire, but many do or require an adapter. Also, some models don’t support stranded wire, so check your wiring type.
Line-voltage baseboard and floor heating systems run on 120 or 240 volts and can’t use typical low-voltage thermostats or remotes. They need line-voltage thermostats or specialized remote control units rated for their voltage.
Millivolt gas appliances, like standing pilot heaters, use a small current from the pilot flame for control. These require specialized thermostats compatible with millivolt systems.
| System Type | Control Type | Wiring Needs | Who Should Install |
|---|---|---|---|
| 24V Low Voltage | Smart or wireless thermostat with receiver | Needs C-wire or adapter; low-voltage wiring | DIY if comfortable with thermostat wiring |
| Line Voltage Baseboard/Floor | Line-voltage thermostat or remote | High-voltage wiring, no C-wire | Licensed electrician recommended |
| Millivolt Gas Appliances | Millivolt-compatible thermostat | Specialized controls, no standard wiring | Licensed HVAC technician advised |
Multistage heating systems and heat pumps often require specific thermostats that support multiple stages or auxiliary heat. Zone valves add wiring complexity that may need a receiver designed for zone control.
Replacing an oil furnace or boiler with a heat pump unit can often use the existing control wiring if the new thermostat and controls support it. However, confirm compatibility with your installer to avoid wiring or control issues.
Wire The Receiver Or Thermostat The Right Way
Start by turning off power at the breaker to avoid shocks or damage when working on your heating system wiring.
If you have a baseboard heater with a control knob, the remote control setup may involve replacing that knob with a remote-enabled thermostat or connecting a compatible receiver that controls the heater’s line voltage or low-voltage wiring, depending on the model.
To control temperature remotely, you’ll wire a receiver unit near the boiler, furnace, or zone valves. The receiver connects to the system’s control board or directly to zone valves to operate heating cycles based on the wireless thermostat’s commands.
Begin by removing the old thermostat faceplate. Label each wire before disconnecting, noting terminals like R (power), W (heat call), Y (cooling), G (fan), and especially C (common) if your system has one; the C-wire provides continuous power to smart thermostats and receivers.
Mount the receiver or smart thermostat’s base plate securely. It usually goes near the heating appliance for short wiring runs, reducing interference and signal loss. Align the mounting plate level and secure it with the supplied screws.
If your heating device remote controller uses stranded wires, double-check compatibility. Some smart thermostats, including the Sensi Smart Thermostat, don’t support stranded wires without adapters, so you might need an adapter kit or to replace wires with solid-core types.
The Sensi Smart Thermostat is a practical example for many DIYers. It supports low-voltage HVAC systems, offers step-by-step app guidance, and works without a C-wire in most homes by drawing power from the heating system’s R and W terminals. This reduces wiring complexity and installation time.
 Heating System Upgrade PlannerChoose between a heat pump, a furnace, a boiler or a hybrid with your own numbers, and hire the right installer.Every system compared side by side25 questions for contractors, red flagsRunning-cost, payback and quote calculator (Excel)
Pair The Remote, Set Range, And Fix Connection Problems
Wireless thermostats use radio frequency (RF) signals to communicate with their receivers. Signal range depends heavily on the mounting location and any obstacles—walls, metal ductwork, or electrical noise can weaken or block the connection.
Remote wax temperature sensors in central heating systems work by detecting ambient temperature changes remotely and sending signals to the thermostat or control unit, helping maintain a consistent temperature without direct wiring.
To extend your remote heating control range, place the receiver where it has a clear line of sight to the thermostat and avoid metal enclosures or thick walls. Using RF repeaters or signal boosters may help in larger homes or buildings with many obstacles.
If your remote thermostat won’t connect to its base unit, check for dead batteries, verify the system is set to the correct mode (heat or cool), and ensure the devices are paired according to manufacturer instructions. Firmware updates via app may also resolve communication glitches.
Avoid Leaks, Shorts, And Code Problems
Adding a remote control to your heating system has safety concerns that you can’t skip. Power must be off before touching any wiring to avoid shorts or transformer burnout. Never assume the existing wiring matches the new device’s voltage or terminal layout.
A common wiring mistake is leaving power on while connecting the receiver or thermostat, which often burns the transformer or blows fuses. Crossed terminals or crushed wire insulation cause loose low-voltage connections that lead to intermittent operation or damage.
For wireless thermostats, a C-wire often supplies continuous power to the device. Some models like the Nest Learning Thermostat don’t need it, but expect wiring changes if your system lacks a C-wire—adding one can require professional help.
Wireless remotes typically work within 100 to 150 feet indoors, less through walls or metal ducts. Signal strength drops with distance and interference, so position the receiver and remote carefully.
Gas venting, 240V line-voltage wiring, boiler control modifications, and any work involving temperature and pressure (T&P) valves or sealed heating loops require a licensed professional. These systems have strict codes and risks that go beyond simple thermostat wiring.
Vent-free gas heaters, combustion-air requirements, and carbon monoxide (CO) concerns always demand a licensed pro’s expertise. A working CO alarm is mandatory where fuel-burning equipment operates indoors.
What To Do Next For Your System
Cancel any existing heating programs on your remote or thermostat before starting a new installation to avoid conflicting controls. Most remotes let you do this through their setup menu.
You can control your central heating remotely by pairing your new wireless thermostat or remote control with its receiver and linking it to your home Wi-Fi or smart hub if supported.
To control your home temperature from a remote device, set up the thermostat’s app or software following the manufacturer’s instructions, and ensure your Wi-Fi connection remains stable.
If you want to expand beyond basic remote control, consider a smart thermostat that integrates with lighting, security, and other smart devices for centralized living comfort How to Connect a Thermostat to Your Smart Home System.