Emergency Water Heater Replacement: What to Expect in 3 to 5 Hours
On this page 6 sections
- Emergency Water Heater Replacement Explained and Timing
- Checklist of Tools and Parts Needed for Emergency Replacement
- Step-by-Step Emergency Water Heater Replacement Procedure
- Common Mistakes That Cause Damage or Leaks During Replacement
- When Permits or Pros Are Needed for Emergency Replacement
- Frequently Asked Questions
Replacing a water heater in an emergency is stressful but doable with the right preparation. This guide walks you through the essential steps, tools, and safety checks to get hot water back fast.
Many believe that noisy or leaking water heaters always mean immediate replacement. The truth is noises often signal sediment buildup, which can sometimes be repaired without replacing the whole unit.
Emergency Water Heater Replacement Explained and Timing
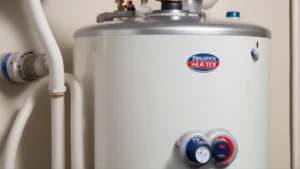
Emergency water heater replacement means turning off power, gas, and water supply right away, then removing the old unit and installing a new one. It usually takes between 3 and 5 hours and costs roughly $1,200 to $1,800 for a standard 50-gallon tank, depending on labor and materials.

Start by shutting off the water heater’s power source: flip the circuit breaker for electric units or close the gas valve if you have a gas heater. Don’t skip shutting off the water supply at the main valve or the heater’s cold water inlet to avoid flooding when you disconnect plumbing.
Next, drain the tank completely using the drain valve near the bottom. This step is crucial to safely remove the old water heater and avoid water damage. Then, disconnect the water lines and, for gas models, the vent and gas line fittings.
Removing the old water heater often requires at least two people because a 50-gallon tank weighs around 150 pounds full and even empty it can be bulky and awkward. Proper lifting technique matters to avoid injury and damage to floors.
Installing the new unit reverses this process: position the heater, connect water lines with new fittings or Teflon tape, reconnect gas or electrical connections per local code, and refill the tank slowly before restoring power or gas. It’s essential to check for leaks and proper vent operation on gas heaters before finishing.
This whole job takes most people 3 to 5 hours, assuming no surprises like corroded fittings or wiring issues. Emergency replacement is feasible as a DIY project if you have plumbing and electrical skills and the right tools, plus local permits if required. Otherwise, calling a licensed pro is safer and faster.
A 50-gallon water heater replacement cost varies, but you’ll typically pay between $300 and $600 for the unit itself and $500 to $1,200 for professional installation. Emergency situations might add a surcharge for same-day service.
Checklist of Tools and Parts Needed for Emergency Replacement
Before you start an emergency water heater replacement, gather the right tools, parts, and safety gear to avoid delays and accidents.

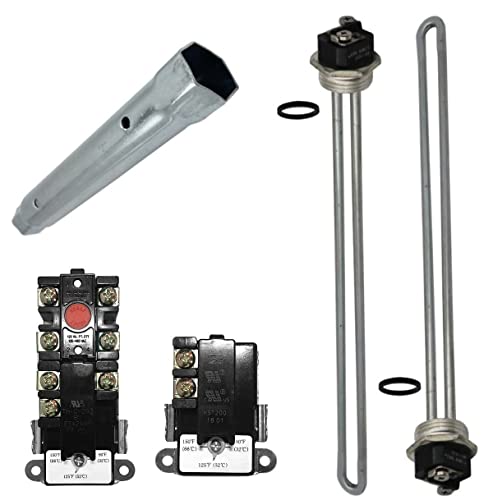
You’ll need a pipe wrench and an adjustable wrench for loosening and tightening plumbing connections. A screwdriver set is essential for electrical panel covers or securing components. An element wrench or socket fits the heating elements if you’re working on an electric model.
Replacement parts to have on hand include thermostats and heating elements for electric heaters, and a drain valve replacement in case the existing valve leaks or fails during draining. These parts are common failure points and can save time if you’re performing a tune-up along with the replacement.
Safety gear is a must: wear gloves to protect your hands from sharp edges and hot surfaces, and safety goggles to shield your eyes from debris or splashing water. Never skip these basics.
If you need a quick element or thermostat swap during the emergency replacement, the EWH-03 Electric Water Heater Tune-Up Kit covers both thermostats, two heating elements, and includes an element wrench socket. It suits most residential electric water heaters and avoids last-minute trips to the hardware store.
If your water heater has a fuse that blew, you’ll need a compatible fuse replacement. For Rheem water heaters, regular maintenance includes anode rod replacement to prevent tank corrosion — check the manual for the exact rod size and location.
A water heater replacement drain valve is a small but crucial part that allows safe tank draining. If yours leaks or sticks, replacing it during the emergency is wise. Some models have valve types specific to the brand or size, so match accordingly.
Step-by-Step Emergency Water Heater Replacement Procedure
Start by shutting off the water supply and power or gas to the heater. Locate the cold water shut-off valve near the tank and turn it clockwise until it stops. If your heater is electric, flip the circuit breaker off; for gas, close the gas valve on the supply line. This step stops water and energy flow to prevent flooding or fire hazards.
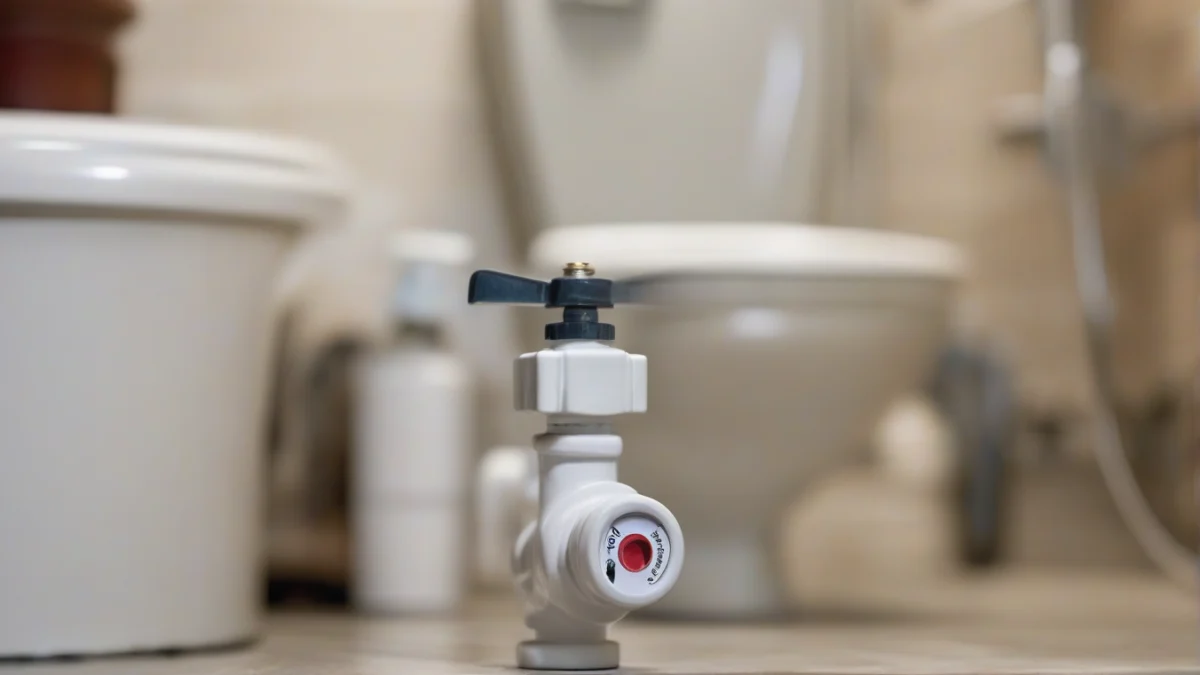
Drain the tank completely to avoid spills during removal. Connect a garden hose to the drain valve at the tank’s base, run the hose to a floor drain or outside, and open the valve. Opening a hot water faucet inside the house helps air enter the tank, speeding up drainage. If the drain valve is faulty, replacing it early in the process can prevent leaks later.
Disconnect the plumbing and electrical connections carefully. For plumbing, loosen the fittings on the cold and hot water pipes using a pipe wrench. Be prepared for residual water in the pipes. On an electric heater, remove the access panel, disconnect the wires, and label them for proper reconnection. Gas heaters require disconnecting the gas line with a wrench; always check for leaks afterward.
Remove the old heater by tilting or sliding it out of position. It may be heavy—enlist help if needed. Disposal varies by your local regulations; some areas require recycling water heaters due to metal content and leftover fluids.
Install the new unit in the same spot, leveling it and ensuring clearance from combustibles per manufacturer instructions. Reconnect the plumbing using new fittings or Teflon tape to ensure tight seals. Reattach electrical wires or gas lines, checking connections twice before restoring power or gas.
Refill the tank by opening the cold water supply valve slowly. Once full, open a hot water faucet to release trapped air until a steady stream flows. Check every connection for leaks. Finally, restore power or reopen the gas valve and light the pilot if applicable.
If you need to replace a water heater fuse during this process, start by turning off the power at the breaker. Remove the fuse holder cover, replace the blown fuse with one matching the exact amperage, and secure the cover back on. For detailed electrical fuse replacement, see our guide on water heater fuse replacement.
Replacing a faulty hot water heater valve follows similar plumbing steps: shut off water, remove the old valve with a wrench, apply pipe sealant or Teflon tape to the new valve threads, and screw it in firmly before reopening the water supply to test for leaks.
For Rheem water heaters, replacing the anode rod is good maintenance alongside emergency replacement. It prevents tank corrosion and extends the heater’s life. The rod typically screws into the tank’s top. Use the correct size and type as detailed in our Rheem water heater anode rod replacement guide.
 Water Heater Owner's ToolkitFix the common faults yourself, keep it running for years, and know when a repair is money wasted.No-hot-water flowcharts, gas and electricFlush, anode, relief valve and descaling stepsRepair-or-replace calculator (Excel)
Common Mistakes That Cause Damage or Leaks During Replacement
An emergency water heater burst valve or leak typically signals a problem you can’t ignore. The first mistake is ignoring these early signs or noises, which often come from sediment buildup causing overheating or pressure spikes.
Improper venting or gas connections top the list of costly errors. Gas fittings must be tight, properly threaded, and aligned; a loose connection risks leaks or carbon monoxide intrusion. Vent pipes need unblocked, correctly sloped runs to exhaust combustion gases safely. Incorrect venting can cause backdrafting, leading to carbon monoxide buildup inside your home.
Loose or cross-threaded plumbing fittings cause drips that worsen over time. Threads on connectors and nipples need careful alignment before tightening; forcing them risks stripping threads and damaging the seal. Use thread sealant tape or pipe dope rated for potable water to ensure a watertight fit.
Skipping the pressure relief valve check is another trap. This valve prevents excessive pressure inside the tank from causing a rupture. When replacing the heater, test the valve for proper operation and replace it if it’s old, corroded, or stuck. Neglecting this puts the heater under unsafe conditions.
Not testing for leaks before finishing the job is a frequent oversight that leads to water damage. After reconnecting water and restoring power or gas, inspect every joint and fitting closely. Use soapy water on gas lines to spot bubbles indicating leaks. Tighten or redo connections immediately if you spot any.
Water heater noises aren’t always a reason for immediate replacement. Often, they stem from sediment buildup or mineral deposits that reduce efficiency and cause popping sounds. Flushing the tank can sometimes fix this without costly replacement.
When Permits or Pros Are Needed for Emergency Replacement
Local codes usually require permits for water heater installation or replacement, especially for gas and electrical work. These rules exist to ensure the work meets safety standards and is inspected.
California is phasing out replacement of gas water heaters and furnaces in favor of electric heat pump models in many cases. This transition means regulations and permit requirements are tightening, often mandating professional installation to meet energy and safety codes.
Water heater installation done without a permit or licensed professional risks violating local building codes, which can void your water heater warranty. Manufacturers often require installation by certified technicians to keep warranties valid.
Calling a licensed plumber or HVAC technician is the safest choice when gas connections, venting, or electrical wiring are involved. Professionals know local codes and use proper materials and methods. Incorrect installation risks carbon monoxide leaks, electrical hazards, or flooding.
Some tasks, like replacing the water shut-off valve or testing the pressure relief valve, may be done by experienced DIYers, but major plumbing changes or electrical wiring should always be left to pros. When in doubt, call a certified technician to avoid costly fines or hazards.