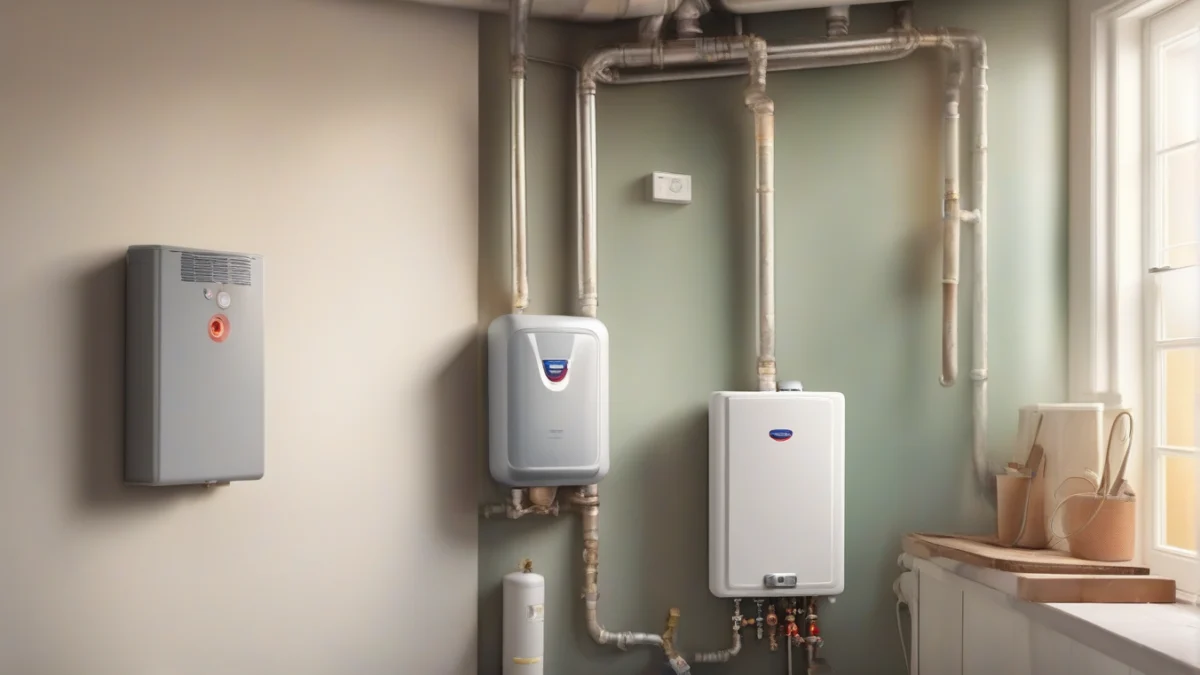
The correct tankless water heater setup involves choosing the right size, installing safe gas, electric and vent lines, and testing for leaks—most jobs take a day and require permits and a licensed pro for gas or major electrical work.
Say you want endless hot showers for a family of four and two bathrooms, but last winter’s tank ran cold every morning. A tankless water heater can keep up, but only if you pick the right size and install it by the book.
This guide covers how to size, mount, connect, and maintain a tankless water heater—so you get reliable hot water without leaks, code violations, or cold surprises.
The essentials
Correct sizing depends on your peak simultaneous demand in gallons per minute, not just the number of bathrooms.
Venting and gas line upgrades are usually required for tankless units—skimping here risks carbon monoxide leaks or poor performance.
Permits and a licensed plumber or electrician are mandatory for most gas and 240V electric installs.
Failing to flush and descale your heater yearly can void warranties and shorten its life.
Programming digital or WiFi controls improves efficiency and troubleshooting but requires following the manual exactly.
Correct Tankless Water Heater Setup: What It Means and Why It Matters
A correct tankless water heater setup matches the unit to your peak flow demand, supplies safe gas or electrical service, uses the required venting and clearances, and includes code-required safety parts. For a practical tankless water heater installation guide, think in this order: calculate GPM, choose the heater, prepare the mounting and utilities, install the vent and relief valve, then test the water, fuel, and controls.
A tankless water heater heats water only when flow activates the unit, so it doesn’t store a ready tank of hot water. That saves standby losses, but the heat exchanger and burner must add heat quickly; gas models commonly need about 90,000 to 130,000 BTU, compared with roughly 30,000 BTU for a traditional tank heater, and combustion models need properly designed venting.
Setup piece
What correct looks like
If skipped
Sizing
The heater’s flow rate meets simultaneous fixture demand at your incoming water temperature.
A shower turns cold when another tap opens, or the unit limits flow.
Gas or electrical supply
The service matches the manufacturer’s specifications and local code.
Low gas pressure, nuisance shutdowns, overloaded wiring, or unsafe connections.
Venting and clearance
The listed vent pipe, termination, and combustible clearances are installed as specified; at least 4 inches from combustibles is a common minimum in the checked guidance.
Exhaust can spill indoors, materials can overheat, or the unit can fail inspection.
Safety and testing
A pressure relief valve, shut-off valves, leak checks, and operating tests are completed.
A small installation error can become a water, gas, fire, or carbon-monoxide hazard.
The manual and local code control the final details for your model.
Why Flow Rate Comes First
Size by the fixtures you may run at the same time, not by the number of people alone. A shower rated at 2.0 GPM plus a kitchen faucet using 1.0 GPM creates a 3.0 GPM peak; a heater rated below that flow may not maintain the temperature you selected. Many simultaneous uses can exceed even a properly installed unit, so a larger family may need a higher-flow model or a different hot-water plan.
Worked example
Say your household can run one 2.0 GPM shower and a 1.0 GPM faucet together. Your starting target is 3.0 GPM at the required temperature rise; confirm the model’s published flow at that temperature, because a headline maximum GPM can fall as the incoming water gets colder.
Shower2.0 GPM
Faucet1.0 GPM
Peak demand3.0 GPM
1
Calculate peak demand
Add the GPM of fixtures likely to run together, then check the heater’s output at your winter inlet temperature.
2
Confirm the utilities
Check the rating plate and manual for gas-line capacity, electrical requirements, vent type, termination, and clearances. Gas work and major electrical work belong with a licensed professional.
3
Install the safety parts
Mount the unit securely, fit the pressure relief valve and required shut-off valves, and keep the specified clearance from combustibles.
4
Test before use
Check water and gas connections for leaks, verify ignition or electrical operation, confirm exhaust leaves the building safely, and test the temperature at a fixture.
Before calling the setup complete
Peak fixture demand is written down in GPM.
The model’s published flow matches that demand at winter inlet temperature.
Venting, gas or electrical service, and combustible clearances follow the manual and local code.
The pressure relief valve and discharge arrangement are installed correctly; never cap or plug the valve.
Required permits and inspections are confirmed.
Myth
A tankless heater will always keep up with several hot-water uses because it heats water on demand.
Fact
On-demand heating removes the storage tank, not the unit’s flow and heating limits. If simultaneous GPM exceeds the heater’s output, water temperature or flow can drop.
What You’ll Need for Tankless Water Heater Setup
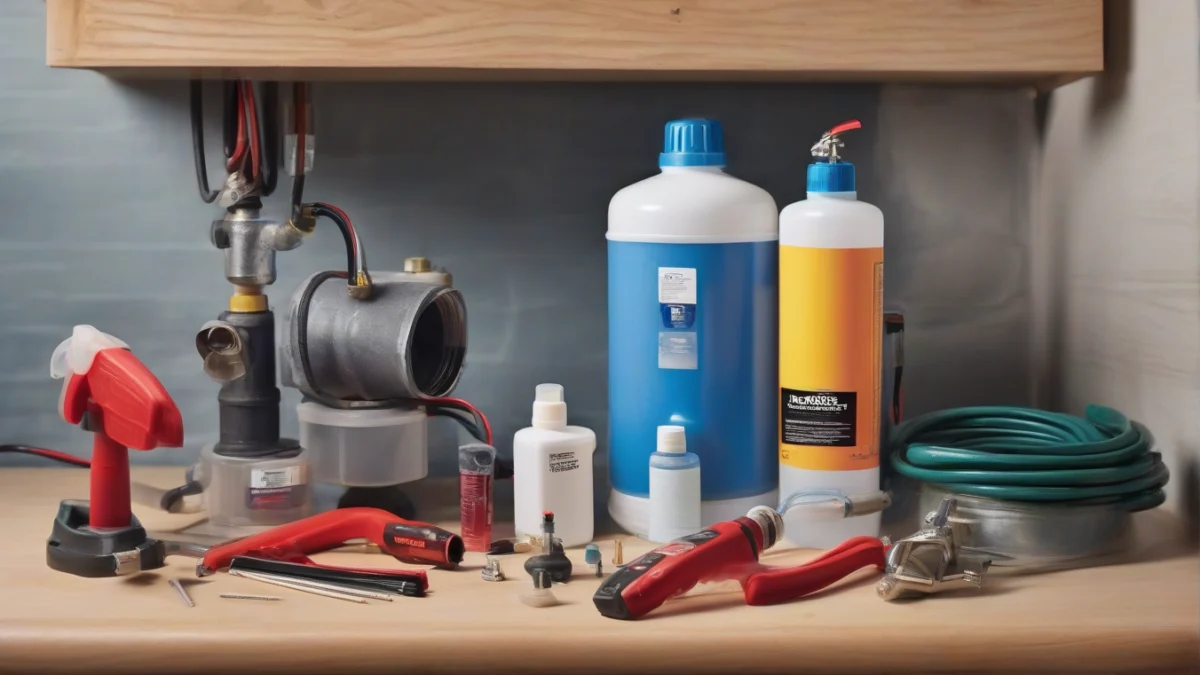
Gather these tools and parts before starting installation or maintenance.
Flushing maintenance
6699 Tankless Flushing Kit, 1/6 HP Pump
The 3-gallon pail, two hoses, and 1/6 HP pump give you the parts needed to circulate cleaning fluid through a tankless heater during maintenance. It connects directly for use, so you won’t have to assemble a collection of mismatched buckets and fittings.
Sizing, Mounting, and Connecting Your Tankless Water Heater
To install a tankless water heater correctly, size it for simultaneous flow and temperature rise first, then mount it, connect water, fuel, power, venting, and the pressure relief valve exactly as the manufacturer specifies. Gas and major electrical work belong with a licensed professional; a tankless unit can demand far more from a gas line or electrical panel than the tank heater it replaces.
Proper mounting and connections are essential for installation.
1
Calculate flow and temperature rise
Add the flow rates of fixtures that may run together. A shower rated at 2.0 GPM plus a second 2.0 GPM shower and a 1.0 GPM sink require 5.0 GPM. Temperature rise is the heater’s setpoint minus the incoming water temperature; a 120°F setpoint with 50°F incoming water requires a 70°F rise. Use the model’s performance chart at that rise, not its largest advertised GPM.
2
Match the BTU or electrical input
Gas tankless heaters commonly need about 90,000 to 130,000 BTU per hour, compared with roughly 30,000 BTU for a traditional tank heater. As a check, the water-heating load is approximately 500 × GPM × temperature rise: 500 × 5 × 70 equals 175,000 BTU per hour before accounting for the unit’s efficiency. That example needs a larger gas model or reduced simultaneous demand. Electric units must be checked against their voltage, amperage, breaker capacity, and required kW; a panel that powered a tank heater may not have room for the new load.
3
Choose and prepare the location
Select an indoor or outdoor-rated model for the location. Indoor units need the listed combustible clearances—at least 4 inches is a common minimum, but the manual controls—and access for service, shutoff valves, filters, and vent inspection. Outdoor units still need protection from freezing, wind, snow, and dripping water. Keep the mounting surface strong enough for the heater, piping, and filled heat exchanger; attach the brackets to structural framing or masonry rather than thin wall covering.
4
Mount the heater and install water connections
Hang the unit level on its listed brackets, then connect cold water in and hot water out without reversing them. Install the manufacturer’s isolation or service valves and union fittings so the heater can be shut off and flushed later. Use the specified thread sealant on threaded joints; don’t put sealant on fittings where the manual prohibits it, and don’t force copper or plastic connections into misalignment. A bypass arrangement may be needed for flushing or recirculation, depending on the model.
5
Provide gas or electrical service
A gas unit needs a nearby gas shut-off valve, correctly sized piping, and a supply that can deliver the full BTU input while other appliances operate. A 1/2-inch line may need an upgrade to 1 inch, but the required size depends on pipe length, fuel type, local code, and the appliance load. Have a licensed gas professional size, install, and test that line. Electric units need the dedicated circuits, wire size, disconnecting means, and breaker arrangement listed on the data plate; a licensed electrician should handle new 240-volt circuits or panel work.
6
Install the venting system
Follow the exact vent table for the model, because condensing and noncondensing heaters use different vent materials and limits. A direct-vent system draws combustion air from outdoors and exhausts outdoors, usually through two pipes or a listed concentric assembly. A single-vent, non-direct arrangement uses one exhaust pipe and draws room air only where the heater is approved for that setup. Horizontal or vertical routing, pipe diameter, elbows, termination clearances, slope, supports, and sealing all come from the manual and local code. Condensing models commonly use approved plastic vent ma
7
Install the pressure relief valve
Install the specified pressure relief valve in the heater’s designated hot-water connection or outlet piping, exactly as shown by the manufacturer. The discharge line must terminate safely and remain visible and unobstructed; never cap, plug, or add a shutoff valve that could isolate the valve. Pressure can rise from thermal expansion or a control failure, and the relief valve gives that pressure a controlled escape path. The heater still needs adequate incoming water pressure for its flow switch and rated performance, so check the manual’s pressure range rather than guessing.
8
Add recirculation only if the layout needs it
A tankless water heater with recirculation uses a return line and pump, or an approved crossover arrangement, to move cooled water back to the heater so hot water reaches distant fixtures faster. It adds valves, controls, and heat loss, so it’s most useful when long pipe runs cause a noticeable wait. Use only the pump, connection points, check valves, and control method approved for the model; continuous operation can waste energy and increase cycling.
9
Power up and check every connection
Flush debris from the water lines before opening the heater’s service valves, then open the water supply slowly and inspect every union, valve, and threaded connection with the heater cold. For a gas model, the licensed installer should pressure-test the piping, purge it safely, and check joints with an approved leak-detection method—never with a flame. Restore power only after water fills the heat exchanger, open a hot tap to remove air, and confirm ignition, flow, temperature, fault codes, and vent operation. Check again after the unit heats and shuts off.
Worked Example
Say two showers use 2.0 GPM each and a sink uses 1.0 GPM at the same time. The required flow is 5.0 GPM. With 50°F incoming water and a 120°F setpoint, the temperature rise is 70°F; use the manufacturer’s chart to find a model that delivers 5.0 GPM at that rise, then verify its BTU input or electrical demand against the home’s service.
Check
What to verify before startup
Sizing
Simultaneous GPM and temperature rise match the performance chart
Mounting
Structural support, level installation, service access, and listed clearances
Water
Cold and hot ports are correct; isolation valves and unions are accessible
Fuel or power
Gas line or electrical circuit meets the data plate and local code
Venting
Approved materials, route, slope, termination, and combustion-air arrangement
Safety
Pressure relief valve and unobstructed discharge line are installed
Keep this list beside the heater during the installation.
Don’t improvise the vent or relief valve
Using the wrong vent material risks overheating, gas leaks, or joint failure. Never block or cap the pressure relief valve discharge; doing so disables a critical safety feature. If the manual, local code, gas supply, electrical load, or venting route doesn’t match your setup, stop and call a licensed professional.
For the detailed flow-and-input math, use this tankless water heater BTU guidetankless water heater BTU guide; gas-line capacity deserves its own calculation rather than a guess based on the old tank heater.
Common Causes of Leaks, Damage, and Poor Performance
Most complaints about tankless water heaters trace back to an undersized gas line, bad venting, missing safety parts, scale, wiring errors, or freezing—not a defective heat exchanger. Common installation mistakes to avoid are easy to spot during a careful check, but gas, venting, and major electrical corrections belong with a licensed professional.
Mistake
What you may notice
What prevents it
Undersized gas line
Flame fault, shutdowns, lukewarm water
Confirm the appliance BTU demand and gas-line sizing
Wrong vent or termination
Error codes, exhaust smell, condensation damage
Use only the vent parts and layout listed for the model
Missing pressure relief valve
Unsafe pressure condition; failed inspection
Install the specified valve and leave its discharge line open
Scale in the heat exchanger
Lower flow, temperature swings, noisy operation
Flush on schedule and use scale prevention where needed
Bad electrical supply
Blank display, nuisance trips, damaged controls
Use the required circuit, wiring, grounding, and disconnect
Freeze exposure
Cracked pipes, leaks, no hot water
Use the approved freeze-protection setup and protect exposed plumbing
A symptom can have more than one cause, so check the installation before replacing the heater.
Myth
A tankless heater can always supply several fixtures at once.
Fact
It can only heat the flow its size and fuel supply support. A shower, kitchen faucet, and washing machine running together may exceed the unit’s GPM capacity, causing a temperature drop or shutdown.
Gas Supply and Venting Errors
A gas tankless heater may need 90,000 to 130,000 BTU, compared with about 30,000 BTU for a traditional tank heater. A 1/2-inch line that served the old heater may not deliver enough fuel; upgrades to 1-inch piping are often needed, but the correct size depends on pipe length, gas type, connected load, and local code. Check the model plate and have a qualified installer calculate the run; a gas-line sizing guide can help you gather the right details.
Venting mistakes can send combustion gases where they don’t belong or let condensate damage the unit. The vent pipe, direct vent system, slope, intake and exhaust terminations, seals, and clearances must match the manufacturer’s listing; don’t mix parts from another vent system or improvise a termination.
Carbon monoxide and gas safety
If you smell gas, see soot, hear abnormal combustion, or a carbon monoxide alarm sounds, leave the building and call the gas utility or emergency services from outside. Don’t operate a gas heater with a blocked, damaged, or incorrectly assembled vent.
Leaks, Relief Valves, and Water Quality
A skipped pressure relief valve removes a critical safeguard, while loose union fittings, poor thread sealant, or stressed water connections create the slow leaks that show up after installation. The valve’s discharge line must terminate as required by code and must never be capped or plugged.
Hard water leaves scale inside the heat exchanger, restricting flow and making temperature control worse. Install the manufacturer’s recommended scale prevention equipment where water quality calls for it, and plan regular flushing; some models include scale-prevention technology, but that doesn’t make water treatment or maintenance unnecessary.
Electrical, Freeze, and Enclosure Checks
1
Check the electrical supply
Confirm the voltage, circuit, grounding, wire size, and service disconnect against the installation manual. A missing disconnect or improvised wiring can leave the controls dead, trip the breaker, or damage the unit; have an electrician correct it.
2
Inspect an outdoor installation
A tankless water heater frozen in winter can split the heat exchanger or connected plumbing. Protect the unit and exposed water lines exactly as the manufacturer permits, and don’t assume an outdoor label makes an installation safe in every cold climate.
3
Measure the enclosure
You can enclose a tankless water heater only when the enclosure preserves the listed combustible clearances, required service access, combustion air, and venting. Keep at least 4 inches from combustible materials where that is the listed minimum, then follow the manual or local code if it requires more.
4
Look for early warning signs
Check beneath fittings for moisture, inspect the vent termination for blockage, watch for error codes or temperature swings, and listen for unusual burner or water-flow noise. Shut the unit down and call a qualified pro before a small fault becomes a leak or heat-exchanger failure.
From HeaterGuides · our own guideWater Heater Owner's ToolkitFix the common faults yourself, keep it running for years, and know when a repair is money wasted.No-hot-water flowcharts, gas and electricFlush, anode, relief valve and descaling stepsRepair-or-replace calculator (Excel)$14.99$9.99Get it for $9.99See what's inside and watch the 2-minute video →18-page printable PDF + Excel calculator · instant download · 30-day refund
Permits, Code, and When to Call a Licensed Pro
A licensed plumber or electrician should install a tankless water heater unless your local code clearly allows a limited like-for-like replacement. A DIYer should not install a gas tankless model: gas leaks, carbon monoxide from bad venting, high-BTU gas-line work, and combustion-air mistakes can turn a plumbing project into an emergency.
Permit rules depend on your city, county, state, fuel type, and whether the work changes gas, venting, water lines, or a 240-volt circuit. Call the building department before buying parts and ask which plumbing, mechanical, gas, electrical, and inspection permits apply; your utility may also require approval for gas-service changes. The unit’s installation manual and local code control details such as combustible clearances, vent termination, relief-valve discharge, and electrical disconnects.
Work
Who should handle it
Why it matters
Gas supply, shut-off valve, regulator, or venting
Licensed plumber or HVAC/gas professional
A leak or failed vent can cause fire or carbon monoxide exposure.
New 240-volt circuit, breaker, or service upgrade
Licensed electrician
Incorrect wire size or breaker selection can overheat the circuit.
Water connections, isolation valves, and relief-valve piping
Licensed plumber
Leaks and an improperly routed pressure relief line can damage the home or defeat a safety device.
Basic descale or a permitted like-for-like electric swap
Homeowner only where local rules and the manual allow
Power must be locked out, water isolated, and every connection checked before operation.
Local law wins over a general DIY checklist.
Why shortcuts get expensive
A gas or electrical mistake can cause carbon monoxide, fire, flooding, an insurance claim problem, or a refused warranty claim. Never cap or plug the pressure relief valve, and never energize an electric unit before its heat exchanger is full of water.
1
Check the permit desk
Give the official the model, fuel type, location, and a description of the work. Ask who may perform it and which inspections must happen before the wall is closed.
2
Confirm the installer
Use a licensed plumber for water and gas work and a licensed electrician for new or altered wiring. Verify the license and ask for proof of permit responsibility in the written estimate.
3
Keep the paperwork
Save the permit, inspection approval, model and serial number, installation manual, and commissioning notes. Those records help with warranty and future troubleshooting.
A permitted professional installation is especially sensible when the job changes a gas line, adds a direct vent system, or needs a larger electrical service. For a fuller breakdown of trades, permits, and installer qualifications, see who installs tankless water heaters expert guide.
Programming Digital and WiFi Controls
To connect and program digital controls or WiFi, install only the module listed for your exact tankless model, connect it with power off, pair it through the manufacturer’s instructions, and set the water temperature on the heater before creating schedules. A WiFi signal alone won’t make an incompatible control work.
1
Match the control
Record the model and serial number, then check the manual for a compatible wired controller or WiFi module. Some controls are optional accessories, and features differ by model.
2
Connect safely
Turn off the heater’s electrical supply before opening a control compartment. Follow the terminal labels and module instructions; don’t guess at low-voltage connections or defeat a cover.
3
Pair and name the unit
Use the manufacturer’s app or pairing procedure, choose the correct home WiFi network, and label the heater if you manage more than one unit. Test a temperature change from the control before relying on remote access.
4
Set useful limits
Choose a comfortable domestic-water temperature, enable vacation mode when supported, and schedule recirculation or operating periods only when your model offers those controls. A setting above 120°F raises scald risk at the tap, so use mixing protection where the installation requires it.
Brand
What to check first
Useful control task
Navien tankless water heater
Exact model compatibility for the wired controller, WiFi module, and app
Set temperature, review status, and read available error information.
Rinnai tankless water heater
The model’s approved control and WiFi accessory
Set temperature, vacation settings, schedules, or recirculation features when supported.
EcoSmart tankless water heater
The manual for compatible digital controls and the unit’s control interface
Adjust temperature and use displayed fault information; WiFi features vary by model.
Brand names don’t guarantee identical controls; the model number does.
Use diagnostics before resetting
When an alert appears, write down the code, water temperature, flow conditions, and what was running. Check the manual for that code, then inspect only the user-serviceable items it names. Don’t repeatedly reset a gas, venting, overheat, or flow fault; the code is useful evidence for a licensed pro.
A schedule can reduce needless recirculation and remote adjustments, but it can’t fix low flow, scale, inadequate gas supply, or a blocked vent. Keep the manual and the control’s pairing details with the heater so the next diagnostic visit doesn’t begin with a password hunt.
Maintenance and Flushing: Keeping Your Tankless Water Heater Reliable
Use a manufacturer-approved descaler and flushing kit to descale a tankless water heater at least once a year; hard water, reduced flow, or a noisy heat exchanger may call for more frequent service. Annual flushing removes mineral scale that insulates the heat exchanger, restricts water flow, wastes energy, and may affect warranty coverage when the manual requires documented maintenance.
Regular maintenance with the right kit keeps your heater reliable.
1
Shut down safely
Turn off the heater’s power. For a gas model, close the gas shut-off valve; for any model, close the hot- and cold-water isolation valves. Let the water cool before opening service ports, and follow the manual if its valve layout differs.
2
Connect the flushing kit
Remove the service-port caps, attach the hoses, and place the pump in the bucket. Add only the cleaning solution approved for your heater. Keep hose connections tight—small leaks become very wet surprises.
3
Circulate the descaler
Open the service valves and run the pump through the heat exchanger for the time listed by the heater manufacturer. Don’t energize the heater or fire the burner during flushing.
4
Rinse and restore
Close the service valves, drain the used solution, and flush with clean water as directed. Remove the hoses, replace the service-port caps, open the water isolation valves slowly, check every connection for leaks, then restore gas and power.
Useful for annual flushing
6699 Tankless Water Heater Flushing Kit
Product 1 supplies a 1/6 HP pump, two 6-foot hoses, adapters, and a 3-gallon bucket, so it suits a standard service-port flush when its 95°F maximum fluid temperature fits the solution and the manufacturer’s instructions.
Check the inlet-water filter and any air filter at least yearly, or sooner if flow drops, the unit cycles off, or the display reports a restriction. Shut the heater down, close the isolation valves, remove the filter, rinse sediment from the screen with clean water, and reinstall it without damaging the seal. Clean an air filter with the method specified by the manual; a blocked intake can cause poor combustion or error codes on a gas unit.
Outdoor units in winter
A tankless water heater frozen in winter can suffer cracked piping even when the cabinet looks fine. If the unit may lose power or sit unused, shut off the water, drain the heater through its designated ports, and follow the manual’s freeze-protection procedure; don’t rely on electric freeze protection during an outage.
Scale prevention
Scale-prevention technology can reduce maintenance needs on some models, but it doesn’t make flushing unnecessary. Keep the annual inspection and follow the model’s schedule, especially with hard water.
More Questions, Answered
How do I calculate the right size tankless water heater for my home?
Start with the gallons per minute (GPM) of fixtures you may run at the same time, then calculate the required temperature rise from your incoming cold-water temperature to your target hot-water temperature. A common sizing formula is GPM × 500 × temperature rise = required BTU per hour; compare that result with the manufacturer’s performance chart, not the heater’s headline BTU rating alone. Leave enough capacity for the busiest realistic combination, since an undersized unit will reduce flow or deliver lukewarm water.
Can I install a tankless water heater myself or do I need a pro?
A homeowner may handle limited preparation, such as clearing the mounting area, but gas connections, venting, combustion air, 240-volt wiring and major plumbing changes belong with licensed professionals in most jurisdictions. Gas models can demand 90,000 to 130,000 BTU, so an existing gas line may be too small even if the old tank heater worked well. Check the permit rules before buying fittings or removing the old unit.
What are the code and permit requirements for tankless water heater installation?
Requirements vary by city and may cover permits, combustible clearances, vent termination, gas shut-off access, electrical disconnects, condensate drainage and the pressure relief valve discharge line. The installation manual and local plumbing, fuel-gas and electrical codes control the final setup; a permit inspection can catch a vent or gas-line problem before it becomes dangerous. Never cap or plug the pressure relief valve.
How often should I flush or descale my tankless water heater?
Flush the heat exchanger at least once a year, then shorten that interval if your water is hard, the flow drops or the heater becomes noisy. Use the manufacturer’s approved descaler with service isolation valves and a flushing kit, and follow the manual for pump direction and solution time. Scale acts like an insulating crust, so the burner works harder while less heat reaches the water.
What venting system does a gas tankless water heater need?
A gas tankless heater needs the listed vent system specified for that model, often a sealed direct-vent arrangement with separate intake and exhaust paths. Condensing and noncondensing models can require different vent materials, slope and condensate handling, so ordinary furnace flue pipe is not an automatic substitute. Keep every termination and clearance exactly as the manual shows; a short-looking vent route can still be unsafe if it lacks the required intake or exhaust separation.
Can a tankless water heater be installed outdoors in cold climates?
Yes, but only if the manufacturer lists the unit for outdoor installation and the setup includes the required freeze protection. Freeze protection generally needs electrical power, so a winter outage can leave water trapped in the heat exchanger; drain the unit when the manual calls for it, especially in an unoccupied home. An indoor-rated model must not be placed outdoors, and an outdoor model still needs the specified clearances and weather exposure limits.
Before you go · a welcome giftGet the Water Heater Owner's Toolkit for $4.99Fix the common faults yourself, keep it running for years, and know when a repair is money wasted. Normally $14.99; your welcome price saves $10.00. We'll email your link right now.One email with your link now. We never share your address.


 Water Heater Owner's ToolkitFix the common faults yourself, keep it running for years, and know when a repair is money wasted.No-hot-water flowcharts, gas and electricFlush, anode, relief valve and descaling stepsRepair-or-replace calculator (Excel)