

To clean your RV’s hot water tank, mix equal parts vinegar and water, fill the tank, let it sit for a few hours, then drain and flush thoroughly.
Cleaning your RV’s hot water tank with vinegar is an effective way to remove mineral buildup and extend its lifespan. This simple maintenance task can improve water pressure, eliminate odors, and keep your heating element working efficiently.

Turbo Tank Cleaner
Turbo Tank Cleaner - Water Heater Cleaning…
- MULTIPLE BENEFITS – Extend the lifetime of your water heater, improve its efficiency, reduce your energy bill, and increase your h…
- WORKS GREAT – Other flushing methods only remove small loose sediment particles where the Turbo Tank Cleaner physically breaks up…
- UNIVERSAL – Cleans all water heater tank types, gas and electric (not for tankless water heaters).
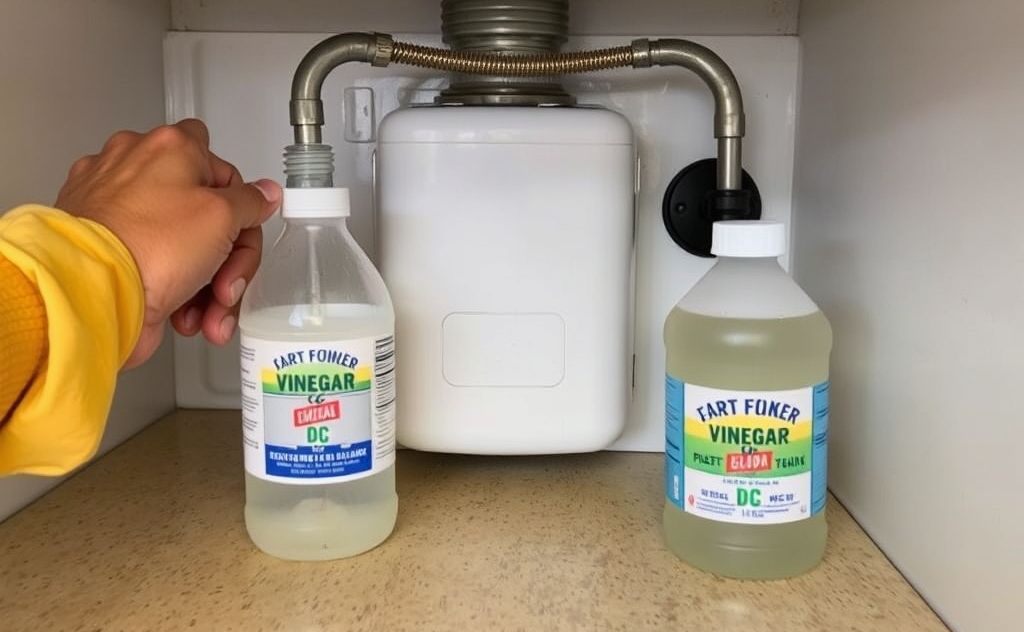
Why Vinegar Works for RV Water Tank Cleaning
White vinegar is a natural acid that dissolves calcium, lime scale, and other mineral deposits. Unlike harsh chemicals, vinegar is safe for your RV’s plumbing system and won’t damage components. The acetic acid in vinegar breaks down mineral buildup without corroding metal parts.
Signs Your RV Water Tank Needs Cleaning
- Reduced hot water pressure
- Cloudy or discolored water
- Unpleasant odors from hot water
- Longer heating times
- Visible scale on faucet aerators
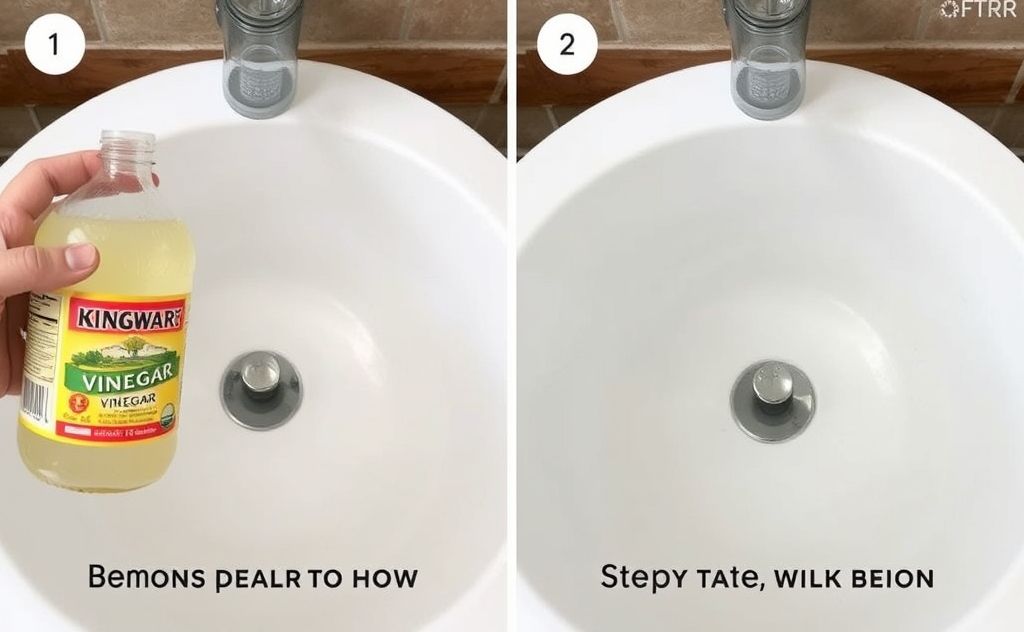
Step-by-Step Vinegar Cleaning Process
1. Prepare Your RV Water System
Turn off all power to the water heater – both electric and gas. Allow the tank to cool completely overnight. Shut off the water pump and disconnect any external water supply.
2. Drain the Hot Water Tank
Open the pressure relief valve at the top of the water heater. Remove the drain plug or anode rod at the bottom using a socket wrench. Let all water drain completely.
3. Flush the Tank
Use a tank cleaning wand or garden hose to rinse out loose sediment. Spray all interior surfaces until the water runs clear.
4. Add Vinegar Solution
Mix 3-5 gallons of white vinegar with water (3 parts vinegar to 4 parts water works well). There are three ways to add it:
- Use an RV winterizing kit to pump it in
- Pour through the pressure relief valve with a funnel
- Add to your fresh water tank and pump into the system
5. Heat and Soak
Turn on the electric heating element to warm the vinegar solution (do not use gas for this step). Let it sit for 4-8 hours – overnight works best for heavy buildup.
6. Final Flush
Drain the vinegar solution completely. Flush the tank again with clean water until no vinegar smell remains. Replace the anode rod if needed.
Maintenance Tips
Frequency of Cleaning
Clean your RV water heater annually, or more often if you notice reduced performance. Those using hard water may need to clean every 6 months.
Anode Rod Inspection
Check the anode rod during each cleaning. Replace if more than 50% corroded. A good socket set makes this job easier.
Preventative Measures
- Install a water softener if using hard water sources
- Drain the tank when storing your RV
- Consider a water filtration system to reduce minerals
Safety Considerations
Always ensure the water heater is completely cool before starting. Wear gloves and eye protection when working with vinegar solutions. Never mix vinegar with bleach or other chemicals.
For more information on maintaining your RV’s systems, check out our guide on keeping your living space comfortable while on the road.
Related pick: Check today's price on Amazon

I am a mechanical engineer and love doing research on different home and outdoor heating options. When I am not working, I love spending time with my family and friends. I also enjoy blogging about my findings and helping others to find the best heating options for their needs.
Related guides

Can a Water Heater Use LP or Natural Gas?
Yes, a water heater can use either LP (liquid propane) or natural gas, depending on its design and…
How Water-Cooled Fans Work: The Science of Evaporative Cooling
How water using fan works: A water fan operates by utilizing a misting system that sprays fine water…
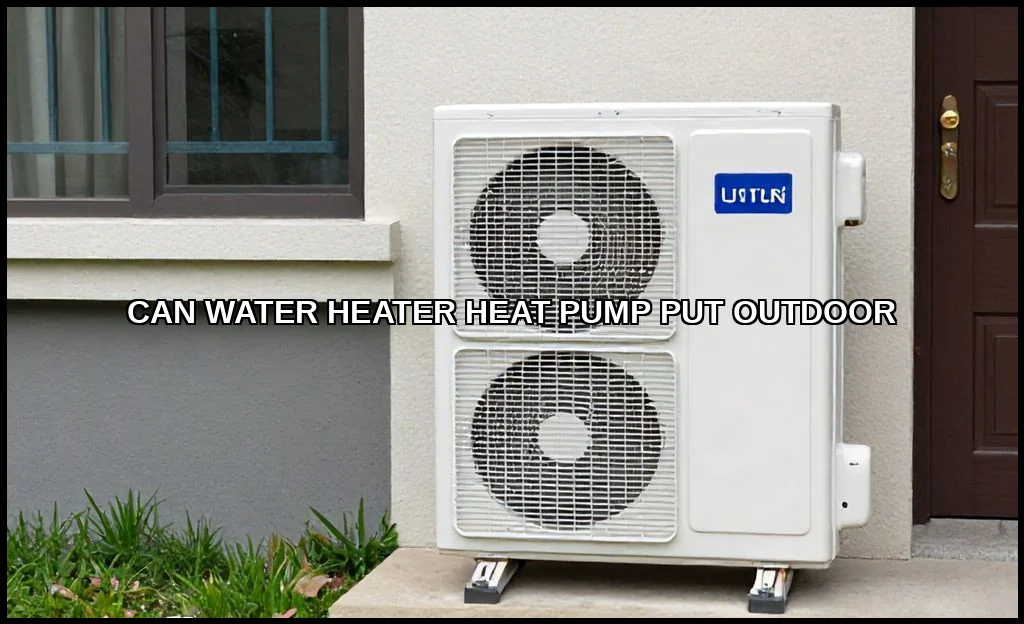
Can a Heat Pump Water Heater Be Installed Outdoors?
You're considering a heat pump water heater. It's a smart move for efficiency. But your garage is packed,…
