

A cold-house morning usually comes from starting too late or asking the system to recover too much temperature at once. The fix is simple: learn your recovery rate, then set the schedule around the rooms you actually use.
For most readers, this is a thermostat-setting job, not a tools-out repair job. If you’re changing a wired thermostat or touching gas, venting, or hot water equipment, stop there and use a licensed pro.
Optimal Timing to Heat Your Home for Maximum Efficiency
If your bedroom cools to 62°F overnight and you want it at 70°F by 7:00 AM, start heating about 90 minutes before wake-up if your system raises temperature 1°F every 6 minutes. Optimal timing matches your system’s recovery speed, which rooms you’re using, and the type of heating.
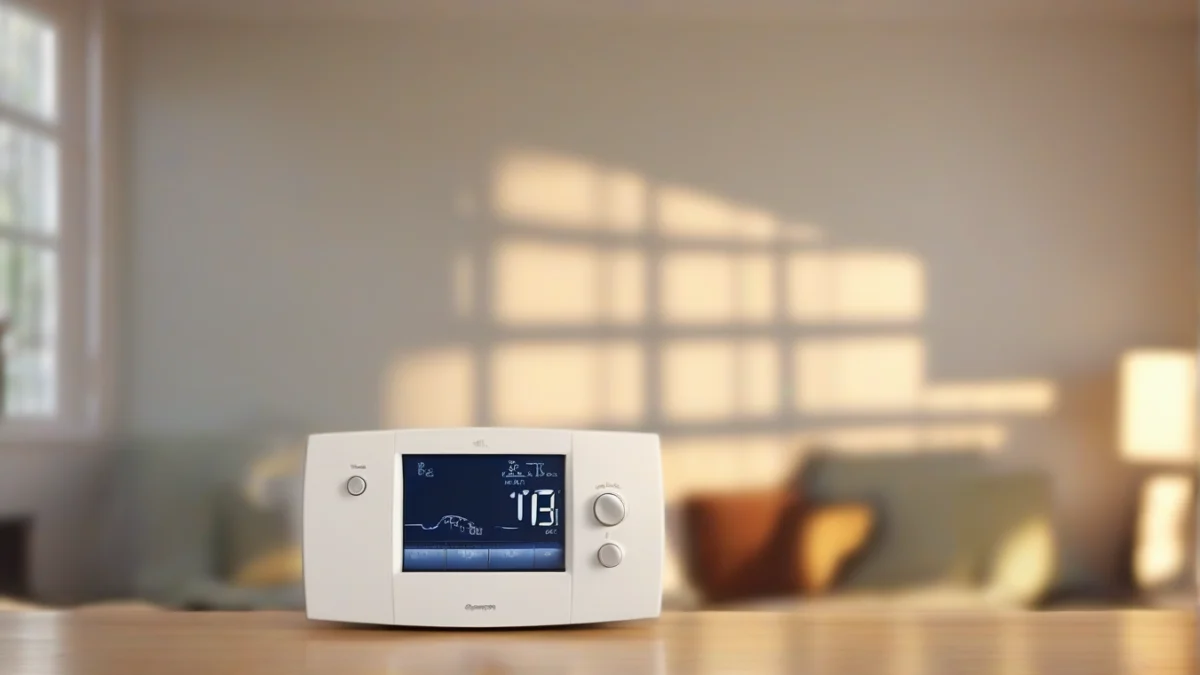
Heat pumps work best with small setbacks to keep indoor temperature steady and avoid running costly auxiliary heat in the morning. Furnaces save more energy with larger setbacks, but cold climates limit how far you can drop the thermostat without discomfort or frost risk.
Warm bedrooms before sleep, living areas before wake-up, and heat unused rooms only if needed. This room-by-room timing prevents wasting energy heating empty spaces and improves comfort where it matters most.
| System Type | Optimal Setback | Start Time Behavior | Notes |
|---|---|---|---|
| Heat Pump | Small (1–3°F) | Steady heating; avoid large morning recovery | Aux heat runs if setback is too large |
| Gas Furnace | Medium (5–8°F) | Starts later, runs faster to catch up | Avoid extreme setbacks in cold climates |
| Electric Furnace | Medium to large (up to 10°F) | Quick recovery, can start later | High electric costs discourage large setbacks |
| Time-of-Use Schedule | Varies | Heat mostly during off-peak hours | Requires programmable thermostat |
How To Set Heat By Room Without Wasting Energy
Optimal heat in a home by rooms means recognizing that each room cools and warms at its own pace, so one thermostat schedule rarely fits all. Heat your home by rooms to match how you use them and avoid wasting energy on empty spaces. How to optimize heating by room starts with knowing which rooms need warmth first and how your system distributes air.
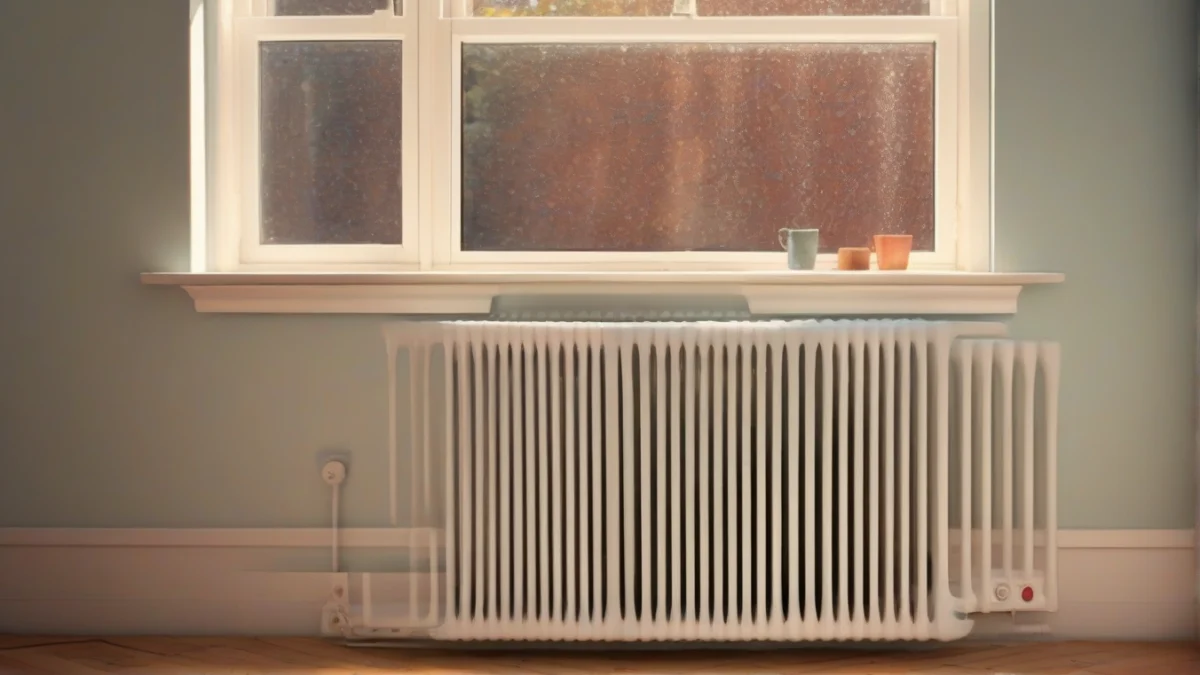
Rooms lose heat differently depending on size, window exposure, insulation, and airflow. A large living room with south-facing windows will warm faster than a small, interior bedroom. Closed doors can trap heat inside a room but may cut off return air, causing the system to run inefficiently or shut down.
A simple priority order helps. Bedrooms get heat before sleep, so they’re comfortable by bedtime. Bathrooms heat just before showers or baths. The main living space warms before wake-up or arrival home. Rooms used rarely come last. This sequence prevents heating empty rooms and cuts fuel or electricity use.
| Room Type | Typical Lead Time Before Use |
|---|---|
| Bedroom | 30 to 45 minutes |
| Bathroom | 15 to 30 minutes |
| Living Room | 45 to 60 minutes |
| Rarely Used Rooms | No scheduled heating or manual only |
True room-by-room control usually requires zoning equipment: motorized dampers inside ductwork, or separate thermostats and heating zones. Installing these often means professional work because it involves HVAC wiring, duct modification, and system balancing.
How Long Recovery Time Takes

Recovery time is how long your heating system needs to raise the indoor temperature by 1°F or more. It depends on your home’s insulation, heating output, and outdoor temperature. Typically, a well-insulated house takes about 5 to 10 minutes per degree, while a leaky, lightweight frame home might take 10 to 15 minutes per degree or more.
Say your bedroom cools to 62°F overnight and you want it at 70°F by 7:00 AM. That’s an 8°F rise. If your system heats 1°F every 7 minutes, multiply 8 by 7 to get 56 minutes. Start heating about an hour before wake-up to reach 70°F on time.
Outdoor temperature affects recovery time. The colder it is outside, the more heat your home loses through walls and windows, slowing how fast indoor temperature rises. Add 15 to 30 minutes margin when temperatures plunge below freezing.
Thermal mass matters too. Heavier houses with concrete floors or brick walls store heat and change temperature slowly, so recovery takes longer. Lightweight homes with wood framing warm up faster but also cool faster once the heat turns off.
| Home Type | Minutes per Degree (Typical Range) |
|---|---|
| Well-insulated, heavy thermal mass | 5 to 8 |
| Average insulation, mixed thermal mass | 7 to 10 |
| Light-framed, leaky house | 10 to 15+ |
When Permits Or A Licensed Pro Are Required
Changing your heating schedule on a programmable thermostat is a straightforward DIY task. You can usually do this yourself without a permit or special tools.
However, any work involving thermostat wiring, line-voltage controls, gas valves, venting, or hydronic boiler controls often requires a permit and should be done by a licensed HVAC technician, electrician, or plumber. Local rules vary, so check before you start.
If your job involves gas piping, flue pipes, combustion air supply, or hot water heating controls, follow all local codes and manufacturer instructions closely. These systems affect safety and indoor air quality.
Replacing or upgrading a thermostat that involves running new wiring or changing line-voltage controls usually means hiring a licensed electrician and might require a permit. Simple replacement of a low-voltage thermostat unit without wiring changes usually does not.
Mistakes That Waste Heat Or Cause Damage
Optimal timing to heat your home means avoiding common mistakes that waste energy or risk damage. One major error is setting deep temperature setbacks on heat pumps, which triggers costly backup electric heat and wipes out savings.
Lowering the thermostat too far overnight can freeze pipes in cold or poorly insulated rooms, especially those near exterior walls. A setback of more than 10°F risks this, so err on the side of caution if your home is drafty or unheated spaces are nearby.
Cranking the thermostat up aggressively won’t heat your room faster. The system runs at full power until it reaches the set point, so repeatedly raising it just wastes energy and wears equipment.
Blocked vents, closed doors, dirty air filters, and thermostats placed near drafts or heat sources can make your recovery time look longer than it really is. Fix these first before changing your schedule: open vents, replace filters, and move sensors to a central spot away from windows or registers.
| Mistake | Symptom | Fix |
|---|---|---|
| Deep setbacks on heat pumps | Backup heat kicks in, high bills | Limit setbacks to 5–7°F or less |
| Thermostat set too low | Frozen pipes or cold spots | Keep minimum 55°F in vulnerable areas |
| Thermostat cranked repeatedly | Long run times without faster heat | Set temperature once and wait |
| Blocked vents/dirty filters | Slow recovery, uneven heat | Clear vents and replace filters |
| Poor sensor placement | Inaccurate temperature reading | Move thermostat away from drafts and heat sources |
Cost Checks For Night Setbacks And Preheating
Time-of-use heating cost math starts with watts divided by 1,000 to get kilowatts, then multiplied by hours used and the price per kWh. For fuel heaters, use burn rate times hours times fuel cost per gallon or pound.
A small nighttime setback can save money if your system recovers efficiently without triggering auxiliary heat. Large setbacks on heat pumps often increase costs due to backup electric heat running longer.
Say an electric heater uses 1,500 watts for 8 hours at 17 cents per kWh: 1.5 kW × 8 hours × $0.17 equals about $2.04 per night. If you drop the thermostat 10°F for 8 hours but recovery adds 4 extra hours of run time, the savings shrink or reverse.
Gas furnaces with steady burners are less sensitive to time-of-use rates, but electric resistance and heat pumps benefit more from off-peak pricing. Scheduling heat to run during lower-rate periods can reduce electric bills noticeably.
| Scenario | Run Time (hours) | Energy Use (kWh) | Cost at $0.17/kWh |
|---|---|---|---|
| Constant temp | 8 | 12 | 1,500 W for 8 hours is 12 kWh; at 17 cents per kWh, that totals about 2 dollars and change for the night. |
| 10°F setback, 8 hr plus 4 hr recovery | 12 | 18 | 1,500 W for 12 hours equals 18 kWh; at 17 cents per kWh, that comes to roughly 3 dollars and a bit for the whole night. |
More Questions, Answered
How early should I turn the heat on before I wake up?
Should I keep my heat pump at one temperature all day?
How much setback is too much for a furnace?
What room should I heat first in the morning?
How do I calculate my thermostat recovery time?
Does lowering the thermostat at night really save money?
When do I need a licensed pro for thermostat or heating work?

HeaterGuides covers home heating, water heating and HVAC: how the equipment works, what it costs to run, and how to use it safely.
