Thinking about harnessing the sun to heat your water? You’re not alone. The installation process for solar heaters is a structured journey, blending careful planning with hands-on work. It’s a project that can significantly cut your energy bills and reduce your carbon footprint. For smaller-scale or supplemental heating needs, like for a pool or a workshop, a portable option like the Intex 28685E 47 can be a great, simple introduction to solar thermal energy without a full roof installation.
Whether you’re a seasoned DIYer considering a solar water heater installation or you’re planning to hire a professional solar installer, knowing the steps demystifies the entire operation. This guide walks you through everything from the initial site check to the final system test.
Pre-Installation Planning and Site Assessment
Jumping straight to mounting panels is a recipe for frustration. A proper site assessment is your critical first move. This phase answers the big questions: will it work on your property, and what will you need?
Evaluating Your Site and Needs
You need unshaded, south-facing roof space or ground area. Use a solar pathfinder app or simply observe the spot over a full day. Shading from trees or chimneys for more than a few hours drastically reduces efficiency. Also, assess your current water heater’s locationthe closer your solar storage tank is to the collectors, the better.
Ask yourself: can I install a solar water heater myself? For active systems with pumps and controllers, professional help is often good advice, especially for the plumbing and electrical integrations. For passive thermosyphon systems, a confident DIYer with plumbing experience might manage.
Navigating Permits and Regulations
This is the step most DIYers overlook. What permits are needed for solar heater installation? Almost always, you’ll need a building and/or plumbing permit. Your local building department will have specific codes for roof loading, plumbing, and freeze protection. Your professional solar installer typically handles this, but if you’re DIYing, this homework is on you. It’s non-negotiable.
Gathering Tools, Materials, and System Components
With a plan approved, it’s time to gather your arsenal. The exact list varies, but core components are universal for a solar thermal installation.
Core System Components
- Solar Collectors: These are the panels (flat plate or evacuated tube) that capture the sun’s heat.
- Storage Tank: Heavily insulated tank where solar-heated water is held.
- Heat Exchanger: Transfers heat from the solar fluid in the collectors to your potable water. It can be inside the tank or external.
- Pump Station: Moves heat transfer fluid through the collectors and heat exchanger.
- Differential Controller: The system’s brain. It turns the pump on when the collector is hotter than the tank.
- Expansion Tank: Accommodates expanding fluid as it heats, preventing excessive pressure.
- Pressure Relief Valve: A critical safety device to release pressure if it gets too high.
Essential Tools for the Job
You’ll need standard roofing, plumbing, and basic electrical tools. Think pipe wrenches, tubing cutters, a drill/driver kit for solar collector mounting, a soldering torch for copper lines (if used), and a multimeter. Having the right tools makes the solar heater setup process smoother and safer.
Step-by-Step Mounting and Plumbing Installation
This is where the physical work begins. Safety firstalways use proper fall arrest gear on the roof.
Mounting the Solar Collectors
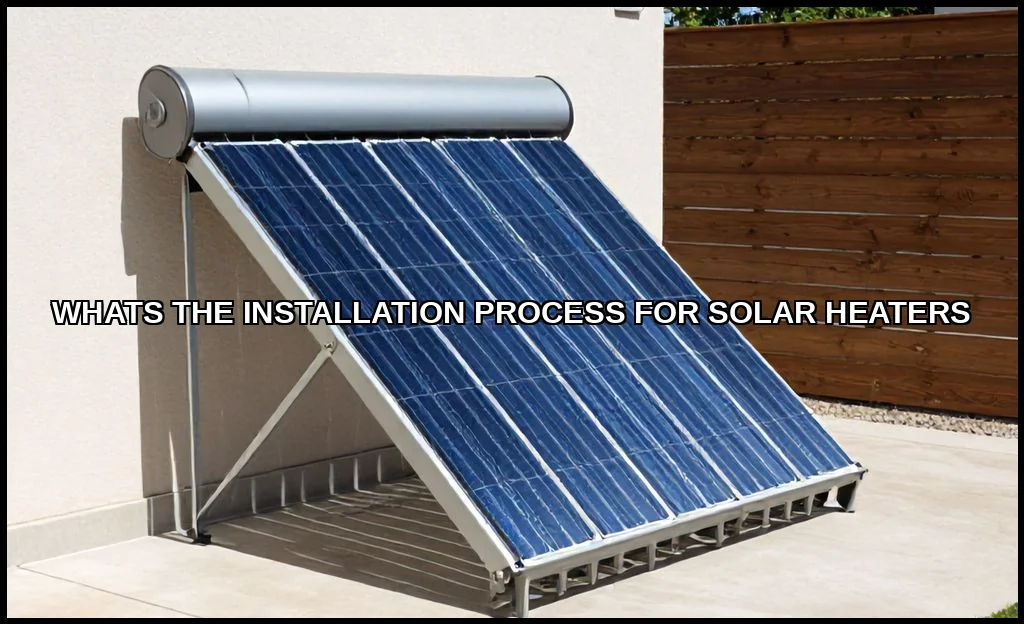
The goal is a secure, weather-tight mount angled for optimal sun exposure. Roof mounts attach to rafters, not just the decking. Ground mounts require concrete footings. Precision here affects performance for decades. The angle is key; a rule of thumb is your latitude plus 15 degrees for winter optimization.
Plumbing for Solar Heater Loops
Connecting solar heater plumbing involves two loops: the closed solar loop with heat transfer fluid and the potable water loop. Use the correct, compatible pipingoften copper or specific PEX types rated for high temperatures. Insulate all pipes meticulously. This is where a detailed schematic is worth its weight in gold. A sloppy plumbing job leads to heat loss and, potentially, leaks.
For indoor heating tasks while you work on this project, knowing the best supplemental options can be helpful during colder months.
Electrical Connections and System Integration
For active systems, power is what makes it tick. This stage integrates the mechanical work with the controls.
Wiring the Pump and Controller
The differential controller gets power and connects to temperature sensors in the collector and the tank. It then switches the pump on and off. This is low-voltage work but must be done correctly. Follow the manufacturer’s diagram to the letter. Improper wiring can fry the controller or cause the pump to run continuously.
Integrating with Your Existing Water Heater
Your new solar storage tank typically pre-heats water before it goes into your conventional backup heater (gas or electric). This involves strategic plumbing ties into your existing hot and cold water lines. The backup heater only kicks in if the solar tank hasn’t done the full job. This integration is what makes the system reliable year-round.
Commissioning, Testing, and First Use
The system is installed. Now, you must make sure it works safely and efficiently. Don’t skip this.
Filling, Pressurizing, and Purging
The solar loop is filled with the proper glycol-water mix. The system is pressurized to its operating level, and all air is purged from the high points. Air pockets are the enemythey cause noise and stop flow. You’ll often need a special purge pump for this step.
Initial Startup and Performance Check
Power on the controller. On a sunny day, you should see the collector temperature climb and, once it’s sufficiently hotter than the tank, the pump will engage. Feel the pipesyou should detect heat moving from the collector line to the tank. Check for any leaks at all connections. Monitor the pressure gauge on the solar loop for stability.
Long-Term Maintenance and Monitoring
Your job isn’t over. A quick visual check every few months for leaks or shading is wise. The fluid pH and freeze protection should be tested every 2-3 years. Listen for unusual pump noise. Keeping the collector surface clean from dust or pollen maintains peak efficiency. How long does it take to install a solar water heater? A professional crew often does it in 2-3 days. A DIY project will take longer, spread over weekends.
| Installation Phase | DIY Consideration | Professional Advantage |
|---|---|---|
| Planning & Permits | Time-consuming research | Experience with local codes |
| Roof/Ground Work | Requires comfort with heights/construction | Speed, safety, and warranty on workmanship |
| Plumbing & Electrical | Needs advanced skills | Guaranteed code compliance |
| System Commissioning | Risk of missing critical steps | Proper setup and performance verification |
So, how much does professional solar heater installation cost? Nationally, for a full domestic system, you might invest between $5,000 and $10,000 before incentives. The DIY solar thermal system install route can cut that cost significantly, but your time, risk, and potential for error are the trade-offs. The solar heater cost to install is an investment with a tangible payback in lower utility bills.
The journey to install solar water heating is detailed but deeply rewarding. It connects your home directly to the most reliable energy source we have. Whether you tackle it yourself or hire it out, understanding the processfrom that initial site assessment to hearing the pump click on for the first timeempowers you to make smart decisions. For the most comprehensive technical details and latest incentive information, always consult an official source like the Department of Energy. The sun’s energy is waiting. With the right plan, you can put it to work.

